Azure ADFS IDP Configuration
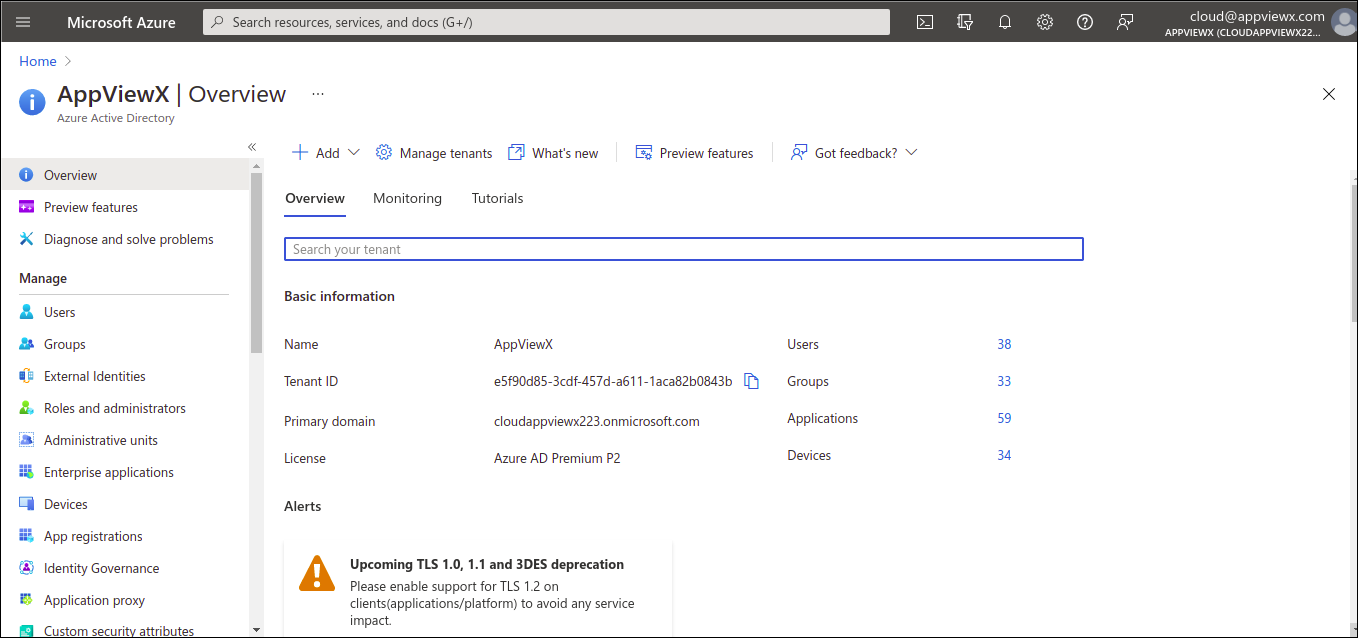
- Log into the Azure portal https://portal.azure.com.
- Select Azure Active Directory.
-
From the left menu of the Azure Active Directory (AD), select the
“Enterprise Applications”.
-
To create a SAML application with Azure AD, select the “New Application”
option.

-
To add AppViewX, select “Create your own application” option.
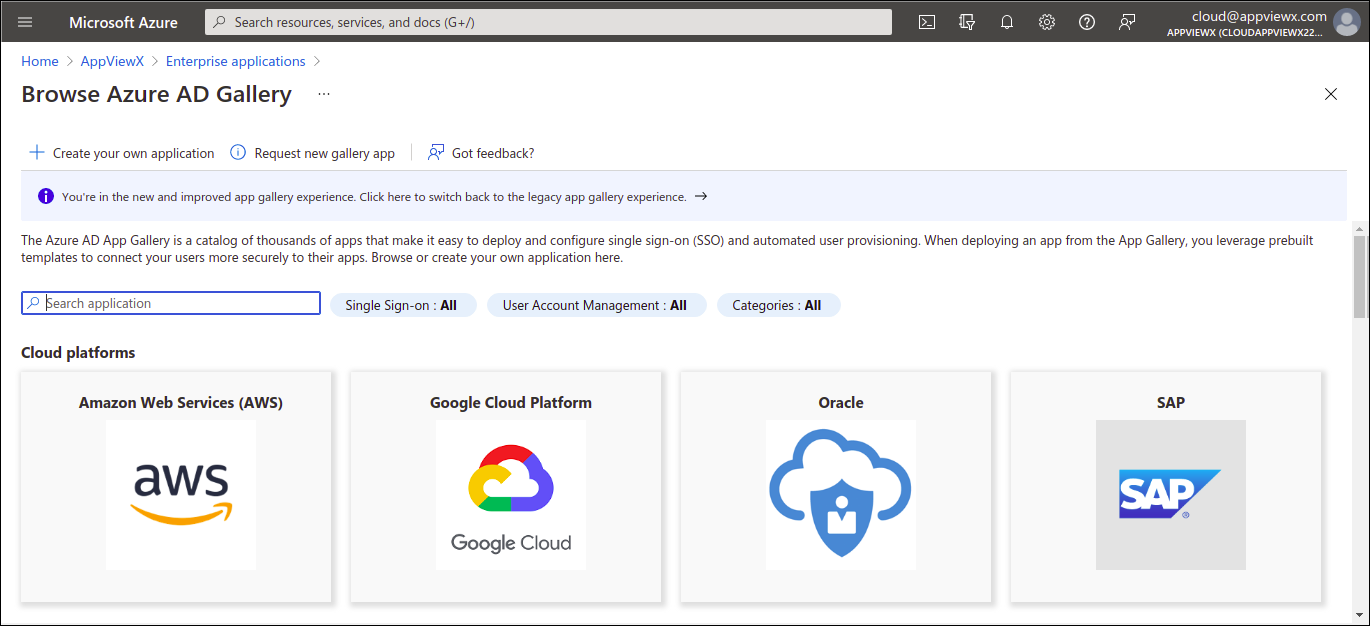 Note: This is done since AppViewX is a non gallery application.
 -
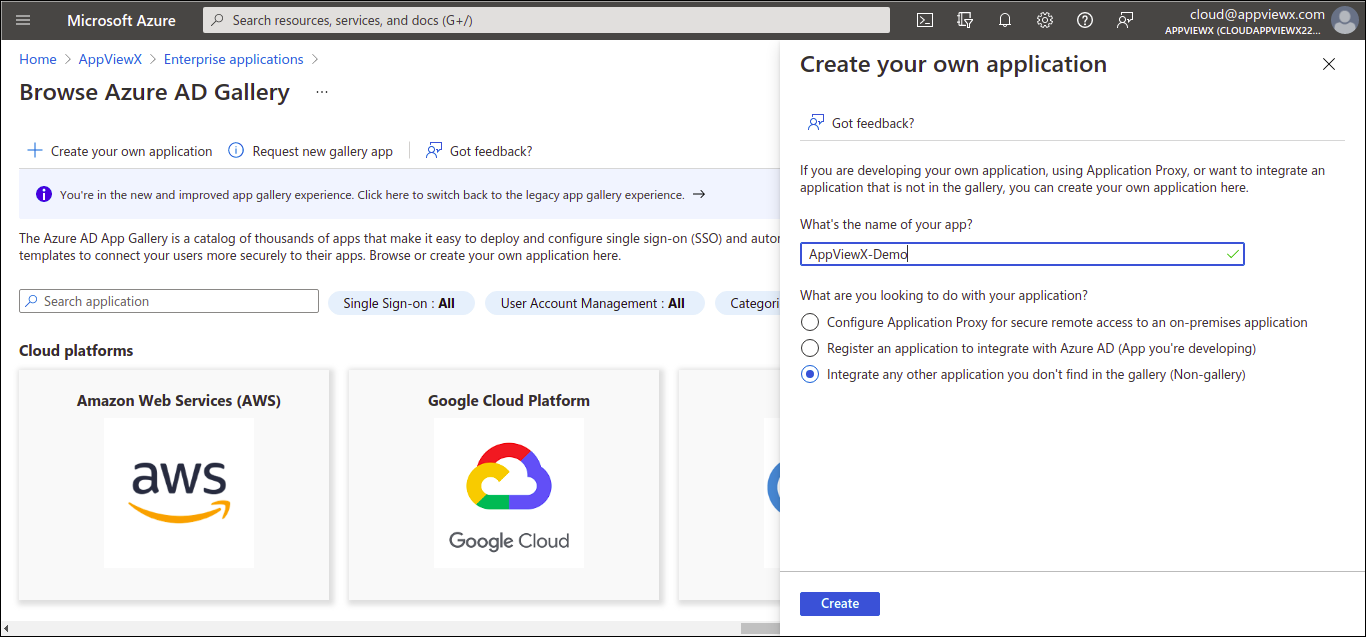
Provide the Name for the application and point the selection to the 3 option
which is “Integrate any other application you don't find in the gallery
(Non-gallery)”.
-
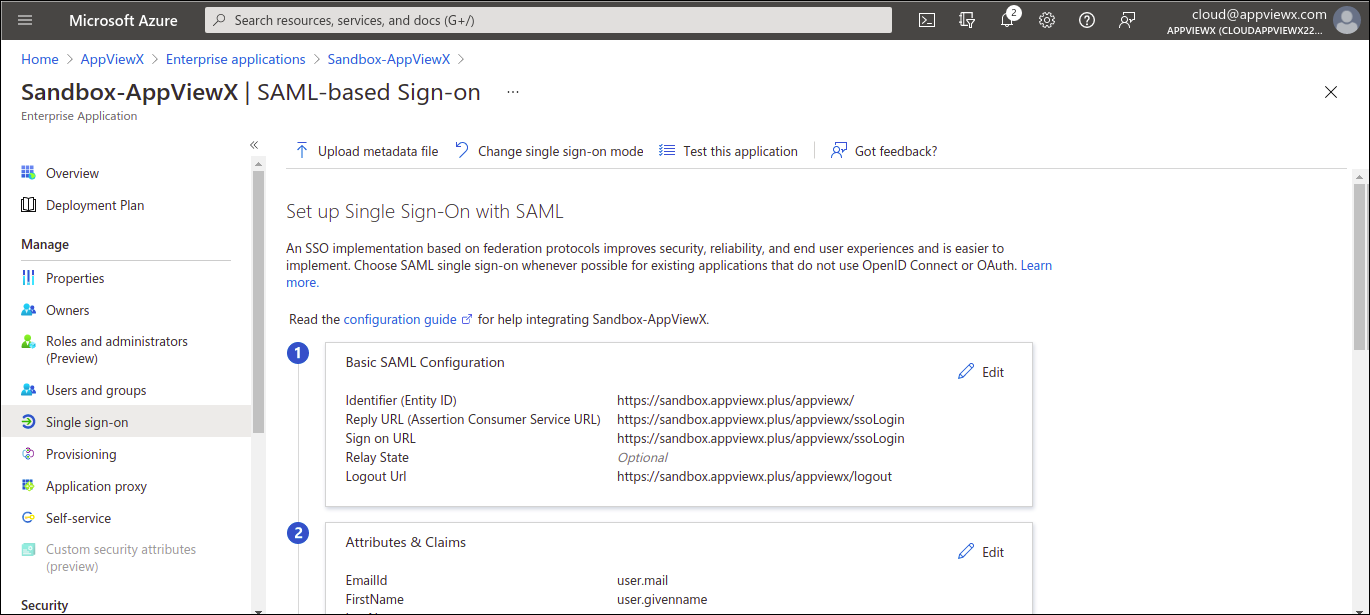
To configure single sign-on for the newly created application, from the left of
the menu of the newly created application, select “Single sign-on”
option.
-
To add the AppViewX Service Provider Information , edit the “Basic SAML
Configuration”.

- In AppViewX system, copy the Entity ID, ACS URL (Sign on URL) and Logout URL from AppViewX Menu > Settings > General > Authentication > SAML.
-
Enable SSO and copy the URLS’s.
Note: The value for Reply URL (Assertion Consumer URL), Sign on URLis the value of the SSO URL defined in AppViewX. The value for Logout URL is the value of the SLO URL defined in AppViewX. Please ignore the Relay State configuration.
- Save the settings.
-
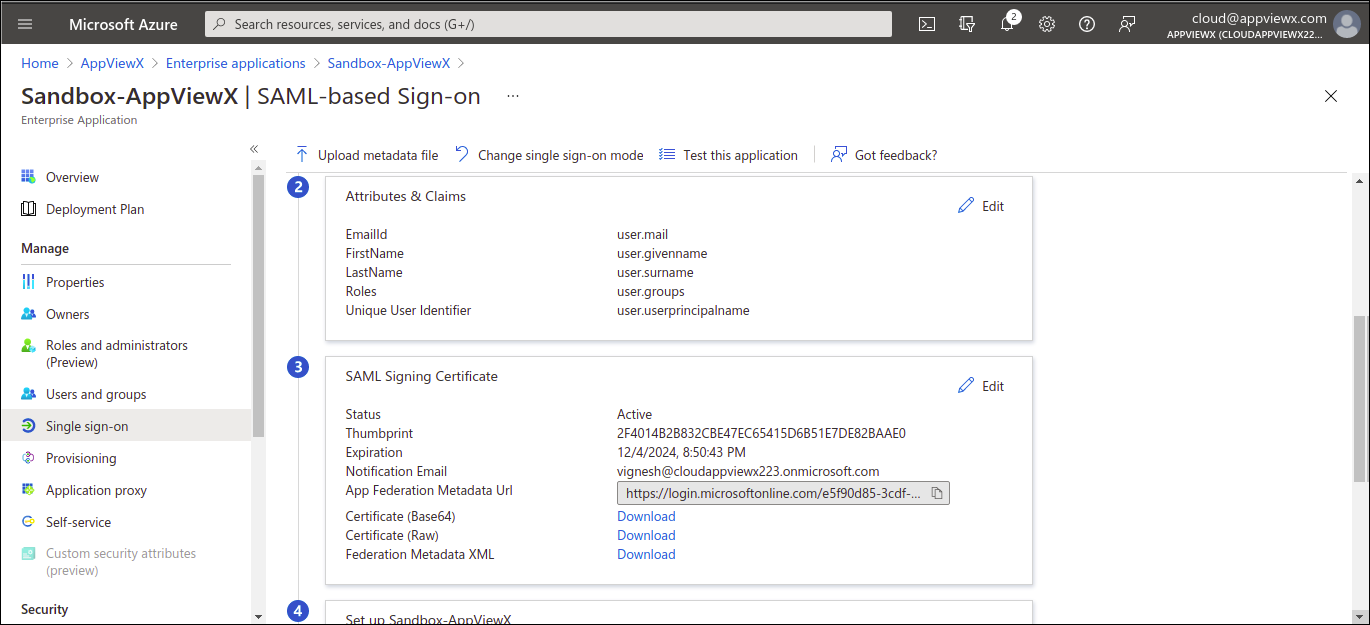
To configure the Assertion parameters required by AppViewX during the Single
Sign on process, edit the “Attributes and Claims” option.
-
The required claims and the values that should be passed during the assertion
are mentioned below:

- EmailId→ user.mail
- FirstName→ user.givenname
- LastName→ user.surname
-
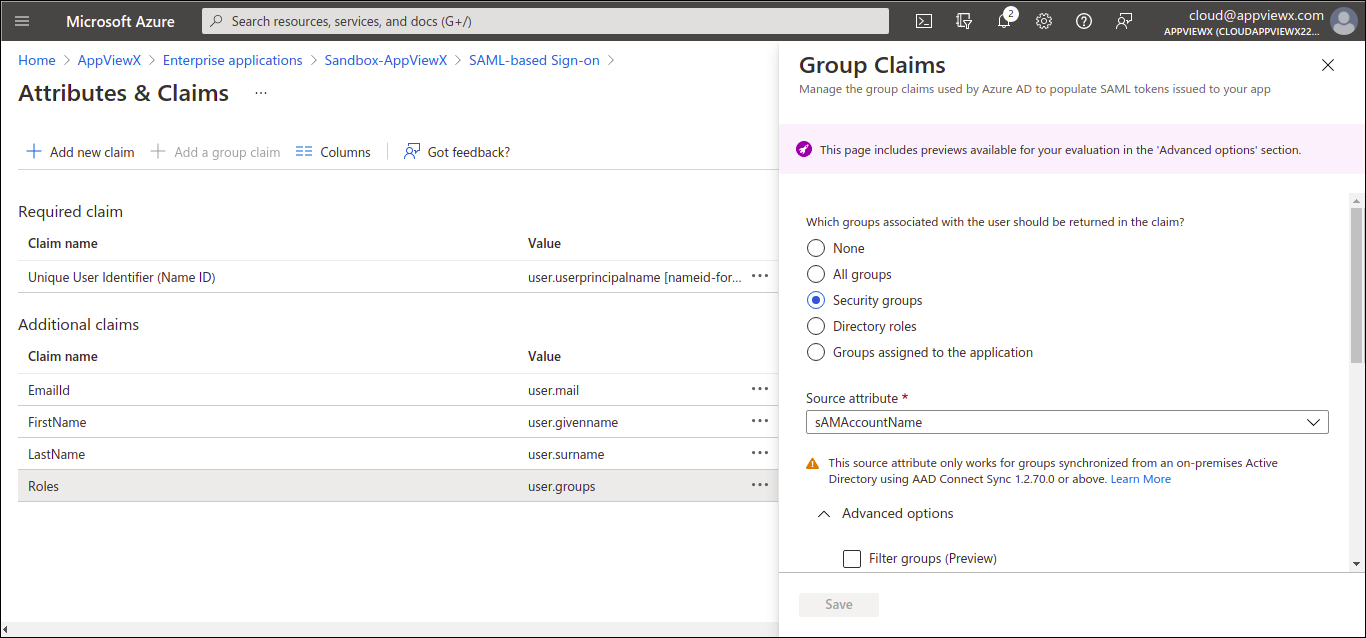
If the UserGroup of the user has to be included in the assertion,
configure a Group claim with the Security Groups associated and the
source attribute as sAMAccountName.
 Along with the above customize the Name of the group claim which is sent to AppViewX, since AppViewX would need the Groupclaim to be sent with the key called “Roles”.
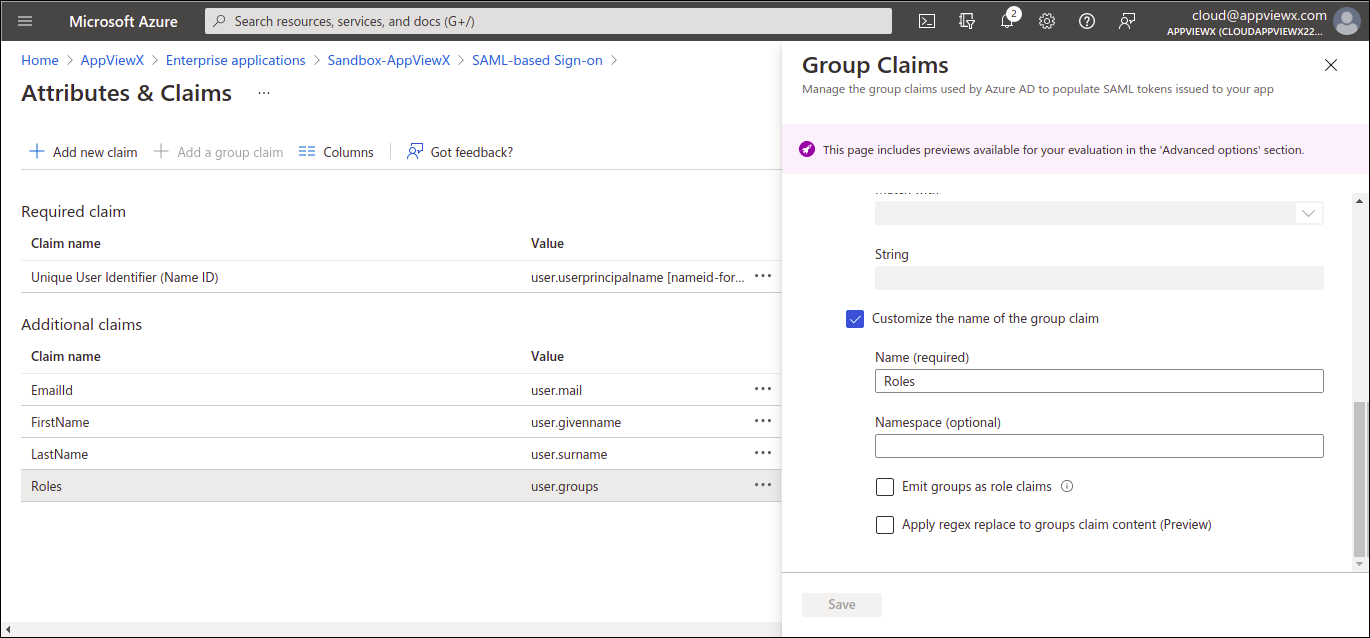
- The group claim value can be the “security group” from the azure directory or the “security group” from the on prem active directory as well.
- Save the settings once done.
-
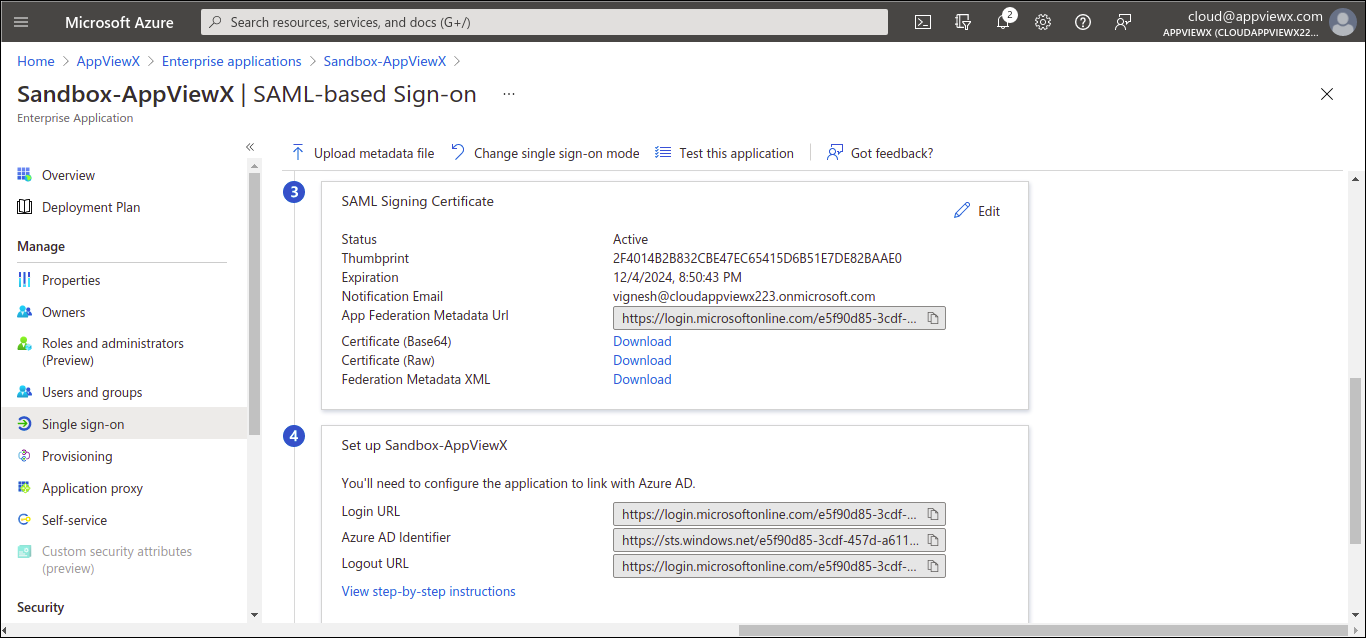
Download the Federated Metadata XML from the SAML Signing Certificate
option.
-
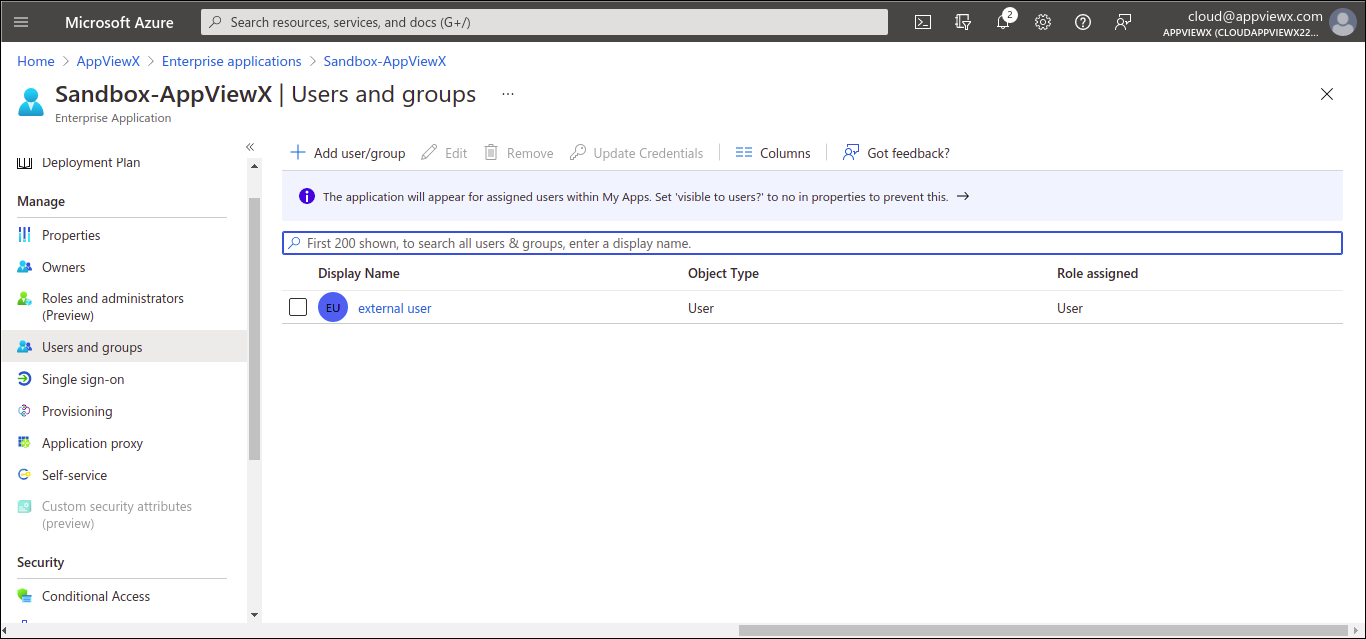
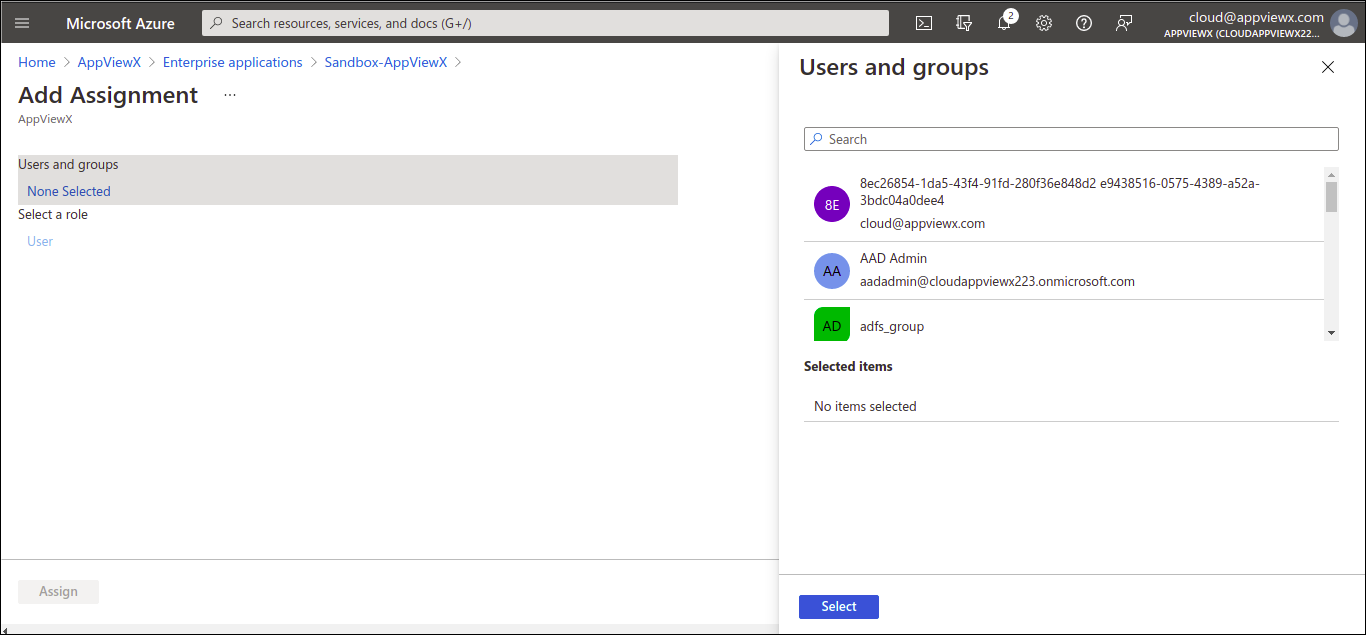
To assign the application to the respective users in the active directory, from
the left hand side menu, select the “Users and Groups” option.
Verification of the Configuration
- To check the IDP initiated flow from Azure to AppViewX, login to the portal https://login.microsoftonline.com/ with the SSO credential of the organization.
- From the Menu of the Office 365 portal select All Apps and select the AppViewX Application to login.
SAML Only Authentication
Mapping User Groups for Local Authorization
Manual Mapping: Oncethe user logins to AppViewX using SSO if no proper Roles are passed in the Assertion the user will end on a No Usergroup found page. Nowthe administrator can log in with the default login URL https://ip:port/appviewx/login and navigate to Account > Users. The user who has not logged in will have the user-created tag and will be in an inactive state. Administrators can modify the user and map the user to a user group that is available and this will enable the user to login successfully on the next attempt.
Birthright Role: The administrator can enable a birthright role and map a user group by default for all the sso users to log in initially when they do not have a role/user group passed in the SAML assertion. This would enable the user to login successfully and access the application with the access given in the specific user group. If required now the administrator can create different sets of user groups and assign manually to the respective users who do not need the birthright user group which will be reflected in the subsequent login.