Assigning Hooks to Form Fields
-
To assign a hook to a form field, hover over the form field and click
 (Edit) icon.
-
In the field’s pop-up window, under Properties, scroll down to
Hooks.
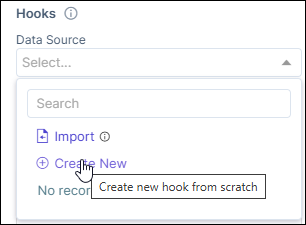
The following options are available under Hooks:
- Select an existing hook: You can select an existing hook from the available options and assign it to the form field to fetch data.
- Import: You can import a hook from the Hooks Inventory and assign it to the form field.
- Create New: You can create a new hook and assign it to the form field.
- Modify: You can modify an existing hook from the options available in the dropdown and assign it to the form field.
Creating a New Hook
-
Under the Hooks, click Create New.
 The Hooks Inventory :: Add window opens.
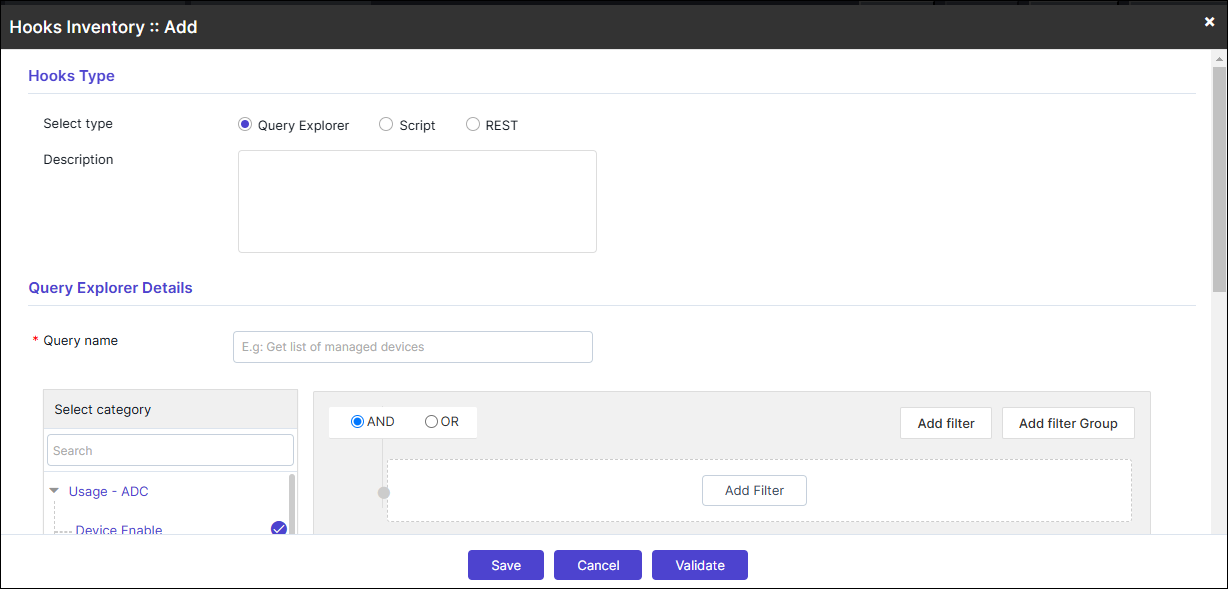
-
Create a new hook as required and click Save.
Note: Refer to Hooks for more information. .
Importing Hooks from Inventory
-
Under the Hooks section, click Import.
The Import from Hooks Inventory window opens with the list of hooks available in the inventory displayed in the dropdown.
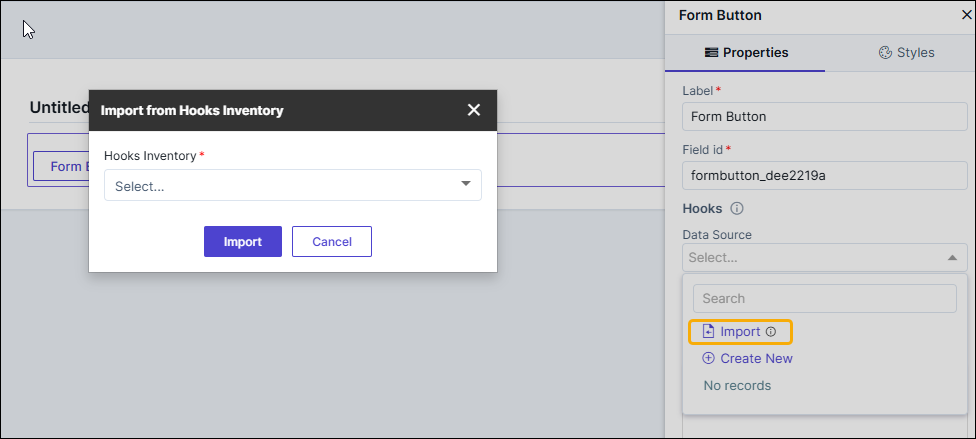
- Select the required hook from the list and click Import.
Modifying a Hook
- In the Form window, under the Hooks section, hover your mouse over the hook that is to be modified.
-
Click
 (Edit) icon.
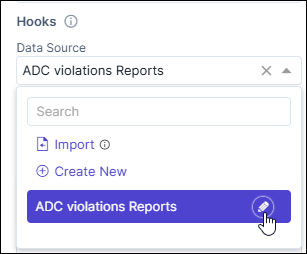 The Hooks Inventory :: Modify window opens. You can modify the hook and assign it to the form field.Note: Refer to Hooks for more information. .