Disable and Delete Unused F5 LTM VIP
This workflow disables and deletes the VIPs that are unused for ‘n’ number of days.
To run this workflow:- Go to Menu > ADC+ > AUTOMATION > Workflow Catalog > View/Run
- Click the F5 BIG-IP LTM category on the View/Run Workflows page.
-
On the popup window, hover the mouse over the Disable and Delete
Unused F5 LTM VIP workflow.
The Run and Schedule buttons are displayed.
-
Click
 .
The Request > Disable and Delete Unused F5 LTM VIP :: FormBuilder page is displayed.
.
The Request > Disable and Delete Unused F5 LTM VIP :: FormBuilder page is displayed. -
Enter/select the Device Details.
Table 1. Device Details Section - Field and Description Table Field Description *Datacenter Displays the list of datacenters of the devices, which are created in the Device Inventory. Select the datacenter of a device from the drop-down option for which this request is to be created. For the devices which are created without a datacenter in the Device Inventory, select the datacenter as None. *Device Name Displays the list of devices associated with the selected datacenter. If the datacenter is selected as None, the devices that are created without datacenter details are listed. Select the desired devices from the drop-down option.
Note: Selecting multiple devices is possible.No of Days Enter the no. of days for which the virtual server is not used. -
Click Submit.
The Confirmation dialog box is displayed.
-
To save this form so you can edit it later, click Save Draft and then click
OK.
The form will be saved as Open request under Request > My Request.
OR
To submit the form, click OK.
The fetching unused VIPs starts automatically and reaches the Unused Objects Grid Data stage. Note:
Note:- If there is any failure at this stage, start a new request by providing the correct data.
- Alternatively, select the failed request and clone it. Update the correct input data in the form input, and submit the workflow again.
- To download the Unused Objects Grid Data report, click the Download
(
 ) button.
-
Click Submit.
The Confirmation dialog box is displayed.
-
Click Ok to submit the form.
The validation starts automatically and reaches the Review stage.
-
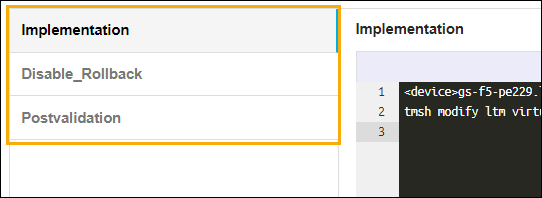
Review the input data under the implementation, rollback, and
postvalidation tabs.
-
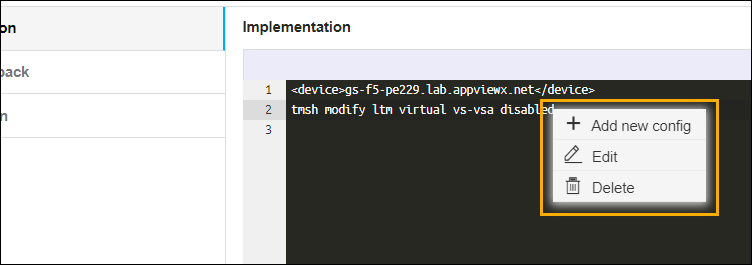
(Optional) If you need to change any data at this stage, you can update by clicking the
right mouse button.
-
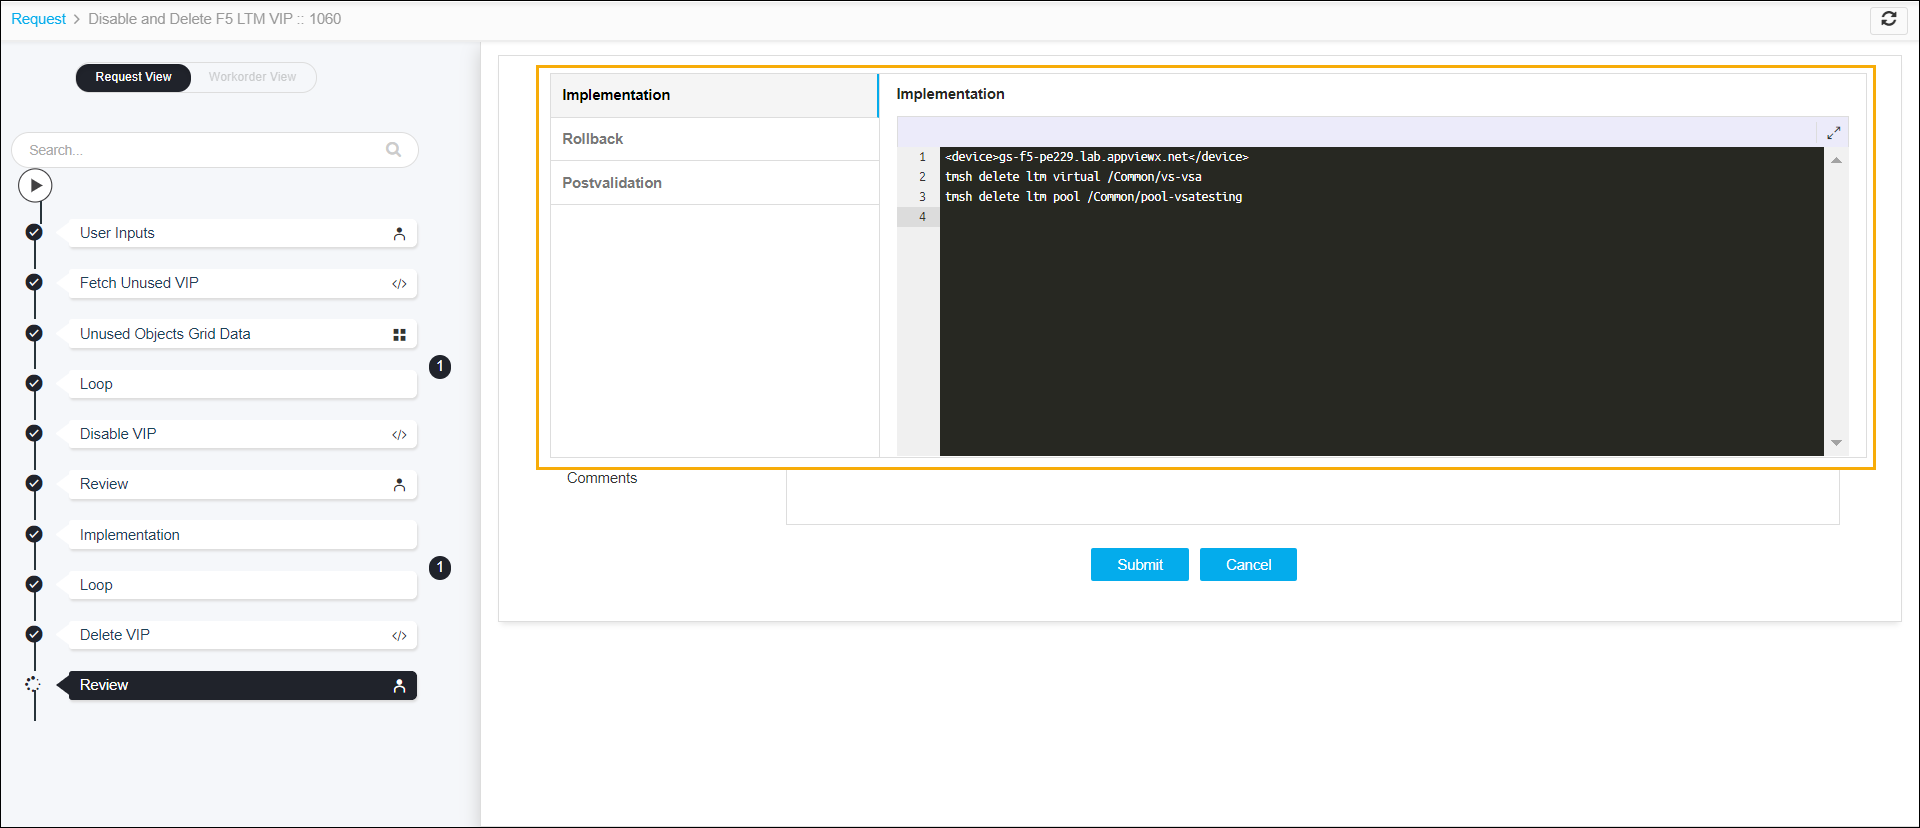
After the review, click Submit.
The implementation process starts and reaches the Review stage.
-
Review the data, and then click Submit to implement the changes.
The implementation starts.
-
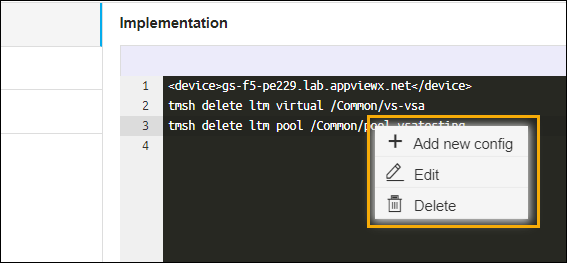
(Optional) If you need to change any data at this stage, you can update by clicking the
right mouse button.
 The workflow is created and the email is triggered to the configured email IDs.
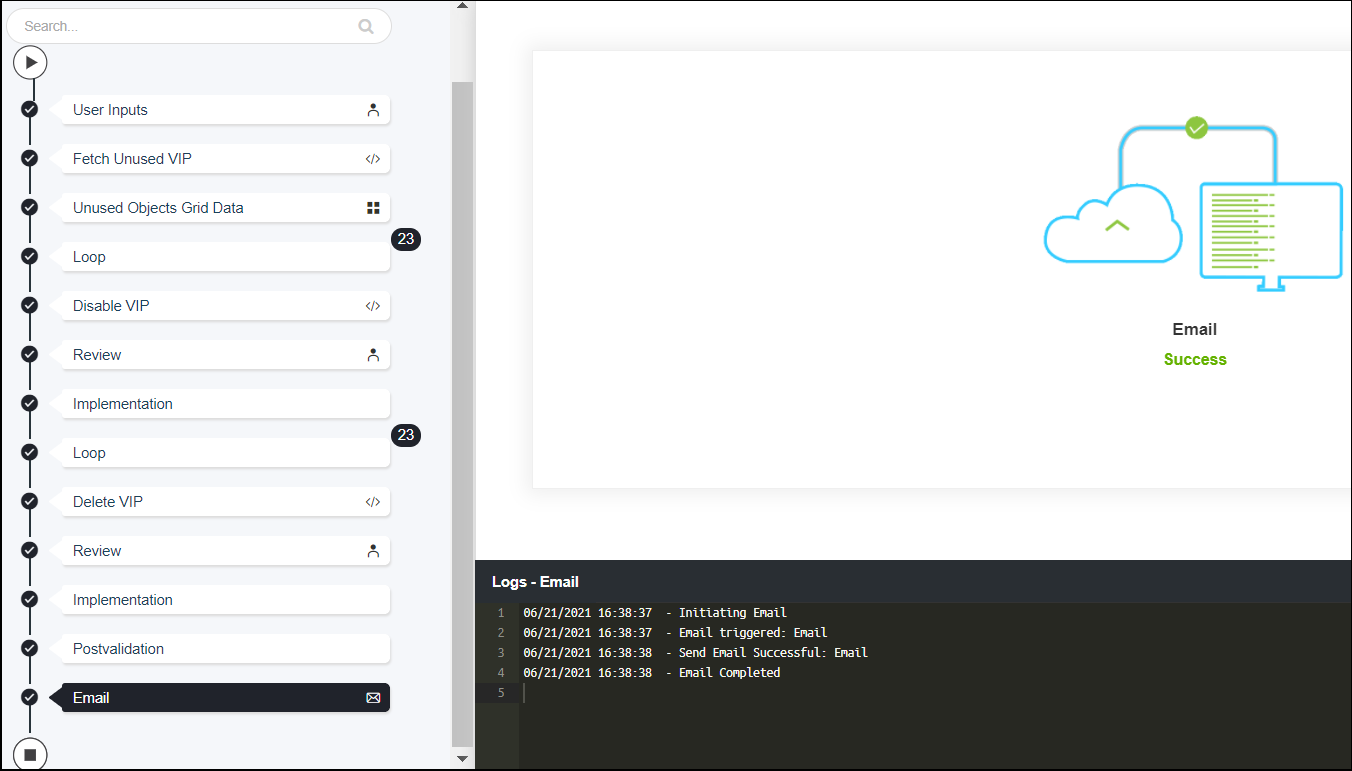 Note: The stages of the request are shown in the left-side of the screen. To view a particular stage of the request, click the respective stage.