Steps to Integrate OIDC
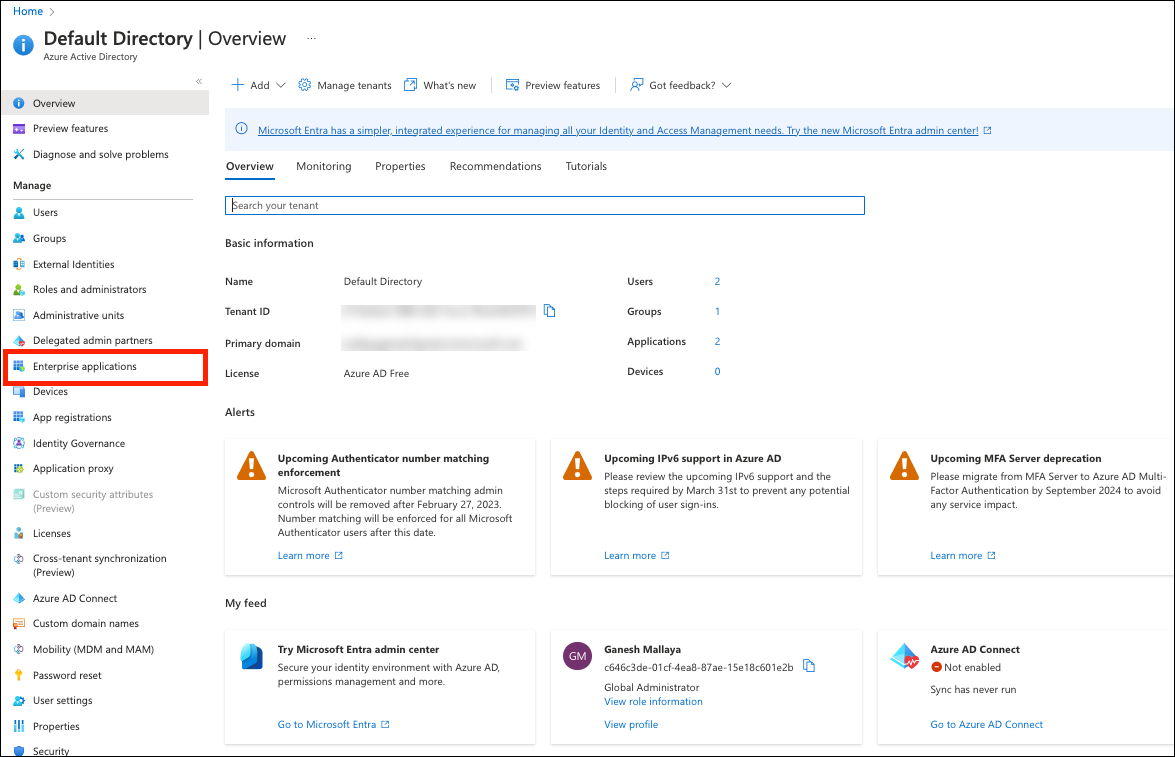
- From the Microsoft Azure Home > Default Directory Overview page, create an app under Enterprise Application within the Azure Active Directory (AAD).
-
Click Enterprise applications.
- Click New application.
- Click Create your own application.
-
In the Create your own application slider screen, perform the following:
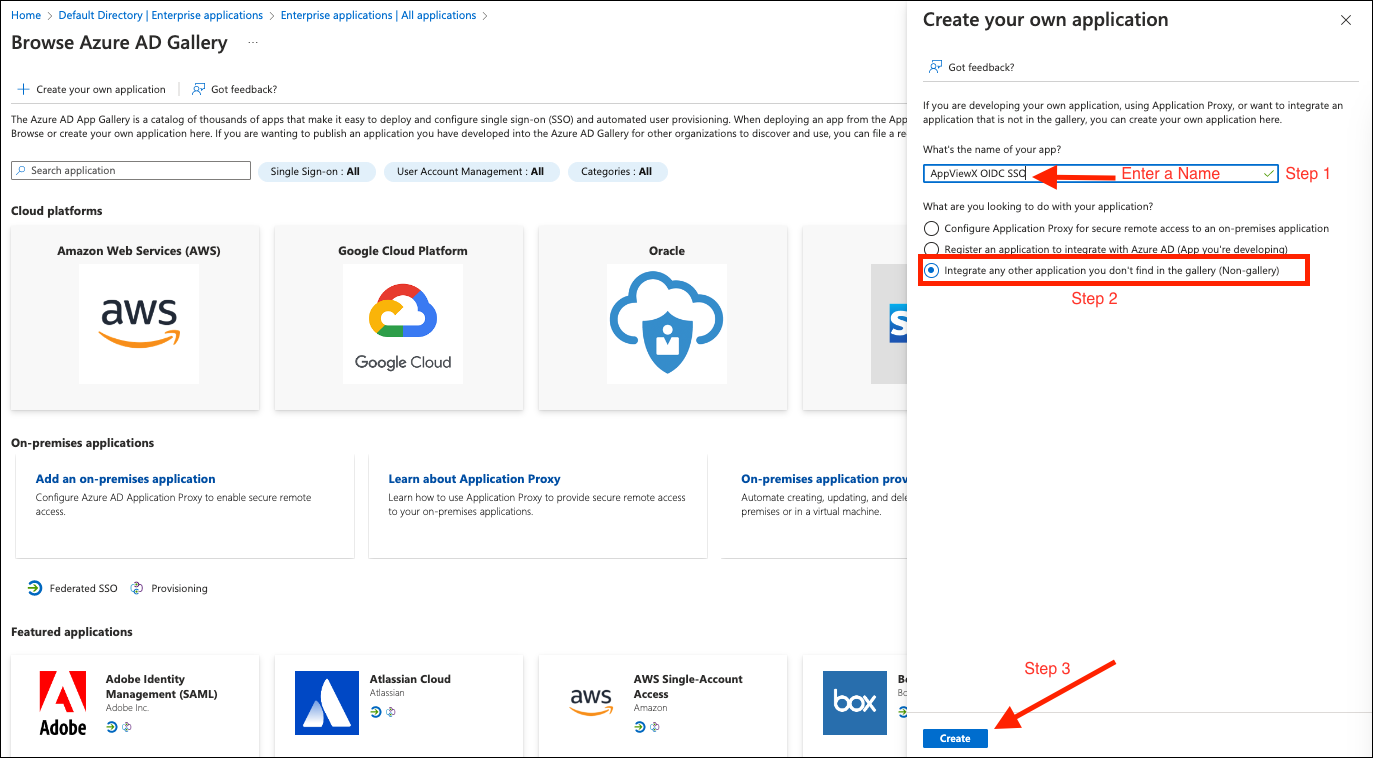
- Enter a name in the What’s the name of your app? field
- Select the radio button Integrate any other application you don’t find in the gallery
- Click Create
The application is created successfully and the details are displayed as shown below. Verify the details.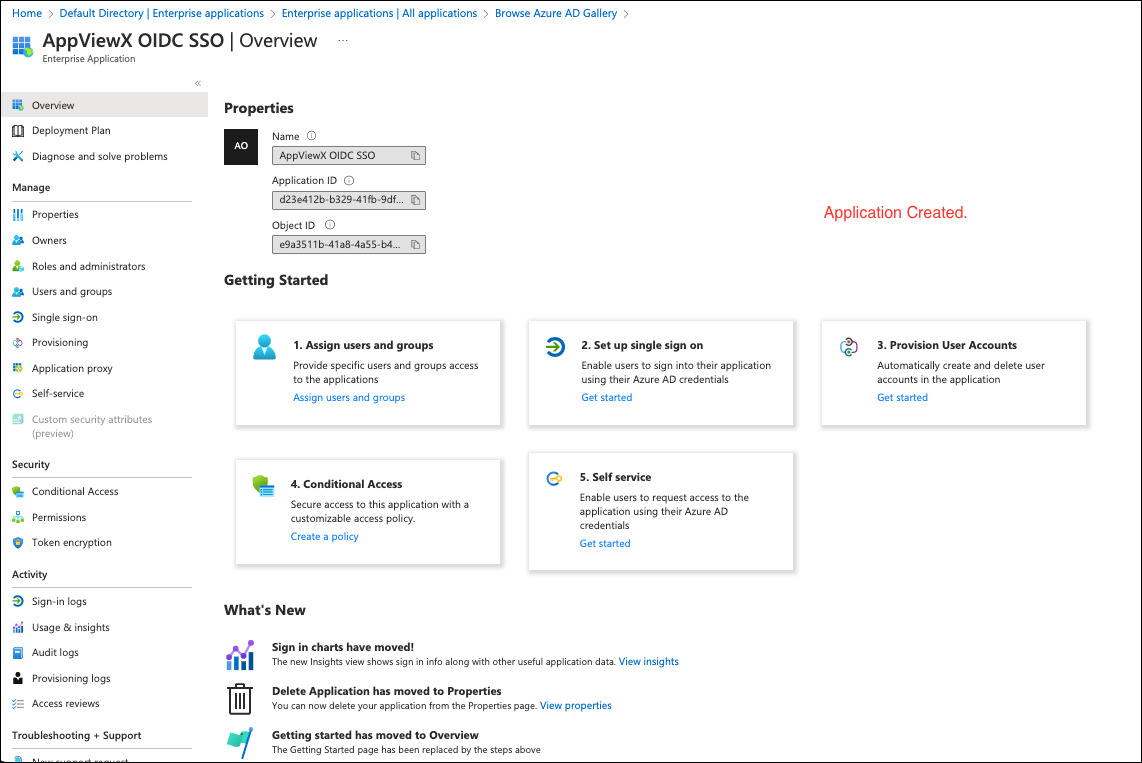
-
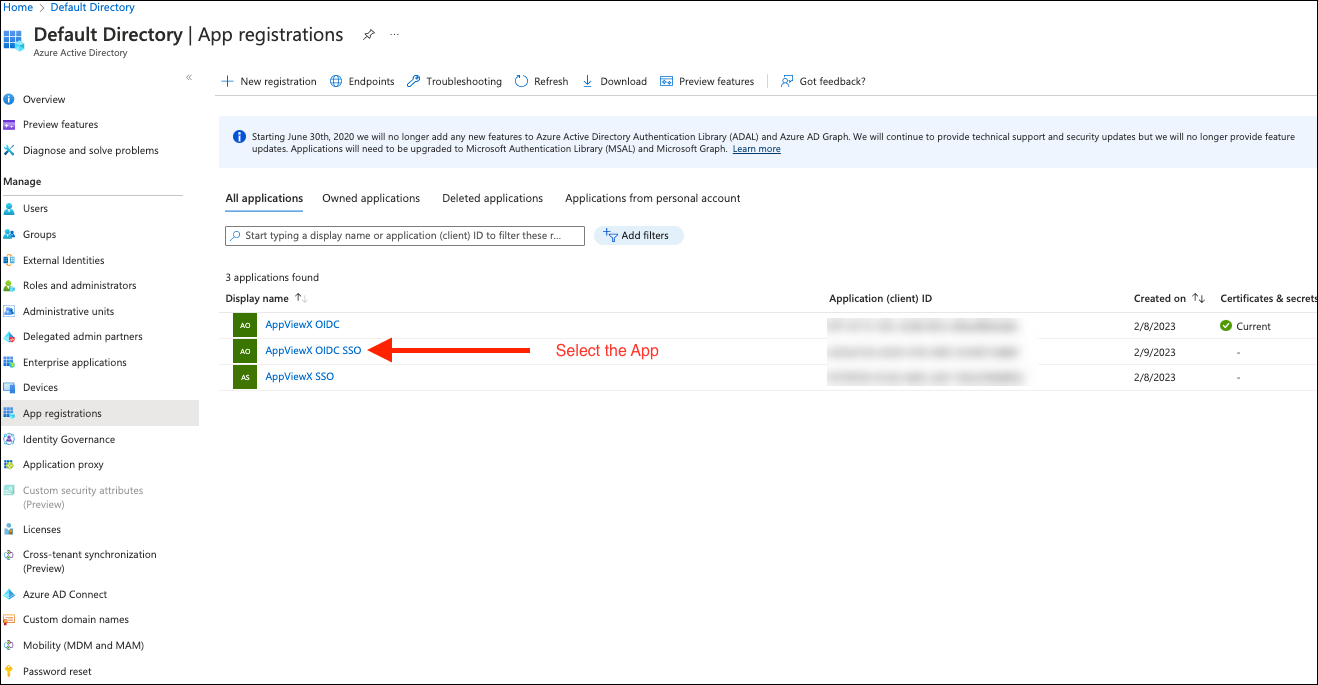
Navigate to Overview, and then click App
Registration.

-
Select the App created.
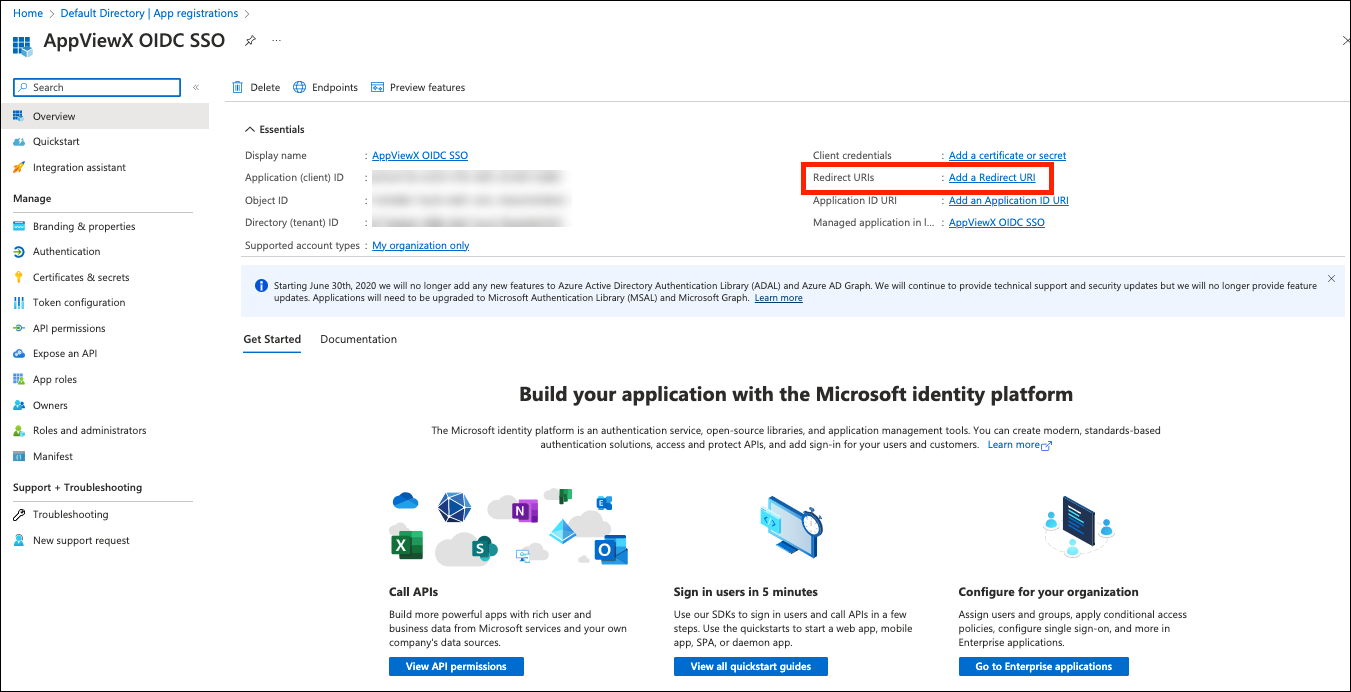
- Setup the Redirect URI for web-based application.
-
Click Redirect URI from the overview page of the App.
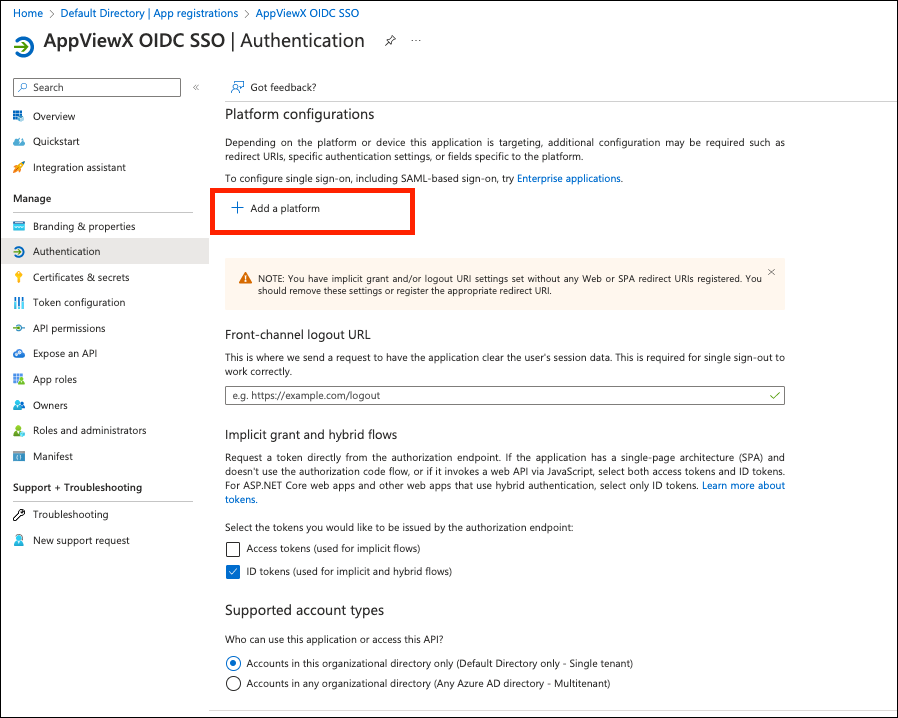
-
Click Add a Platform.
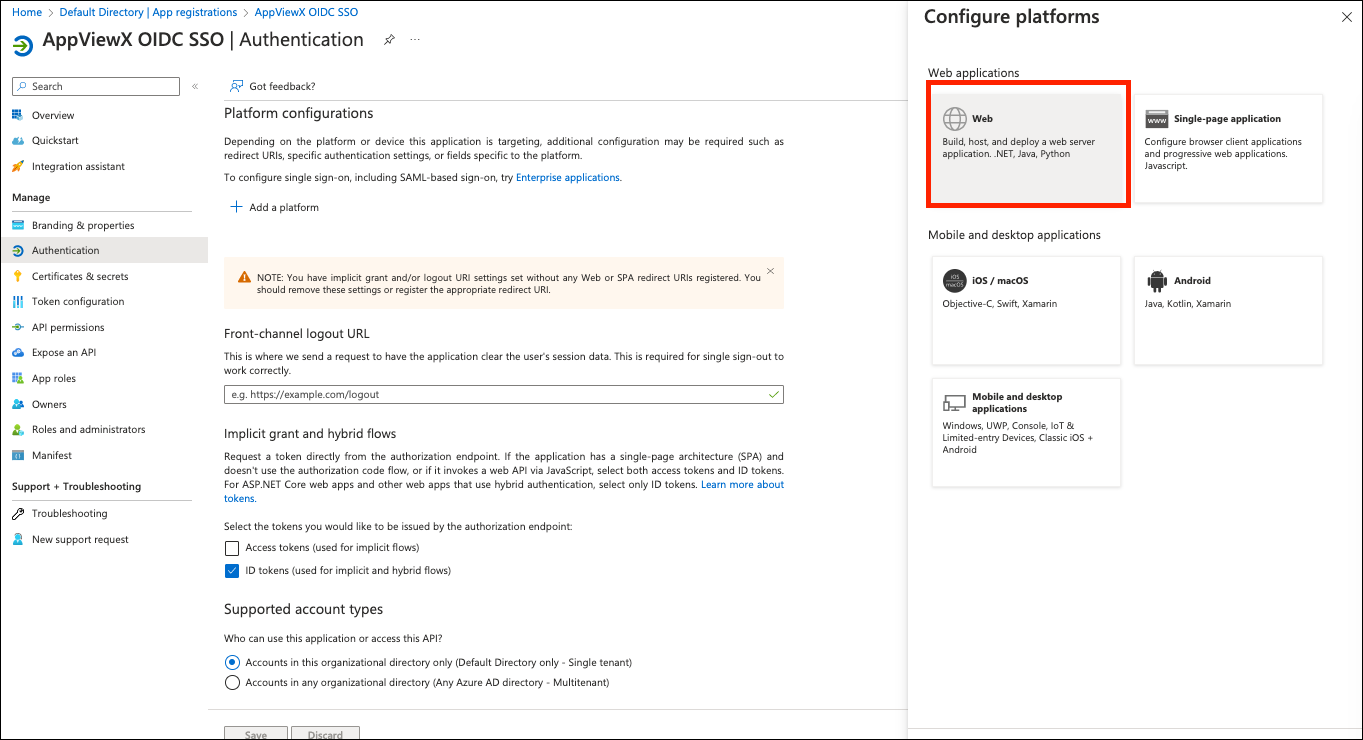
-
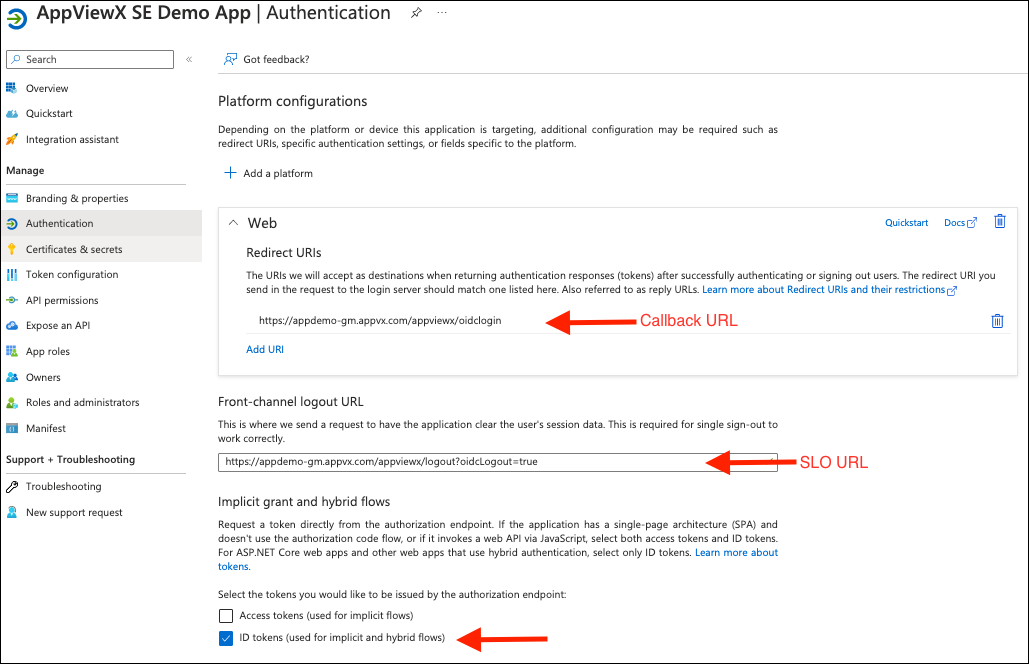
Select the Web platform and copy-paste the links from the AppViewX
GUI.
-
Copy paste the URL from AppViewX GUI as follows:
.png)
- Copy the Callback URL from the AppViewX GUI and paste it into the first field on the right.
- Copy the SLO URL from AppViewX GUI to the second field on the right.
- Select the check box ID Tokens.
-
Note: Applicable for implicit and hybrid flows.Click Configure.
-
Verify the details of the Redirect URL.
-
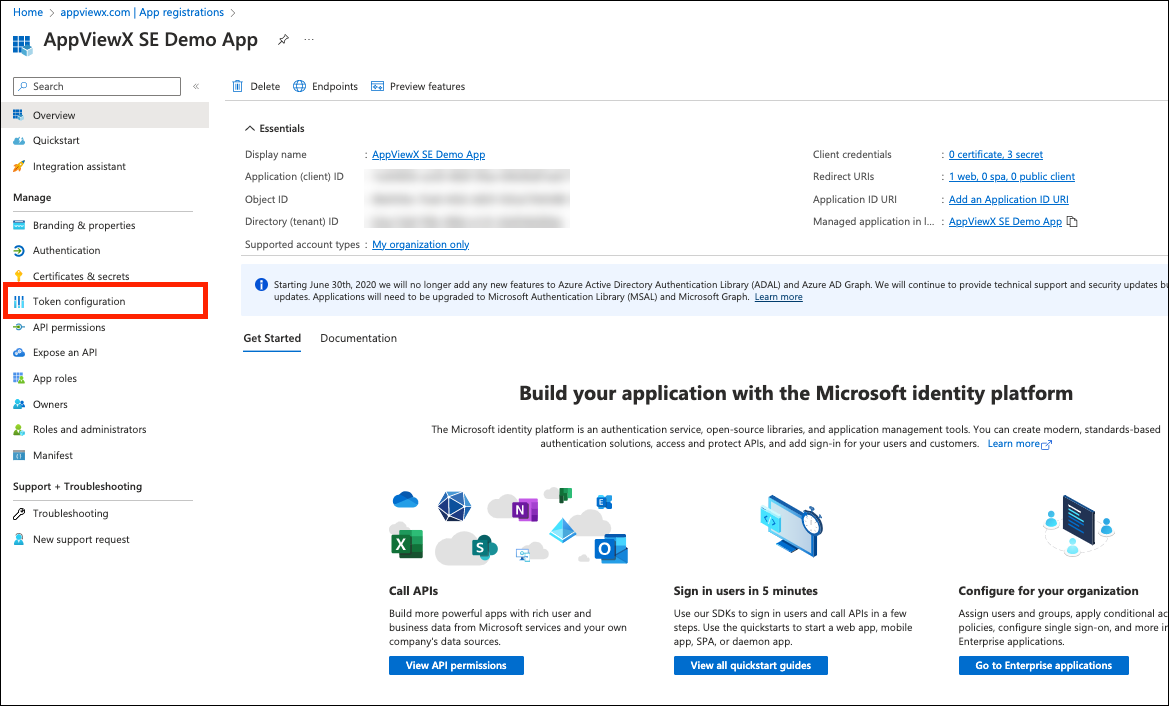
Click Token configuration.
-
In the Token configuration page, click Add optional claim.
.png) Perform the following on the right slider screen:
Perform the following on the right slider screen:.png)
- In the Token type, select the ID radio button.
- Select the specified claims from the available list.
- Click Add.
-
Click Add group claims and perform the following on the right slider
page.
.png)
- Select the Security groups checkbox.
- From the ID section select the radio button for AccountName.
- Copy paste the Claims Mapping from Columns Claim in AppViewX as below.
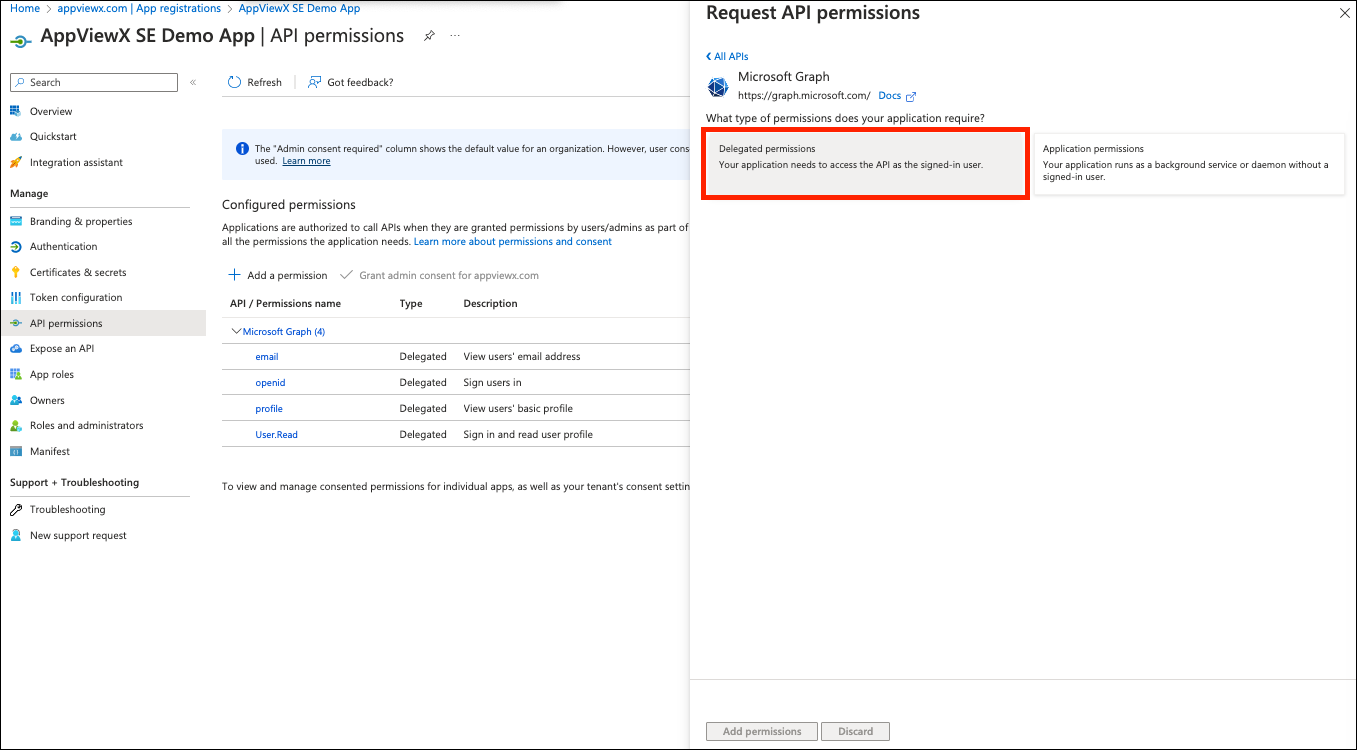
- To create API permissions for claim mapping, click API Permissions.
-
To configure the API Permissions from Microsoft Graph.
-
Select Delegated permission.
-
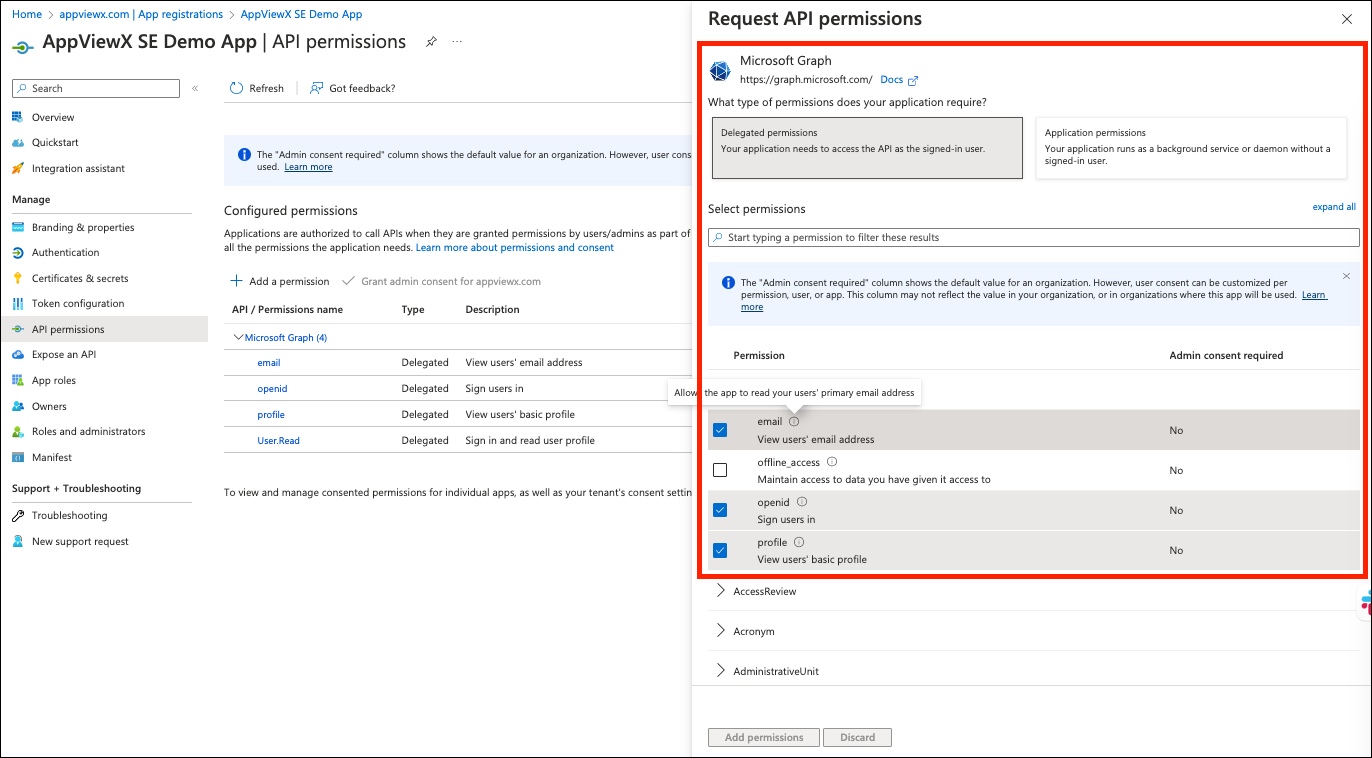
Click the following check-box on the Select Permissions section.
- openid
- profile.
-
Select Delegated permission.
-
To create client secret for the App, click Client credentials.
.png)
- Click New client secret, copy the secret and save it securely.
-
To copy the Endpoint Details from App Overview Page, click
Endpoints.
.png)
-
Copy the URL from OpenID Connect metadata document field. Discovery Endpoint (WellKnown URL).
.png)
-
-
Configure the Client ID, Secret Key, and OpenID Wellknown URL in AppViewX
GUI.
.png)
.png)
- Create the Security Group within Azure, adding it in AppViewX under Accounts > User groups.
-
Proceed with user authentication, ensuring alignment of AppViewX roles with the
designated user groups.
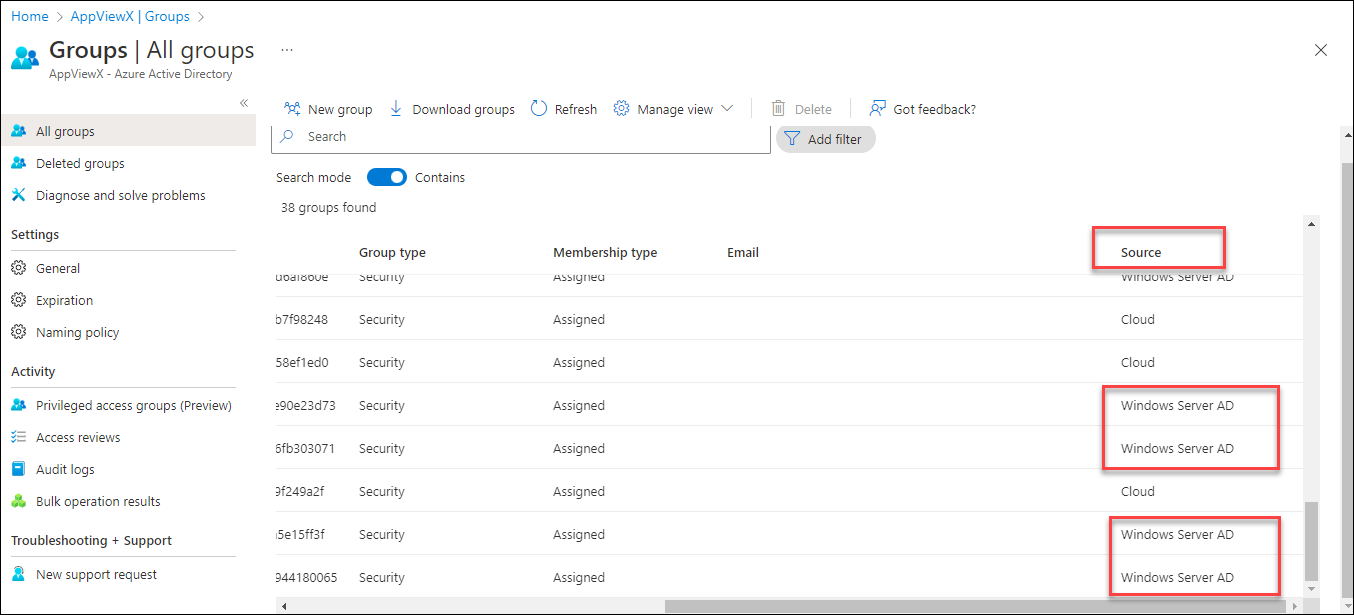
Note: Use the security groups with source as Windows Server AD.