Performing Actions on Reports
Pinning Reports
Note: Only reports that are enabled are visible on the
dashboard to which they are pinned.
To pin a report to dashboard:
-
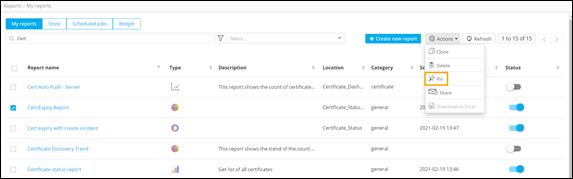
On the Reports :: My Reports
page, select the report to be pinned.
Note: Ensure that the selected report is enabled. You can enable a report by turning on the toggle under the Status column.
- From the command bar on the top right, click Actions.
-
From the list of available actions, select
Pin.
-
In the Pin report(s) to dashboard window that is
displayed, select if the report is to be pinned to a new or existing
dashboard.
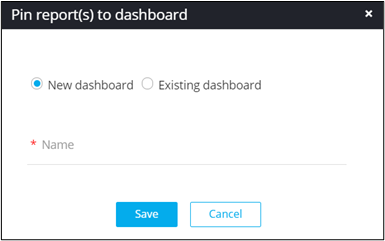
Pinning Reports to a New Dashboard
-
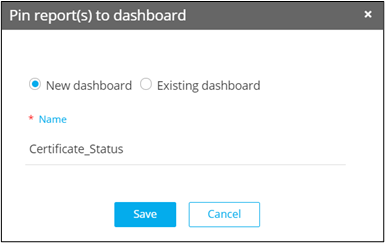
In the Pin report(s) to dashboard
window, enter a Name for the dashboard.
-
To pin the report to the new dashboard, click
Save.
The new dashboard is listed on the Dashboard Inventory page.
-
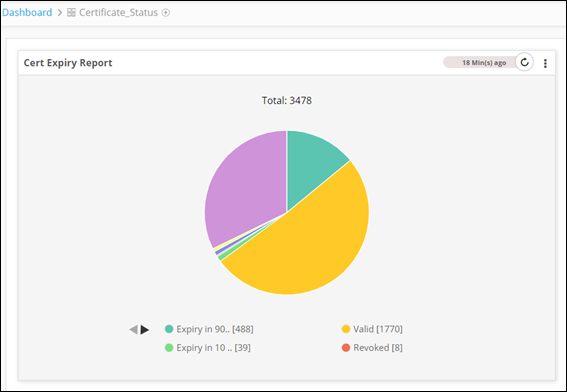
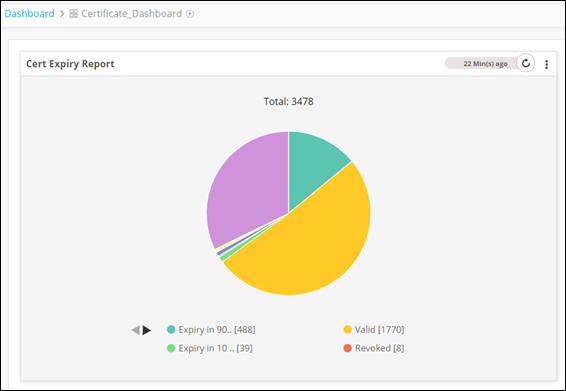
To view the pinned report, click on the dashboard.
The report is displayed on the dashboard.
Pinning Reports to an Existing dashboard
-
In the Pin report(s) to dashboard window, select
the dashboard from the options available in the dropdown.

-
To pin the report to the selected dashboard, click
Save.
The report is displayed on the selected dashboard.
Cloning Reports
To clone a report:
- From the Reports :: Store page, select the report to be cloned.
- From the command bar, click Actions.
-
From the list of available actions, select
Clone.

-
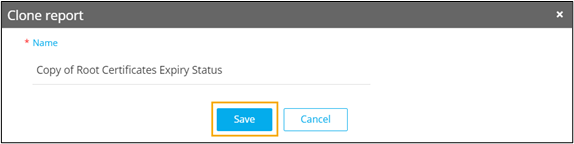
In the Clone report pop-up window, change the name
of the report (if required) and click Save.
 The cloned report is added to the Reports :: My reports page.
Sharing Reports
Note: For more
information on sharing reports, click here.
Deleting Reports
To delete a report:
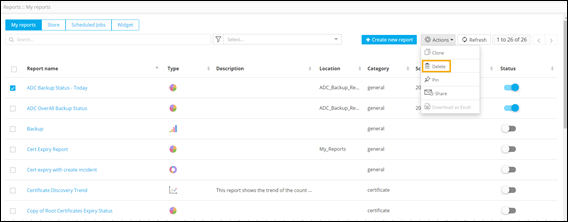
- On the Reports :: My Reports page, select the report to be deleted.
- From the command bar, click Actions.
-
From the list of available actions, select
Delete.
- To delete the selected report, click Yes in the Confirm delete pop-up window.