IDnomic CA
Prerequisites
- For the CA configuration:
- CA Base URL
- Partition name
- Client authentication certificate
- (Optional) SOAP signing authentication certificate
To retrieve the above prerequisite values, please contact the IDnomic team. IDnomic will share these details via email or a shared file location.
- For the RA configuration:
- RA base URL
- RA client authentication certificate
- Partition name
To retrieve the above prerequisite values, please contact the IDnomic team. IDnomic will share these details via email or a shared file location.
- Internet access or a proxy configuration for the AppViewX server. Refer the Managing Proxy Settings documentation in the Platform guides.
Configuring IDnomic CA
-
Go to
 (Menu) > CERT+ >
ADMINISTRATION > Certificate
Authority.
(Menu) > CERT+ >
ADMINISTRATION > Certificate
Authority.
-
From the displayed CA, Select IDnomic.
The IDnomic home page is displayed.
-
Click the Configure Now or +Add icon
from the middle or top-right of the page respectively.
The IDnomic configuration page is displayed.
-
Update the following details in the General Information
section as described in the table.
Table 1. General Information - Field Description table Fields Description *CA Account name A unique name to identify the CA setting No special characters other than ‘.’, ‘-’,’_’ are allowed. Names should not start with special characters.
*Purpose/Usage Certificate Type for which CLM actions will be enabled. Example: Server, Client.
Proxy Required Enable this field if the CA communication needs to happen via Proxy. The proxy details configured in general settings will be used for communication. Data Center (AppViewX's CA agent) Select the data center through which the CA communication needs to happen. *: Mandatory fields -
Enter/Select the CA Configuration details.
The IDnomic CA supports two configuration types:
- CA (Certificate Authority)
In this configuration type, certificate discovery and CLM actions will be performed using certificate profiles configured in the Certificate Authority.
- RA (Registration Authority)
In this configuration type, certificate discovery and CLM actions will be performed using RA workflows in the Registration Authority.
Table 2. CA Configuration - Field Description table Fields Description Configuration Type From the given options, select if AppViewX will connect with the IDnomic CA (Certificate Authority) or RA (Registration Authority). Important: Once selected, the Configuration Type for a CA setting cannot be changed.For field descriptions for configuring IDnomic CA in AppViewX with the CA setting, click here.
For field descriptions for configuring IDnomic CA in AppViewX with the RA setting, click here.
*: Mandatory fields Table 3. Configuration Type = CA - Field Description table Fields Description *CA Base URL Enter the base URL of the IDnomic CA API instance. For example: https://ca-api-< >.axiadids.net/idca-server/services/soap/ca/2
*Partition The name of the partition assigned to the organization’s application. It is the workspace dedicated to the organization. The partitioning system allows implementing multi-tenancy within the IDnomic CA. Partitions are defined in a tree structure, each node being a partitioning in which resources (e.g. Configurations, Certificate, etc) can be attached. According to the customer's needs we can isolate or share common resources.
*Client Certificate Upload the certificate for client authentication in the .p12 or .pfx format only. SOAP Signing Required If SOAP requests for certificate enrollment and revocation have to be digitally signed using the client certificate, turn on this setting. It is recommended to have this setting configured in accordance to the IDnomic CA portal.
Use same certificate for signing SOAP requests To use the same certificate uploaded in the Client Certificate field for digitally signing the SOAP requests, select this checkbox. *SOAP Signing Certificate This field is displayed only when the Use same certificates for signing SOAP requests option is disabled, which means a separate certificate (from the client certificate) has to be used for digitally signing the SOAP requests. Upload the certificate for soap signing authentication in the .p12 or .pfx format only.
*: Mandatory fields Table 4. Configuration Type = RA - Field Description table Fields Description *RA Base URL Enter the base URL of the IDnomic RA API instance. For example: https://ra-api-< >.axiadids.net/idra-soap/soap/x509/ra/3.0
*Partition The name of the partition assigned to the organization’s application. It is the workspace dedicated to the organization. The partitioning system allows implementing multi-tenancy within the IDnomic RA. Partitions are defined in a tree structure, each node being a partitioning in which resources (e.g. Configurations, Certificate, etc) can be attached. According to the customer's needs we can isolate or share common resources.
*RA Client Certificate Upload the certificate for RA client authentication in the .p12 or .pfx format only. *: Mandatory fields - CA (Certificate Authority)
-
Depending on the Configuration Type
selected, click Fetch Certificate Profiles/Fetch RA
Workflows.
If Configuration Type = CA, the complete list of certificate profiles is displayed.
If Configuration Type = RA, the complete list of RA workflows is displayed.
-
Click Save.
The confirmation message Certificate profiles fetched successfully/RA workflows fetched successfully (depending on the selected configuration type) is displayed and the CA is created successfully.In the CA instance inventory, the connection status is initially set to In Progress. Twice after this, this status is automatically checked and refreshed every 5 seconds. Once the CA instance is successfully configured, the status is updated to Success. Status checks after the first two times have to be done via a manual refresh.Note: In case the connection fails, you can manually verify the connection status by clicking the Check button in the Connection Status field.
Manually Validating the IDnomic CA Connection Status
-
Go to (Menu) > CERT+ > ADMINISTRATION > Certificate
Authority.
- From the displayed CA, Select IDnomic.
-
In the Status column of the grid with the listed accounts, click
Check to validate the CA setting that is created.
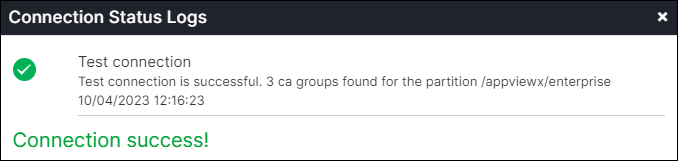
The CA communication will be validated and the Connection Status will be shown as either Success or Failure.
Figure 1. RA Validation 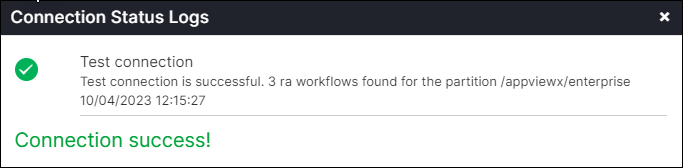
Figure 2. CA Validation