Managing Proxy Settings
| New Menu | Old Menu |
|---|---|
| In the Platform module, from the navigation pane on
the left, under SYSTEM ADMINISTRATION, select
Proxy. The Settings :: Proxy page is displayed. |
|
| For more information on how to switch between menus, click here. | |
-
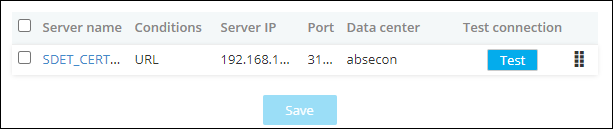
On the Settings :: Proxy page, enter the following details:
Table 1. Field descriptions for Proxy Settings Field Description *Proxy Settings Select the Proxy settings from the following options: - Cloud Connector - When choosing Cloud Connector as your proxy setting, the settings will be shown on the Cloud Connector addition page. To distinguish between the Cloud Connector and AppViewX, not all proxy settings are applicable for the Cloud Connector connectivity.
- AppViewX - If you choose AppViewX as your proxy setting, the settings will not be visible within the CC addition page.
*Server name Name of the proxy server. *Server IP IP address of the proxy server. *Port Port number of proxy server. Advanced To enable advanced settings, select this check box. Data center From the drop-down menu, select a data center. This field is displayed only when the Advanced check box is selected.
URL From the drop-down menu, select the URL. This field is displayed only when the Advanced check box is selected.
Authentication To enable authentication, select this check box. *Username Enter the username. This field is displayed only when the Authentication check box is selected.
*Password Enter the password. This field is displayed only when the Authentication check box is selected.
* : Mandatory fields -
To save the proxy settings configured above, click Add.
The settings are saved and displayed in the table.
- To reconfigure the proxy settings, click Reset.