Role
Each role assigns a specific set of permissions relating to the modules that can be accessed and the tasks that can be performed in each AppViewX module. The roles can be assigned only to a User group. The user groups that are assigned with a role will automatically inherit all the associated permissions. User groups can be assigned more than one role.
AppViewX enables the following role-related features:
- Out of the Box (OOB) roles are available for ADC, Certificates, Security, and Automation modules.
- OOB roles can be cloned, enabled, and disabled. OOB roles can’t be updated/deleted.
- Administrators can also create custom roles. Custom roles can be updated, deleted, enabled and disabled.
- Users can either use OOB roles (if suits their needs) or custom roles to map to user groups.
Creating a Custom Role
-
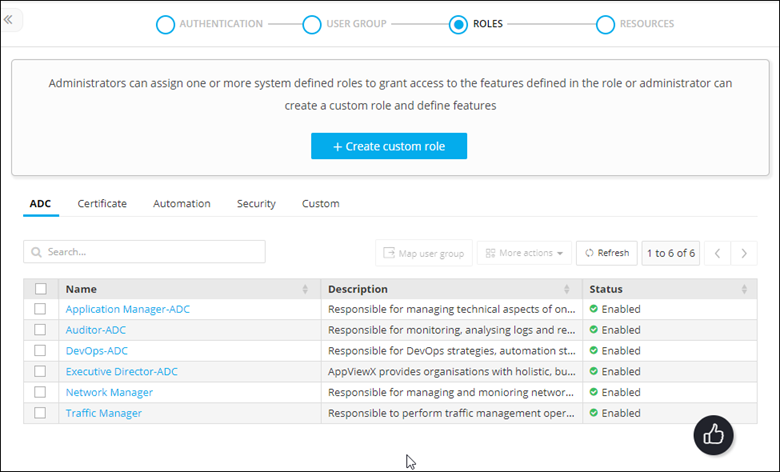
On the RBAC Journey :: Authentication page, navigate to the
ROLES stage as part of the wizard flow to add roles into
AppViewX.
-
Click Create custom role.
The Create custom role action pane is displayed.
-
Under the Information tab, enter the following details:
Table 1. Field descriptions for Information Field Description *Name Role name. Description Brief description of what users assigned to the role can do and/or what features or functionalities are associated with the role. *: Mandatory fields - Click Save.
- In the Authorized functions section, select the check box against the functionalities that you want to associate with the role.
-
To assign functions at a granular level, click the
 icon for the functions check box and then
select individual sub-options within the functions.
icon for the functions check box and then
select individual sub-options within the functions.
- Click Save.
Cloning a Role
- On the RBAC Journey :: Authentication page, navigate to the ROLES stage as part of the wizard flow to add roles into AppViewX.
- For the role, you want to clone, select the check box against that role.
-
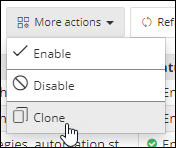
From the More actions drop-down menu, select Clone.
- In the Clone action pane, modify the details in the Information and Authorized functions sections as required.
- Click Save.
Modifying a Role
- On the RBAC Journey :: Authentication page, navigate to the ROLES stage as part of the wizard flow to add roles into AppViewX.
- Click the role name you want to modify.
- The Edit role action pane is displayed for the selected role.
- Modify the details in the Information and Authorized functions sections as required.
-
Click Save.
Note: Out of the box role functions can not be edited. Only custom role functions can be edited.
Enabling a Role
- On the RBAC Journey :: Authentication page, navigate to the ROLES stage as part of the wizard flow to add roles into AppViewX.
- To enable a role, select the check box against that role.
-
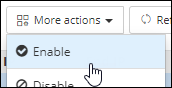
From the More actions dropdown menu, select Enable.
- In the Enable role(s) dialog box, click Yes.
Disabling a Role
Note:
To disable a role: - You cannot disable roles that have active users associated with them.
- The users associated with a disabled role through a user group will not be allowed to log in to AppViewX.
- On the RBAC Journey :: Authentication page, navigate to the ROLES stage as part of the wizard flow to add roles into AppViewX.
- To disable a role, select the check box against that role.
-
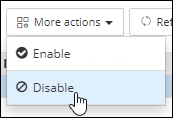
From the More actions dropdown menu, select Disable.
- In the Disable role(s) dialog box, click Yes.
Mapping Role to User Groups
- On the RBAC Journey :: Authentication page, navigate to the ROLES stage as part of the wizard flow to add roles into AppViewX.
- For the role, you want to map to user groups, select the check box against that role.
-
Click
 .
.
- In the Mapping user group action pane, select the user groups the role will be mapped to.
-
Click Save.
The saved list of user groups will be displayed as a hyperlink in the rule inventory for each group.