Managing User Groups
Note: You can
associate roles and resources only with user groups.
Accessing the User group Page
| New Menu | Old Menu |
|---|---|
| In the Platform module, from the navigation pane on
the left, under IDENTITY, select User group. The User Grouppage is displayed, with all the user groups listed with their Name, Description, and other related information. |
From the main navigation menu, select Account >
User group. The User Grouppage is displayed, with all the user groups listed with their Name, Description, and other related information. |
| For more information on how to switch between menus, click here. | |
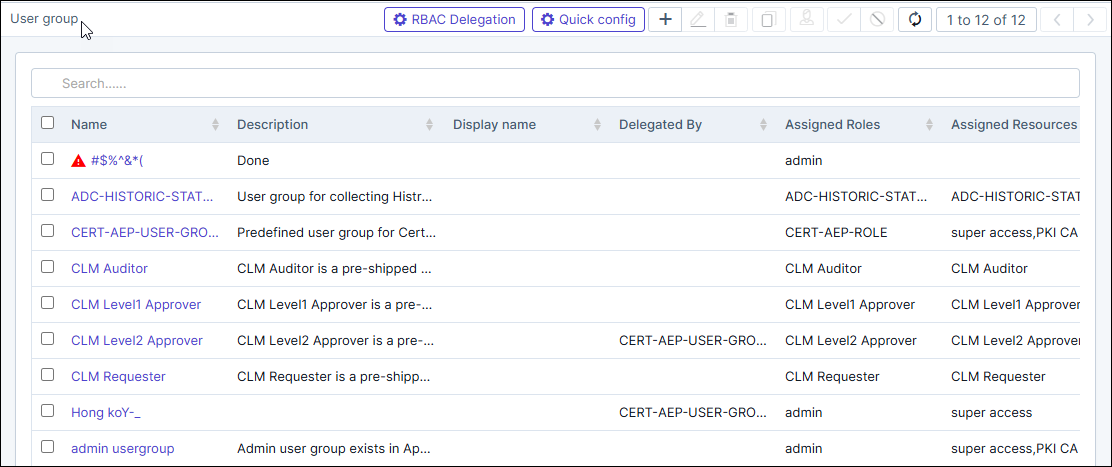
Note: In the User Group Inventory:
- Delegated admins can only view or manage user groups they created or that were assigned under them. (the assigned groups can be shown in profile section if not inventory)
- Peer or upper-level user groups are not visible or editable.
Creating a User Group
-
On the User Group page, from the top right corner of the screen,
click
 (Add) icon.
-
The Add page is displayed with the
Information tab open by default.
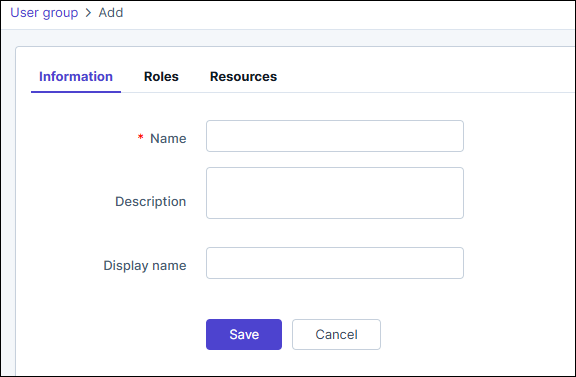
-
Enter the following details:
Table 1. Field descriptions for Information Field Description *Name User group name. Description Brief description of the group (which makes it easy for the administrators to decide if a user should be assigned to this group or not). Display name Enter a display name for the user group. The display name helps to identify multiple groups under the same name. *: Mandatory fields - Click Save.
-
To assign roles to this user group, in the Roles
tab, select the check boxes against the required roles.
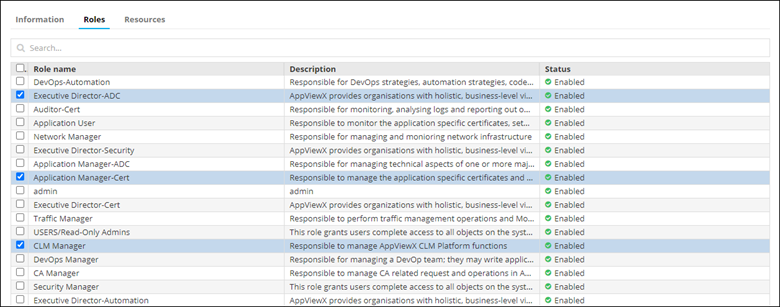 Note: A user group can be assigned to more than one role and resource in the system. A user assigned to a user group with more than one role or resource has all of the permissions of all of the roles and resources to which he or she is assigned. If one resource has only Read access to a component and another resource has Read/Write access to the same component, the higher-level access permissions (Read/Write) take precedence and the user has Read/Write access.Note: Admins who associate User Groups to Roles and Resources may skip/forget to associate User Groups to a user. To overcome this, an alert icon has been added to the User Group inventory to notify if the group is not associated with a role, resource, or both.
Cloning a User Group
- On the User Group page, select the user group you want to clone.
-
From the top right corner of the screen, click
 (Clone) icon.
-
The Cloning page is displayed, with the
Information tab open by default. Update the
required details.
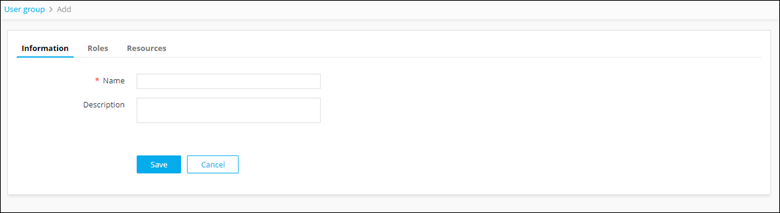
Table 2. Field descriptions for Information Field Description *Name User group name. Description Brief description of the group (which makes it easy for the administrators to decide if a user should be assigned to this group or not). *: Mandatory fields - Click Save.
Modifying a User Group
- On the User Group page, select the user group you want to modify.
-
From the top right corner of the screen, click
 (Modify) icon.
-
The Modify page is displayed, with the
Information tab open by default. Update the
required details.

Table 3. Field descriptions for Information Field Description *Name User group name. Description Brief description of the group (which makes it easy for the administrators to decide if a user should be assigned to this group or not). *: Mandatory fields - Click Save.
- To modify the role assignment for this user group, in the Roles tab, select/clear the check boxes against the required roles and resources.
Enabling a User Group
- On the User Group page, select the user group you want to enable.
-
From the top right corner of the screen, click
 (Enable) icon.
- In the Confirmation dialog box, click Yes.
Disabling a User Group
- On the User Group page, select the user group you want to disable.
-
From the top right corner of the screen, click
 (Disable) icon.
- In the Confirmation dialog box, click Yes.
Deleting a User Group
- On the User Group page, select the user group you want to delete.
-
From the top right corner of the screen, click
 (Delete) icon.
- In the Confirmation dialog box, click Yes.