Creating a New Tenant
-
Go to
 (Menu) > MSP
Portal > Management >
Tenants.
The Tenant Management inventory is displayed.
(Menu) > MSP
Portal > Management >
Tenants.
The Tenant Management inventory is displayed. -
From the Tenant Management inventory, click Add
Tenant.
The Add Tenant page is displayed.
-
Enter/Select the General tenant details.
Table 1. Field descriptions for the General tenant details Field Description *Company Name Enter the name of the tenant’s company. For example: newco. *Email Enter a valid email address of the account owner. For example: [email protected] *Customer Type From the dropdown list, select Customer. *: Mandatory fields - In the Tenant Details section, in the Domain field (mandatory), enter a valid domain name.
-
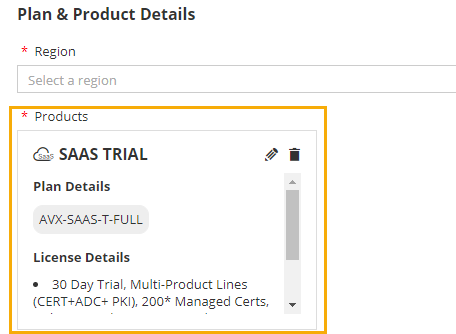
Select the Plan & Product Details for this tenant.
Field Description *Region Select the region in which the tenant’s SaaS account will be set up. *Products - Click Add Product.
The Modify Product window is displayed.
- From the Product Type dropdown list, select the product for which the tenant is evaluating the trial version/has purchased the license.
- If theProduct Type = CERT+, select the
License Subscription Model for CERT+:
- Instance based: Certificate count is derived from the number of connectors associated with a certificate.
- Certificate based: Certificate count for the license is based on the number of certificates in the inventory.
- From the Plan Name dropdown list,
select the plan(s) chosen by the tenant. This list
is populated based on the selected product type.
License Details of the selected plan(s) are displayed in the Modify Product window. This banner displays all the details of the license plan selected, such as the number of certificates managed under each plan, issuing CAs, trial duration, and so on.
- In the End Date field, click
 to specify the expiration
date according to the selected product and plan.
Note: This field is not applicable for a trial tenant.
to specify the expiration
date according to the selected product and plan.
Note: This field is not applicable for a trial tenant. - Click Add.
The product details for the selected product(s) are displayed as shown in the image below:
-
To modify the plan details, click
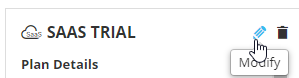 .
. -
To delete the plan details, click
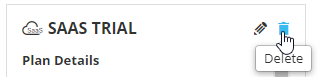 .
. - If the tenant is using a licensed version of multiple product types and wants to have a common license end date for all product types and plans selected, enable the Enable Common License End Date toggle key.
- In the End Date field, click to select a common
license end date for all product types. Refer to the
tenant’s purchase order for the latest license end
date for this tenant. Note: If you need to modify this end date after a tenant has been created, you will be required to click Activate License/Update License from the Action column for the required tenant and update the Plan date.
- Click Add Product.
-
Select the Cluster & Other Details.
Table 2. Field descriptions for the Cluster & Other Details Field Description *Tag Name Select the applicable tag from the dropdown menu. Note: Tags are loaded on the basis of the region and plan associated.
*: Mandatory fields -
Click Add.
The tenant is added to the inventory.
The tenant’s URL, username, and temporary password are automatically emailed on the email address specified in the General tenant details.
The MSP header, logo, and favicon, as configured in the MSP Portal, is also applied to the end tenant’s environment.