Onboarding AWS Route 53 DNS
Prerequisites
To enable DNS management
through Amazon Route 53 in AppViewX, ensure that the required IAM permissions
are configured. These permissions allow AppViewX to:
- Discover hosted zones
- Retrieve DNS records
- Create, update, and delete DNS records.
Recommended Policy (Full Access Across Hosted Zones)
{
  "Version": "2012-10-17",
  "Statement": [
    {
      "Sid": "AppViewXRoute53Access",
      "Effect": "Allow",
      "Action": [
        "route53:ListHostedZones",
        "route53:ChangeResourceRecordSets",
        "route53:ListResourceRecordSets"
      ],
      "Resource": "*"
    }
  ]
}
Note: During DNS automation, AppViewX
retrieves the hosted zones list and validates the existence of zones as a
prerequisite before creating DNS records.
Recommended Approach:
- AppViewX requires ListHostedZones to discover DNS zones.
- AWS mandates "Resource": "*" for the ListHostedZones API.
- Simplifies integration and avoids operational issues.
Restricted Policy (Scoped to Specific Hosted Zone)
{
  "Version": "2012-10-17",
  "Statement": [
    {
      "Sid": "ScopedDNSChanges",
      "Effect": "Allow",
      "Action": [
        "route53:ChangeResourceRecordSets",
        "route53:ListResourceRecordSets"
      ],
      "Resource": "arn:aws:route53:::hostedzone/Z0365076DBLEVGQ225VQ"
    },
    {
      "Sid": "ListZonesRequiredForIntegration",
      "Effect": "Allow",
      "Action": "route53:ListHostedZones",
      "Resource": "*"
    }
  ]
}- Even in restricted mode, ListHostedZones must have "Resource": "*" due to AWS limitations.
- Without this permission, AppViewX will not be able to:
- Discover hosted zones
- Complete integration setup
- DNS record operations will only be allowed for the specified hosted zone.
Summary
| Capability | Required Permission |
|---|---|
| Discover hosted zones | route53:ListHostedZones (Resource: *) |
| View DNS records | route53:ListResourceRecordSets |
| Create/Update/Delete DNS records | route53:ChangeResourceRecordSets |
Recommendation
"Resource": "*").Configuring Route 53
-
Go to
 (.
The Select vendor page is displayed.
(.
The Select vendor page is displayed.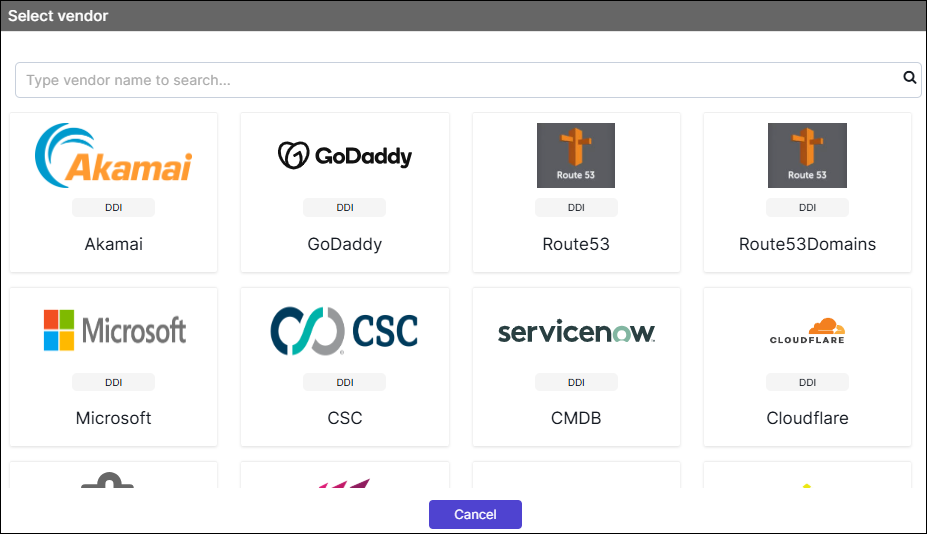
- On the Select Vendor page, click Route 53.
-
On the Vendor Configuration page, under the
General section, enter or select the required
field information.
The following table describes the various fields in this section:
Field Description *Name Enter a unique name to identify the vendor account which is being configured. Description Enter a description for the purpose of configuring this vendor, if required. Data center Select a data center from the options available in the dropdown list. *: Mandatory fields -
On the Vendor Configuration page, under the Credentials
section, enter or select the required field information.
The following table describes the various fields in this section:
Field Description Auth Type Displays the AWS signature method of authentication selected by default. *Access Key Enter the Access Key provided by route 53. *AWS Region Enter the region which is receiving the request. Session Token Note: Session Token is not applicable for DCV configurations.Enter the session token which is only required when using temporary security credentials.*URL Enter API URL for the vendor with the HTTPS/HTTP protocol. Note: The API URL is same as the Hostname URL.Example: https://route53.amazonaws.com/*Secret Key Enter the Secret Key provided by route 53. *Service Name This field is filled by default. The service which is receiving a request. *: Mandatory fields - Enable Config sync for parsing the vendor
- On the Vendor Configuration page, under the Configurations section, turn Off the Enable Advance Config toggle.
-
Click Finish.
A "Vendor configuration saved successfully" confirmation message is displayed.
Validating the Vendor Configuration
- On the Integration Hub page, locate the configured vendor tile.
- Confirm that a green check mark (✔) appears on the tile this indicates the vendor is active and reachable.
-
Click the View status icon on the tile to open the Vendor Status
Log: (Vendor Name) dialog.
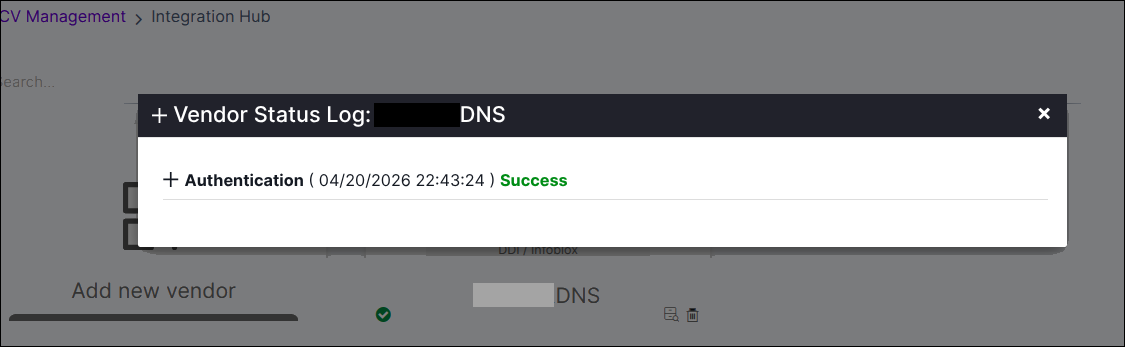
- Verify that the Authentication entry displays a Success status with a recent timestamp.