NginxPlus
Before You Begin
Prerequisites
- Version Supported: R11, 18, 19, 20, 21, 22, 23, 24, 25,26, 27, 28, 29, 30, 31
- IP Address/FQDN: IP address
- User Privilege: Access to Nginx installed configuration location and access to check syntax of niginx.conf and restart nginx service to apply the changes
- Enable Password: Not applicable
- License Check: Yes
- Services and Ports for AppViewX Communication: 22 and any custom port for stats
- Internet Access/Proxy if Required: Not applicable
- Location from which Certificates are discovered if managed:
/etc/nginx/conf.d/ or any custom location
| Browsers | Version |
|---|---|
| Internet Explorer | v11.0.9600.18817 or later |
| Firefox | v74.0.1 (64-bit) or later |
| Google Chrome | 117.0.5938.134 (Official Build) (64-bit) or later |
- ADC > Inventory > Add / Modify
- ADC > Device group > Add / Modify
- Old menu: menu > Accounts > Role
- New menu: menu > Platform > IDENTITY > Role
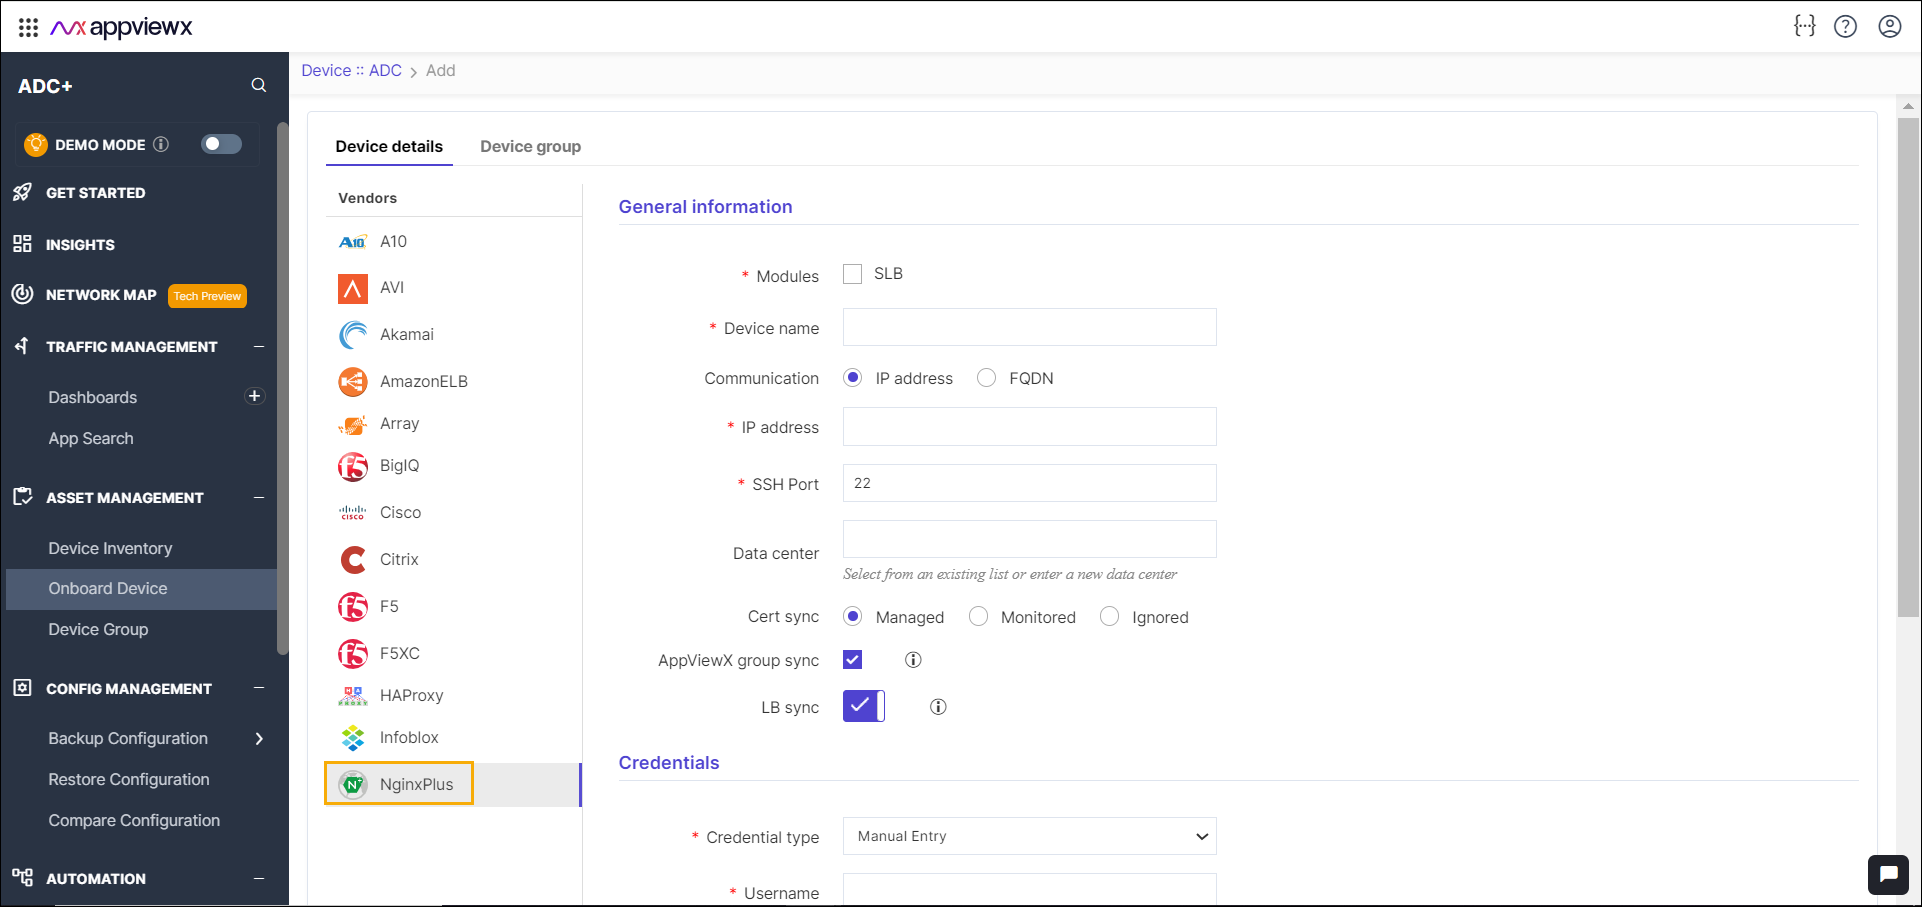
Adding NginxPlus Device
To add an NginxPlus device:
- Go to Menu > ADC+ > ASSET MANAGEMENT.
-
Perform one of the followings:
-
Click Device Inventory, and then select Add (+) icon to navigate to the Device details page.
-
Click Onboard Device in the left navigation panel.
-
-
In the Device details page, select NginxPlus
from the left sidebar.
-
Enter or select the field information in the General
information section.
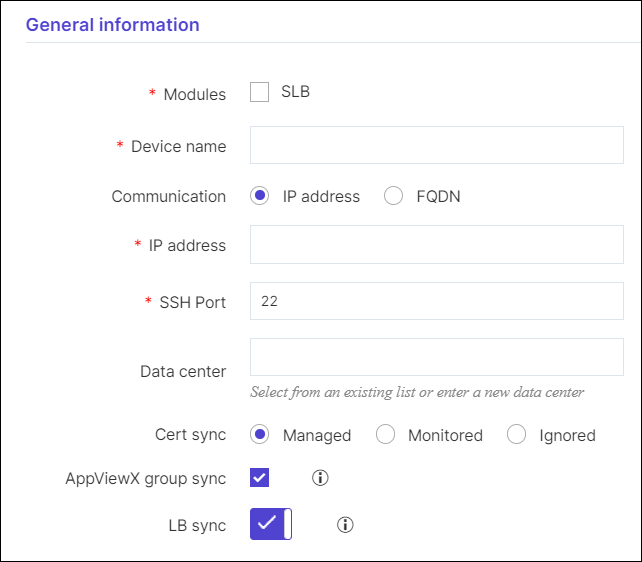
Table 1. General information Section - Field and Description Table Name Type Description Validation *Modules Check box SLB NA *Device name Text Unique name of the device to be added. Device names can only contain alphanumeric characters, '-' , '_' , '.' , '*' , '|' , '!' and spaces. Communication Radio button Devices can be accessed using an IP address or FQDN. No *IP Address Text The IPv4 address of the device. The IP address should be in the right format. *SSH Port Text Communication port of the device. Numbers only. Data center Text Datacenter name where the device is configured. The default value is Absecon. Data center name can only contain alphanumeric characters, '-' , '_' , '.' , '*' , ':' , '|' and spaces. Cert Sync Radio button Managed: The certificates of the device can be managed.
Monitored: The certificates of the device can be monitored.
Ignored: The certificate sync can be ignored.
LB Sync Checkbox By default, this option is enabled to discover and manage the load balancer configurations. If not required, you can disable this option. *: Mandatory fields -
Enter or select the field information in the Credentials
section. You can select Manual Entry or Credentials
List.
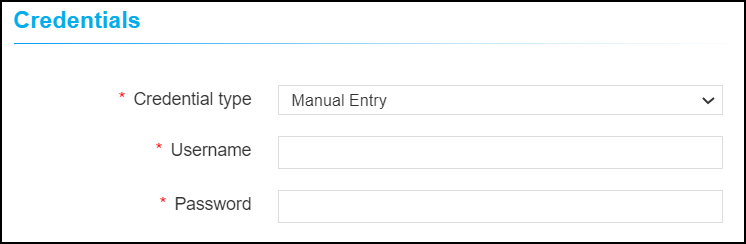
Table 2. Credentials Section - Field and Description Table Name Type Description Validation *Credential type Dropdown Manual entry: The user should enter the username and password.
Credential List: The user can select the credential details which are already stored in the credential inventory page.
NA *Username Text The user name of the device. NA *Password Text The password of the device. NA *: Mandatory fields -
Enter or select the field information in the Authenticaion
details section.
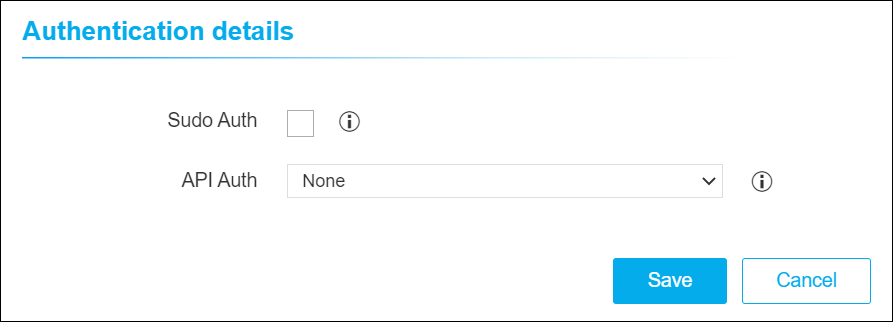
Table 3. Authenticaion details Section - - Field and Description Table Name Type Description Validation Sudo Auth Checkbox Select the Sudo Auth checkbox in the to enable the Sudo authentication for a non-root user credentials. API Auth Dropdown This option allows the basic or token based authentication for API enabled devices. The options are: - Basic Auth - select this option to configure HTTP authentication with password. You can choose device credentials or manual entry.
- Token Auth - select this option to enter the JSON Web tokens for token based authentication.
-
Enter or select the field information in the Secondary device
information section.
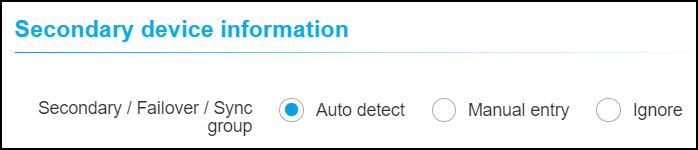
Table 4. Secondary device information Section - Field and Description Table Name Type Mandatory Description Validation Secondary / Failover / Sync group Radio button Yes Auto detect: The user should select this option to auto-detect and add the peer devices in the inventory page.
Manual entry: The user can use this option to add the peer devices manually.
Ignore: The user can use this option to ignore the auto-detection of the peer devices.
NA - Click Save.
Validating the NginxPlus Device Addition
After adding the device, you can validate the device by searching device in the device inventory.
- Go to Menu > ADC+ > ASSET MANAGEMENT > Device Inventory.
-
Search the device name and validate whether the device is
added successfully.
