Store
Viewing Pre-built Reports
- Log in to AppViewX application with valid credentials.
-
Click the menu button located in the upper left corner of the screen.
The left navigation pane appears.
-
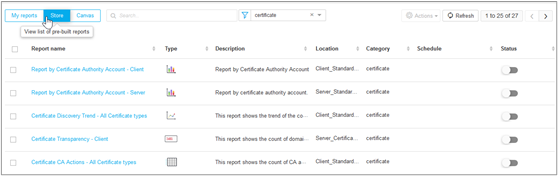
Click Platform > DATA STUDIO > Reports.
By default, the My Reports page will be displayed.
-
Click Store on the top-left.
list of pre-built reports will be displayed.
-
You can search for reports and filter reports by category.
Cloning a Pre-built Report
- Log in to the AppViewX application with valid credentials.
- Click Menu > Platform > DATA STUDIO > Reports.
- Under the Store tab, enable the checkbox to select a report.
- Click Actions dropdown on the top-right and select Clone.
- On the Clone Report pop-up window, enter a name.
-
Click Save.
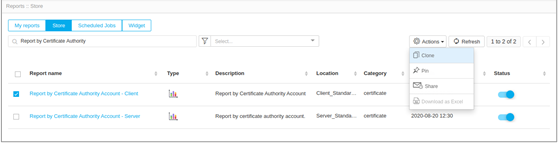 The cloned reports will be displayed under the Store tab.Note: By default, store/pre-built reports are enabled. You cannot disable or delete it.
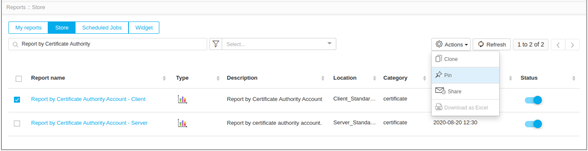
Pinning a Pre-built Report
- Log in to the AppViewX application with valid credentials.
- Click Menu > Platform > DATA STUDIO > Reports.
- Under the Store tab, enable the checkbox to select a report.
- Click Actions dropdown on the top-right and select Pin.
-
On the Pin report(s) to the Dashboard popup window,
select Existing Dashboard or New Dashboard based on where it has to be pinned.
-
Click Save.
The pinned reports will be displayed in the dashboard.
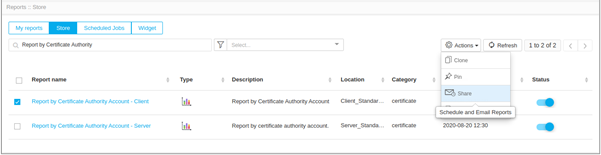
Sharing a Pre-built Report
- Log in to the AppViewX application with valid credentials.
- Click Menu > Platform > DATA STUDIO > Reports.
- Under the Store tab, enable the checkbox to select a report.
- Click Actions dropdown on the top-right and select Share.
- On the Schedule reports window, fill out the General section for mail content and the Schedule section for scheduling emails.
-
Click Save.