Enabling Auto trigger
 icon is displayed next to the form field. Clicking the icon will fetch the data from the
database and populate the form field.
icon is displayed next to the form field. Clicking the icon will fetch the data from the
database and populate the form field.To enable auto trigger for a form field:
- Design a form.
-
To edit a form field, hover your mouse over the field and click
 (Edit) icon.
-
In the form field window, under the Properties tab, define an
appropriate hook for this field.
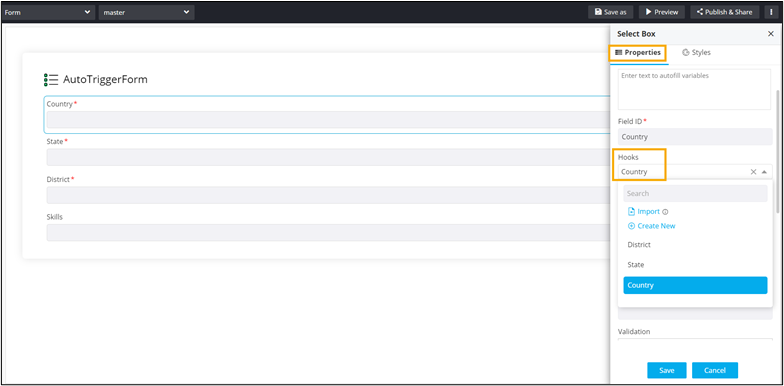 Once the hook is defined, the Hooks loader message field is displayed.Note: For information on assigning hooks, click here.
 -
Enter a message in the Hooks loader message field. This message is
displayed while the form field is loading the field values.
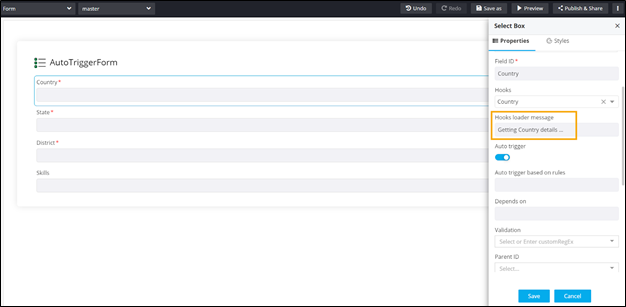
- To enable Auto trigger, turn on the toggle.
-
In the Auto trigger based on rules field, define a rule for populating
the next field in the form.
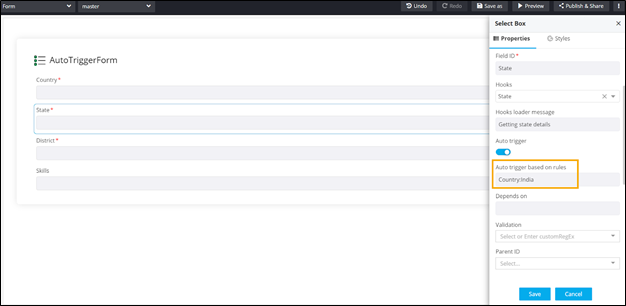 Note: This field is displayed only after a hook is assigned to the form field. Rules cannot be defined for the first field in the form.
 - Define hooks for the other fields and enable Auto trigger for form fields, where required.
- Add a Hooks loader message and define rules for required fields.
-
Click Preview.
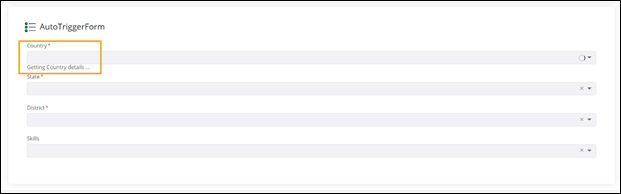
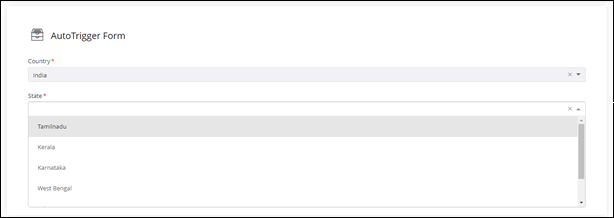
- A preview of the form opens in a new tab and the data for the first
field is fetched automatically. The Hook loader message is displayed
while the values are being fetched.
- The values in the next form field are fetched automatically once a
selection is made in the previous form field based on the rules
defined.
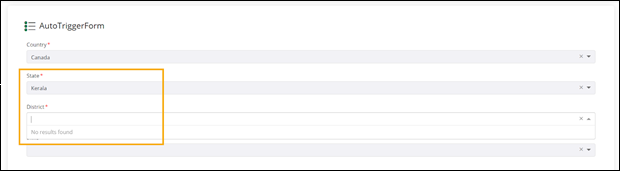
- Values in the next form field are not fetched/displayed if a selection
other than the defined rule is made. For example, the rule
“State:TamilNadu” has been defined for the District field. So, if any
value other than TamilNadu is selected in the State field, then no
results will be displayed in the District field.
- Once the value TamilNadu is selected in the State field, the values for the District field will be fetched automatically.
- A preview of the form opens in a new tab and the data for the first
field is fetched automatically. The Hook loader message is displayed
while the values are being fetched.