
Upgrade AppViewX
AppViewX upgrades are performed exclusively through the Interactive UI, launched via ./install.sh. There is no separate CLI-only upgrade process. The wizard supports two upgrade types and handles all data migration automatically.
Upgrade Types
| Type | Description | When to Use |
|---|---|---|
| Blue-Green | Installs AppViewX on new infrastructure and migrates data from the existing installation using backup/restore. Two options: (a) retain same design - identical node count, migrate without changing config; (b) auto- generate config from fresh inputs. | New hardware, new OS, topology change, or zero-downtime cutover. |
| In-Place Involves planned downtime. | Upgrades the existing infrastructure in position. Existing configuration is retained (with the opportunity to add/remove nodes during interactive questions). | Hardware meets new version requirements; downtime is approved. |
Note: Ensure that a valid other user internal.pem file
is present in the existing installer's scripts directory for in-place and blue-green
deployments.
Upgrade Prerequisites
| Prerequisite | Requirement |
|---|---|
| Backup | Take VM snapshots |
| OS Compatibility | Ubuntu or RHEL/Rocky/Oracle only. |
| Disk Space | ≥ 50 GB free at installation path on all nodes (Depends on data size). |
| Addons Bundle | ppviewx kubernetes addons <VERSION>.tar.gz present in installer directory. |
| Time Sync | Chrony active and synchronised across all nodes. |
| SCP (RHEL) | SCP must not be disabled (/etc/ssh/disable scp must not exist). |
Warning: ⚠Always take a full database backup
(./appviewx.sh --db-backup) and vault backup (./appviewx.sh --vault-backup) before
starting an upgrade. Store backups at a location accessible from outside the
cluster.
Note:
When performing the upgrade, ensure that the following two plugins are installed to support PKI CRL downloads:
avx_platform_gateway_externalavx_vendor_cert_scep_agent
Upgrade Process
Upgrade Process Flow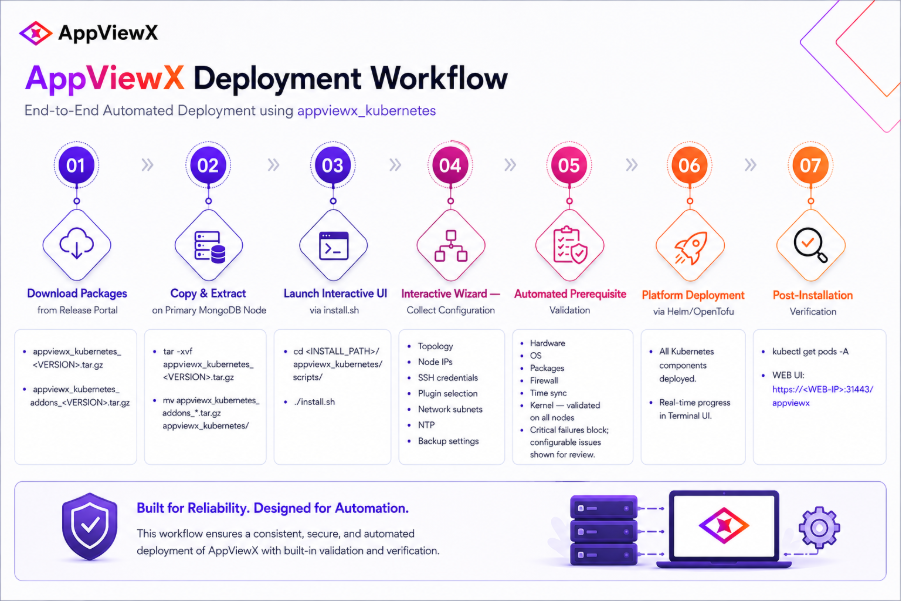
Step-by-Step Instruction
- Perform the upgrade prechecks. Refer Upgrade Prerequisites.
- Take VM snapshot.
- Create a new folder and place all upgrade packages in it.
- SSH to the any of the worker node.
- Extract the core installer: tar -xvf appviewx_kubernetes_<VERSION>.tar.gz.
- Move addons tarball: mv appviewx_kubernetes_addons_<VERSION>.tar.gz appviewx_kubernetes/
- Navigate: cd appviewx_kubernetes/scripts/.
- Launch: ./install.sh.
- Select Continue > option 2 (Upgrade).
- Select Continue > option 2 (Upgrade).
- Choose Blue-Green or In-Place upgrade type.
- For Blue-Green: provide previous installer node IP, installer path, and select whether to retain the existing design or generate a new config.
- For In-Place: provide the path to the existing installer directory.
- Answer configuration questions. Review the summary table. Type 'y' to proceed.
- Prerequisite validation runs automatically on all nodes.
- Upgrade executes with real-time progress. Press Ctrl+R to resume if interrupted.
Data Restore (Blue-Green Cutover)
- After completing the Fresh Installation on new infrastructure, restore data from the previous environment:
- Run ./install.sh > Select Continue > option 3 (Data Restore).
- Provide the MongoDB backup archive path when prompted.
- Provide the Vault backup archive path when prompted.
- Wait for the restoration to complete.
-
Post-restore cleanup:
source appviewx.conf
sudo ./appviewx.sh --run-on-all "rm -rf $INSTALLATION PATH/logs/mongo backup_*"
Post-Upgrade Validation
/appviewx.sh --version - confirm the new version
kubectl get pods -n <NAMESPACE> - all pods in Running state
AppViewX Web UI accessible and all module dashboards loading
/appviewx.sh --db-shell → rs.status() - MongoDB replica set healthy
/appviewx.sh --vault-sync-status - vault nodes synchronised
/appviewx.sh --whitelist-ingress-hosts - run if needed to whitelist LB for GUI access.
Note: Upgrade logs are automatically sanitized after
completion - credentials, tokens, and secrets are removed.
