Configuring a Certificate Sync Alert
AppViewX maintains a record of what certificate is mapped to which Server:Application service, which can be seen on the certificate's holistic view. This information is used by AppViewX to monitor continued existence of the certificate on Server:Application. AppViewX establishes connectivity to the Server and validates if the Application is still configured with the Certificate. Any change in the status is flagged out as a Certificate Sync Alert. This can also be visualized through the change of Application Connector status color. The Application Connectors on the Certificate's holistic view will turn Red in such circumstances.
To configure a certificate sync alert:
-
Go to
 (Menu) > CERT+ > ALERTS & LOGS >
Configure Alerts.
The Configure Certificate Alerts page is displayed.
(Menu) > CERT+ > ALERTS & LOGS >
Configure Alerts.
The Configure Certificate Alerts page is displayed. - In the Event Type field, select Certificate Sync Alert.
-
Enter/Select the alert details.
Table 1. Field Description *Alert name Enter a unique name for the alert. *Event type From the dropdown list, select Certificate Sync Alert. *Vendor From the dropdown list, select the vendor for the alert criteria. - Enter a name for the certificate alert.
- Select the Alert severity of the alert: Critical, Major, and Notification.
- In the Alert Message field, enter the text that users see when the alert appears on the screen.
- Select the Vendor whose device or application you are creating an alert for.
- Select the Certificate Category from the dropdown list.
- In the Device Name field, select the device associated with the certificate you are creating an alert for.
- In the Application field, select the application associated with the certificate you are creating an alert for.
- Select the Execute Script checkbox.
- In the Execute Script dropdown list, select the script to trigger the alert. To create a
script, click the (Add new script) icon. The below page appears.
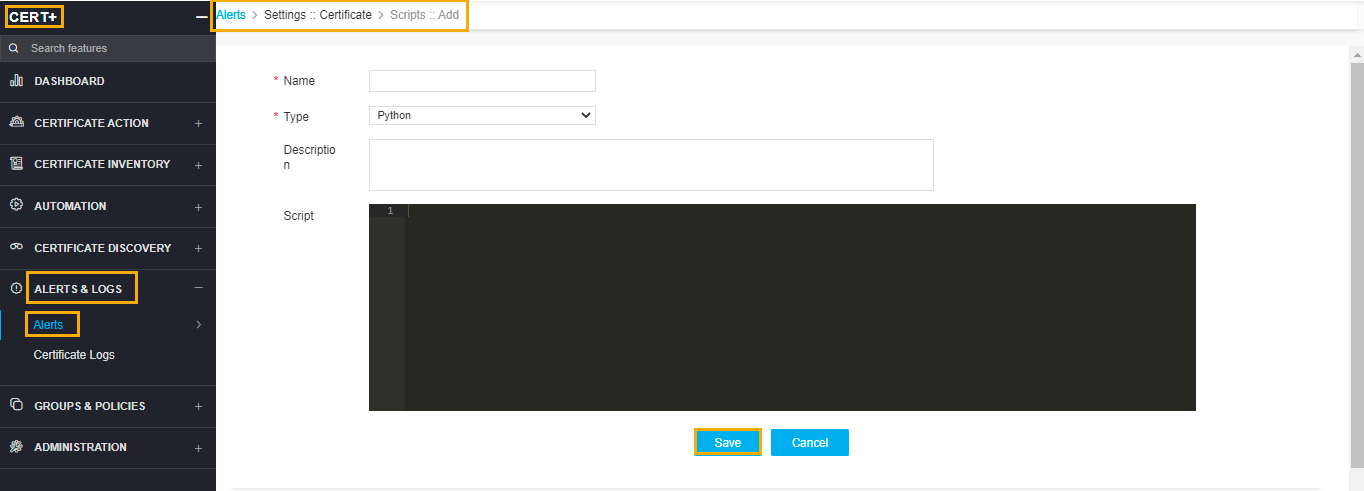
-
Provide value in the Name field.
-
Type by default is selected as Python.
-
Provide description value in the Description field.
-
Enter the script to be executed in the Script field and click Save.
-
-
To use the Email Configuration to send the alert, complete the following steps:
-
Select the Email Configuration checkbox.
-
In the Email Address field, enter email addresses to send the alert to. Use commas to separate the addresses.
-
In the Subject field, leave the default text or enter the text that briefly describes the alert the user is receiving.
-
-
To use the Simple Network Management Protocol (SNMP) to send the alert, complete the
following steps:
-
Enter the Destination IP for the alert.
-
Select the version of SNMP you want to use: V1 or V2.
-
Enter the port that should be used for the alert.
-
Enter the Community String for the alert. The string is similar to a user ID or password and allows users to access the requested information on the device.
-
- Click Add to create the alert. It then appears at the bottom of the screen and on the Certificate tab within the Alert module.