Expiry Task
To design a custom workflow using the Get Expiry Certificates task
- Navigate to the Workflow page in the Automation module and click Create New.
-
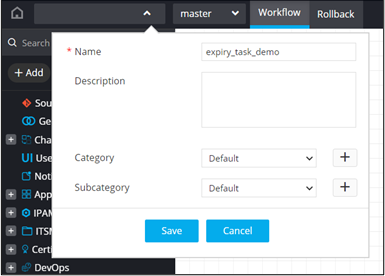
Enter a Name for the workflow and click Save.
-
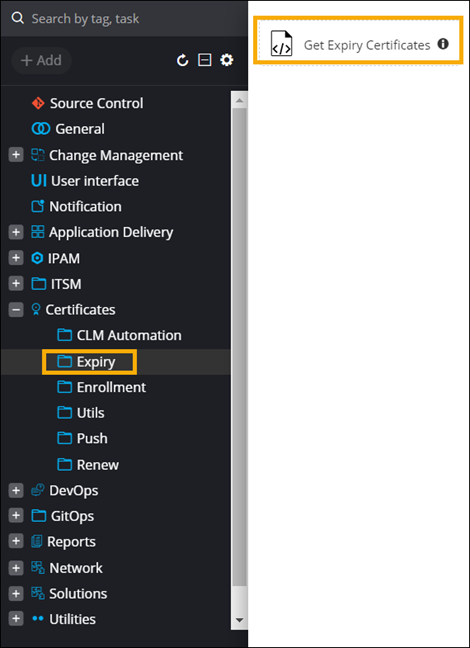
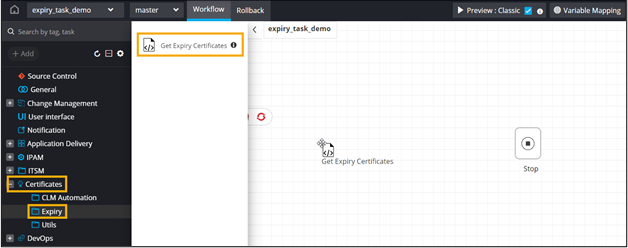
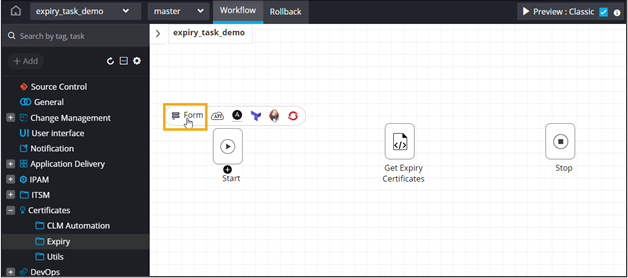
From the Certificatesfolder in the left menu, under Expiry, drag and drop
the Get Expiry Certificates task.
 This task can be used to generate a report listing certificates due to expire in a specific number of days.
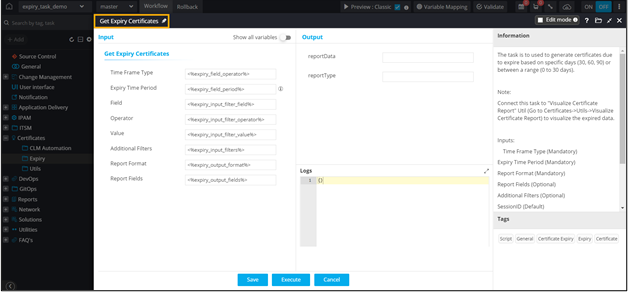
-
To auto-generate a form for this workflow, click Form above the Start
task.
-
Click
 above the Get
Expiry Certificates task to auto-populate the form fields.
above the Get
Expiry Certificates task to auto-populate the form fields.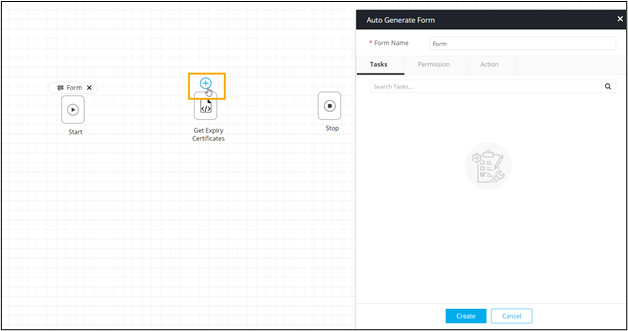
- Select the fields required in the input form.
- Enter a Form Name and click Create.
-
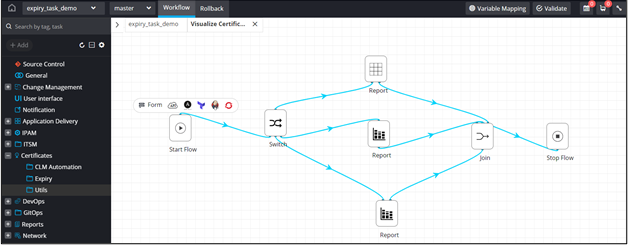
To display the certificate data in a report, from the Utils folder, drag and
drop the Visualize Certificate Expiry Report prebuilt subflow.
This subflow includes User Interface tasks such as Grid and Chart (Pie chart and Stacked bar chart). The report generated will be displayed as a grid or a chart based on the inputs provided in the input form.
-
To get a preview of the user input form, connect all the workflow tasks and click
Preview.
User Inputs form is displayed.
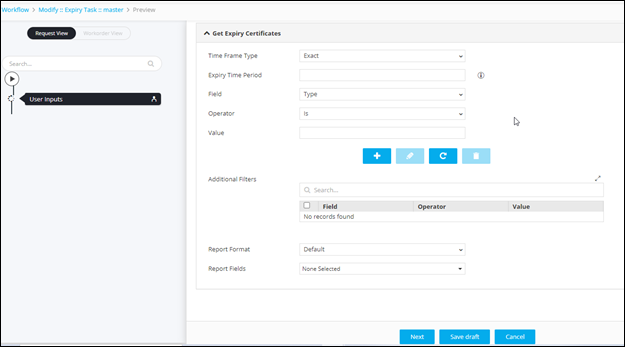
Table 1. Field Description for User Inputs form Field Description Time Frame Type Enter the time frame type from the available options: - Exact - Allows you to enter the exact value for the expiry time period (30 days).
- Range - Allows you to give a range for the expiry time period (0 - 30).
Note: Exact is the default selection.Expiry Time Period Enter the expiry time period for which notification has to be sent. Multiple values can be entered, separated by commas. You can either define it as an exact number or a range or a combination of both. For example, 30,60,90 or 0-30,30-60,0-60 or 30,30-60,90. - Input type: Range - The expiry report will be generated for the range specified. For example, 0 - 30 days, 0 - 60 days, 0 - 90 days.
- Input type: Exact - The expiry report will be generated for certificates expiring on the exact specified date. For example, certificates expiring on the 30th, 60th, 90th day.
Field Select the field from the options available in the dropdown. Operator Select the conditional operator: - Is
- Is Not
Value Enter a valid value for filtering the certificates. Additional Filters This grid displays the values selected in these fields: - Field
- Operator
- Value
Note: The steps to apply these additional filters are given below the table.Report Format Select the format in which the report is displayed from the available options: - Default
- Pie Bar Chart
- Stacked/Bar Chart
Report Fields Select the fields to be displayed in the report from the options available in the dropdown. -
To add filters to the Additional Filters grid, click

-
To edit the value of a particular filter, select the filter in the grid and click
 .
.
-
Enter the new value(s) for the filters (Field/Operator/Value) and click again to update
the value(s).
-
To delete a filter, select the filter in the grid and click
 .
.
-
To maximize the Additional Filters grid, from the top right corner of the grid,
click
 .
.
-
Click Next.
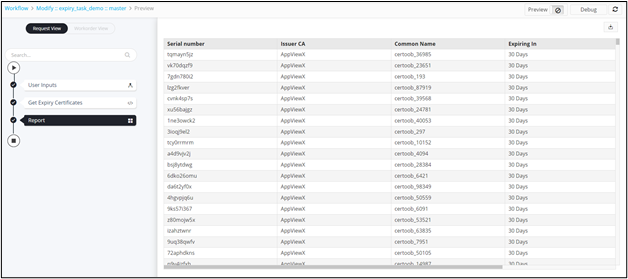
Report is generated with expiry certificates data displayed in Grid format.
 Note: For more information on how to design custom workflows, refer to the Automation User Guide.