Step 4: Verifying the AppviewX Windows Gateway Installation
- Open Services.msc and ensure AppViewXCertPlus service is in running state.
-
Perform a Verification Test as follows:
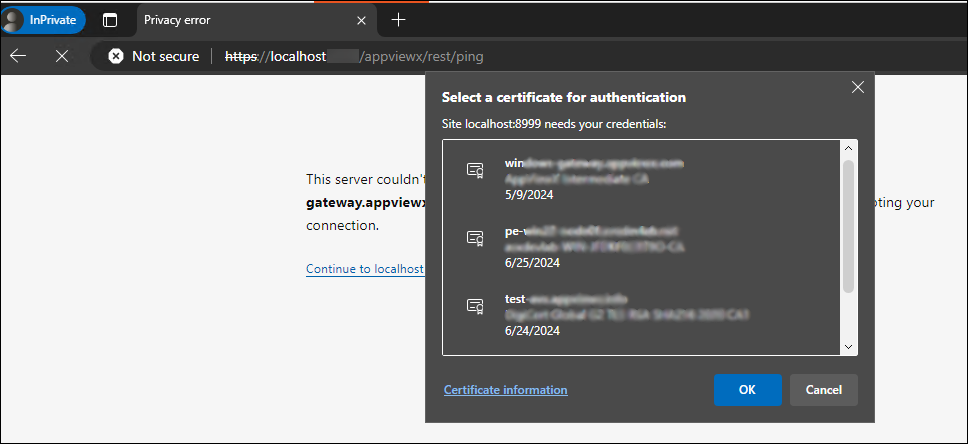
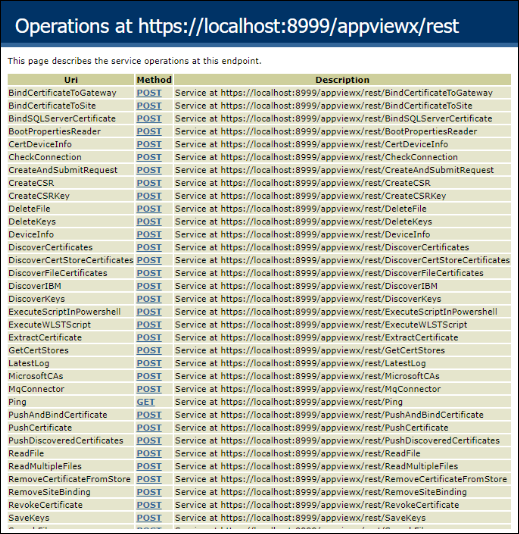
- Access the following URL in an Incognito or Private Browsing window: https://localhost:8999/appviewx/rest/help.
- Upon accessing the URL, a dialog box will appear requesting a certificate to be chosen.
- Please select the AppViewX issued client certificate from the Installer
package or choose the required certificate if any custom certificate is
used for authentication.Note: The same custom certificate has to be uploaded in the AppViewX CERT+ Application when configuring the Windows GatewaySample output:
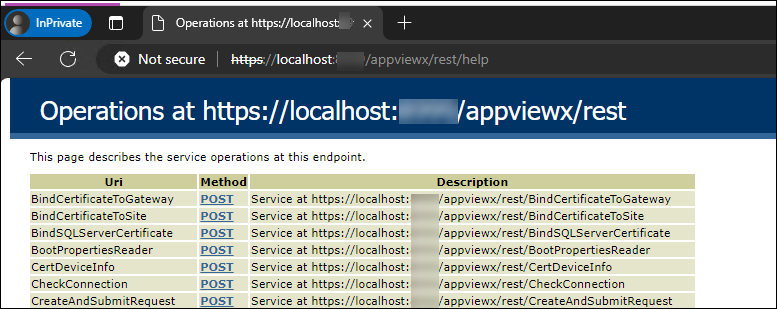
- The browser should then display the available services as a
response.
Sample output
-
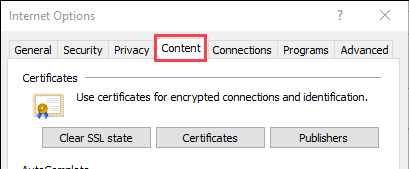
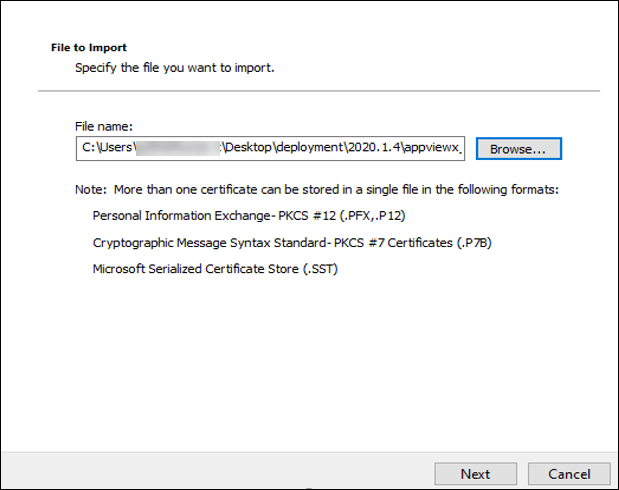
To verify the Windows AppViewX Gateway installation on Internet Explorer,
import the client authentication certificate
ClientCertificateGateway.pfx, from the download package (password:
appviewx).
-
Navigate to Internet Explorer's Settings > Internet
Options, and then click the Content tab.
-
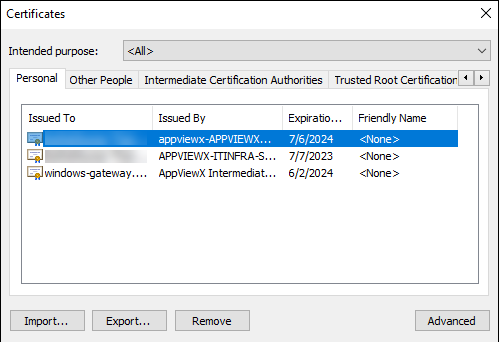
Click the Certificates button.
The Certificates popup window opens.
-
Click the Import button on the Certificates page.
-
Go to the URL in the format:
https://hostname:portnumber/appviewx/rest/help. For example:
https://10.10.10.10:8999/appviewx/rest/help
The page displayed confirms the accessibility and installation of the service.
 Note: In the event that a custom client authentication certificate is used, ensure that the CRL mentioned in the certificate is reachable from the AppViewX Windows Gateway hosting server.Note: The steps to import the client certificate will differ depending on the web browser.
-
Navigate to Internet Explorer's Settings > Internet
Options, and then click the Content tab.