Integrating the AppViewX Code Scan Agent with CI/CD Pipelines
GitHub Integration
- To send the code scan reports to AppViewX, configure a service account in AppViewX.
- Create a Linux executable configuration fileor create a Docker executable configuration file, as required.
-
To ensure the config.ini file is available during the pipeline
process, save the config.ini file in the repository that needs to be
scanned or in a centralized location from where the pipeline can access it
for execution.
 Following are a few examples of where the agent can be placed:
- In a repository that can be cloned during the pipeline process to retrieve the agent
- In Azure storage or an AWS S3 bucket, from where it can be pulled during the pipeline process
-
In an operating system environment supported by the Code Scan Agent,
configure the GitHub runner for the repository that needs to be
scanned.
The runner can be self-hosted or cloud-hosted, as long as it fulfils the prerequisites.
-
Ensure that:
- The pipeline runner is running.
- All runners meet the CICD executable prerequisites.
-
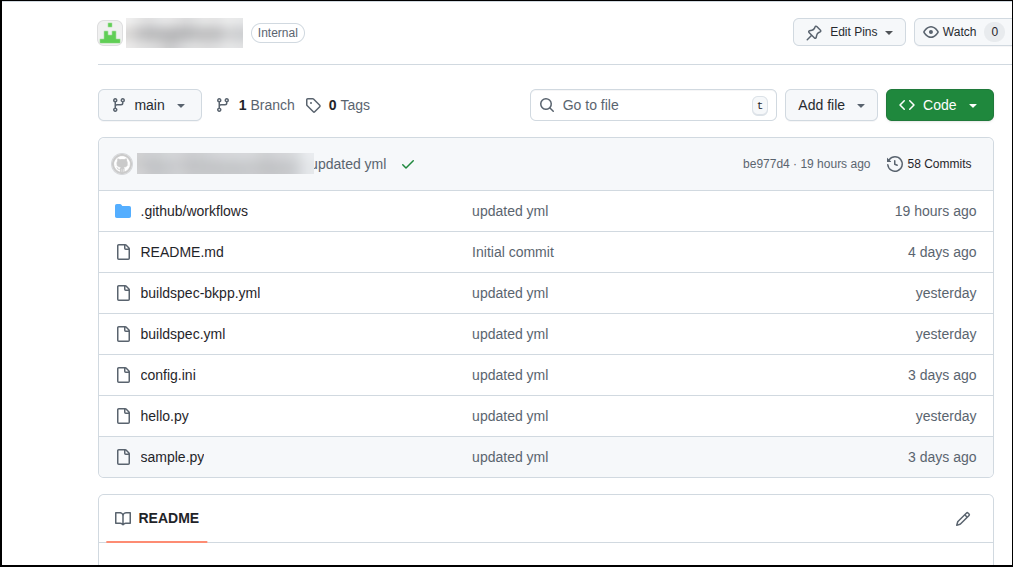
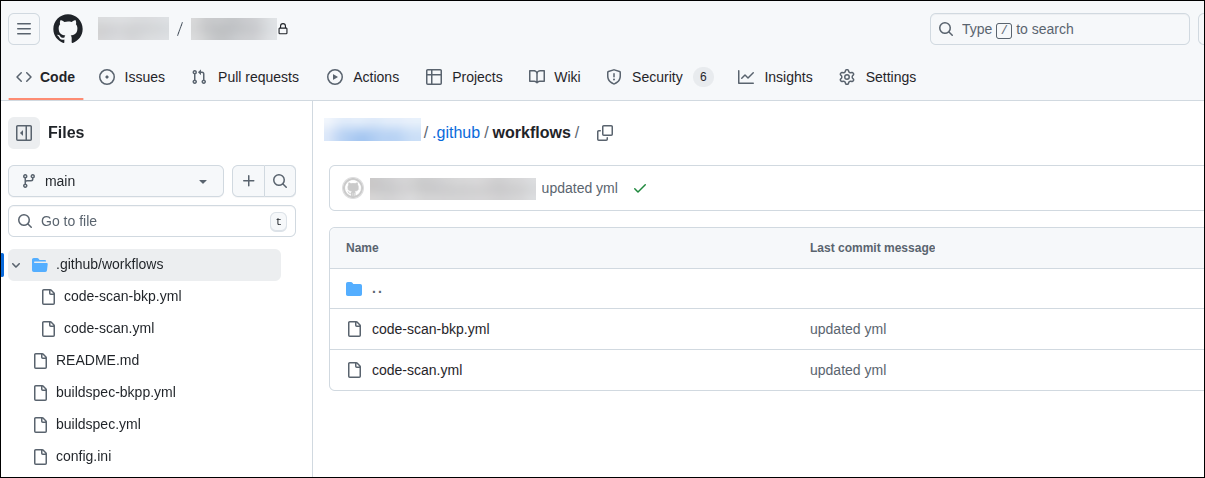
For the repository that needs to be scanned, configure the YAML file in
.github/workflows for:
- Cloning the repository including the .git folder
The code scan agent picks the name, branch, and repository details from the .git folder.
See the sample YAML file here. - Executing
the AppViewX Code Scan Agent
This sample file pulls the code scan agent executable from a S3 bucket. The config.ini file, for this execution, is placed in the same repository that has to be scanned. The secret key is passed a CICD variable for decrypting the config file.
- Cloning the repository including the .git folder
-
To trigger the pipeline:
-
Click Run workflow.
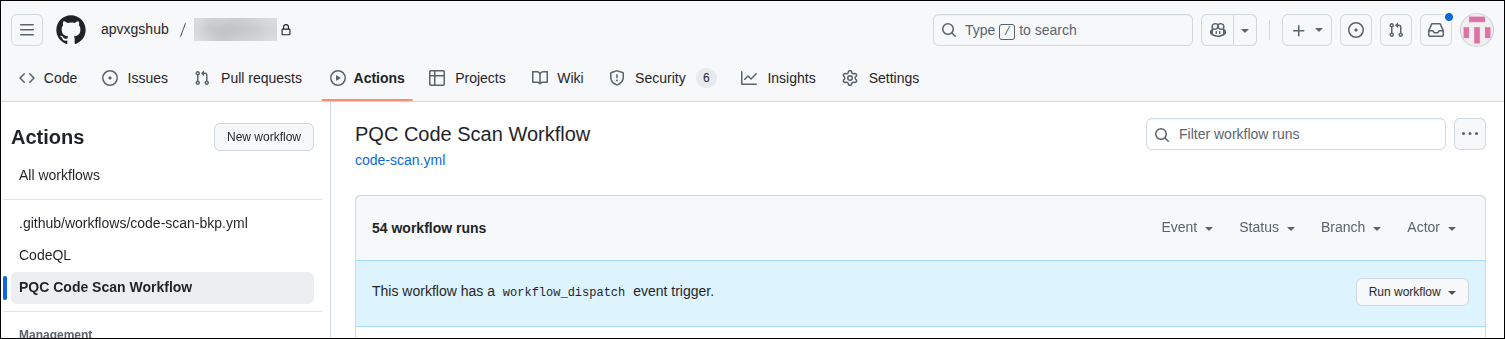 Note: The Run workflow button, under GitHub Actions, is enabled only when the workflow includes the workflow_dispatch trigger.
Once the pipeline is triggered, the code scan agent is pulled and it begins scanning the repository.You can view the status of the pipeline triggered under the Actions tab.
On completion of the scan, an output artifact containing the CycloneDX CBOM and the SARIF report is generated and made available in the Artifacts section.
-
Click Run workflow.
-
To view the post-quantum vulnerabilities identified during the scan, go to
the Security dashboard in your repository.
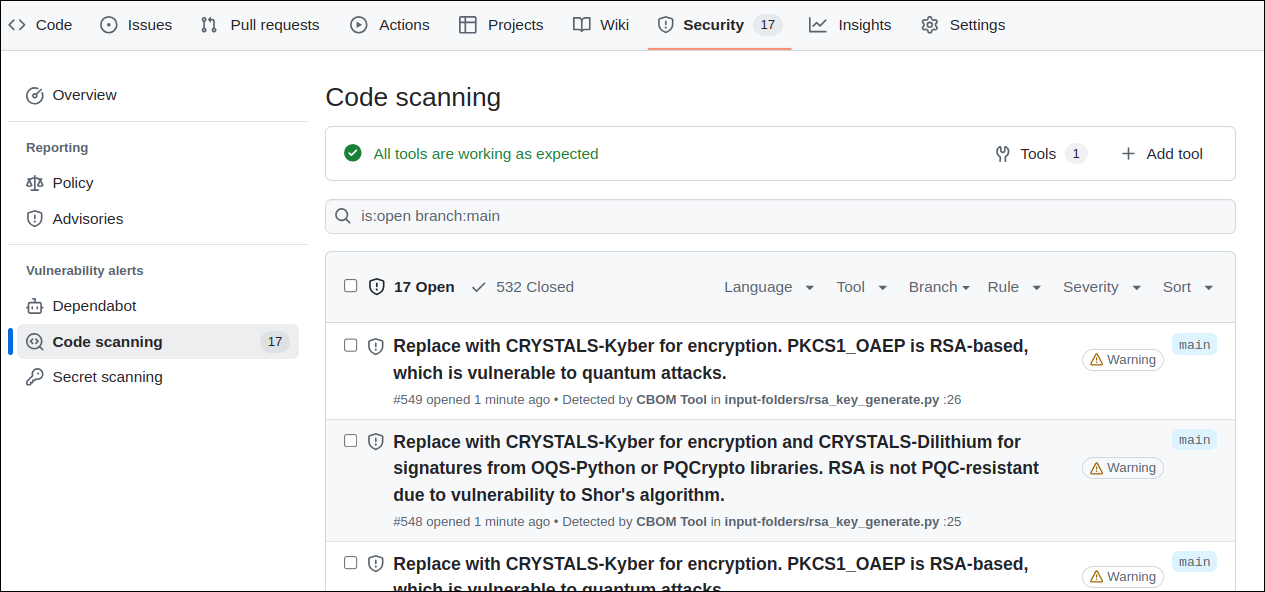 The SARIF results are also integrated in the Security tab. Within the Security tab, each non-compliance issue is clearly displayed, showing detailed information about the algorithm used, the affected code section, and its level of risk. The Security tab offers a direct and user-friendly interface for viewing these issues, making it easier for developers to identify and address them with appropriate remediation steps, guiding the development team towards a PQC-ready codebase.
If it has been enabled in the configuration file, the code scan results are also directly uploaded into the AppViewX platform and displayed on the Code Scan dashboard in the Quantum Trust Hub.
GitLab Integration
- To send the code scan reports to AppViewX, configure a service account in AppViewX.
- Create a Linux executable configuration fileor create a Docker executable configuration file, as required.
-
To ensure the config.ini file is available during the pipeline
process, save the config.ini file in the repository that needs to be
scanned or in a centralized location from where the pipeline can access the
file for execution.
Following are a few examples of where the agent can be placed:
- In a repository that can be cloned during the pipeline process to retrieve the agent
- In Azure storage or an AWS S3 bucket, from where it can be pulled during the pipeline process
-
In an operating system environment supported by the Code Scan Agent,
configure the GitLab runner for the repository that needs to be
scanned.
The runner can be self-hosted or cloud-hosted, as long as it fulfils the prerequisites.
-
For the repository that needs to be scanned, configure the YAML file in
.github/workflows for:
- Cloning the repository including the .git folder
The code scan agent picks the name, branch, and repository details from the .git folder.
- Executing
the AppViewX Code Scan Agent
This needs to be included in the YAML file to enable the agent to scan the source code and to provide the scan results.
This sample file is configured to pull the code scan agent executable from a S3 bucket. The config.ini file, for this execution, is placed in the same repository that has to be scanned. The secret key is passed a CICD variable for decrypting the config file.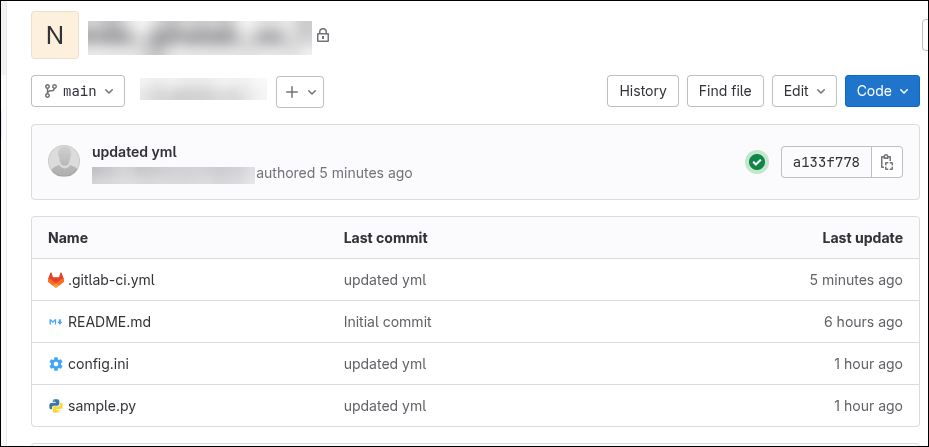
- Cloning the repository including the .git folder
-
To trigger the pipeline:
-
To trigger the pipeline from the GitLab console, go to the Git
repository > Build >
Pipelines > Run
Pipeline.
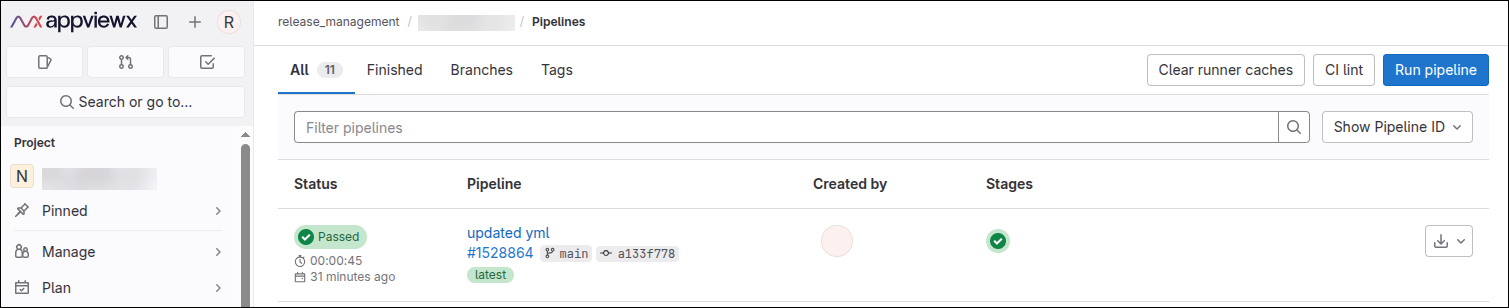
Once the pipeline is triggered, the code scan agent is pulled and it begins scanning the repository.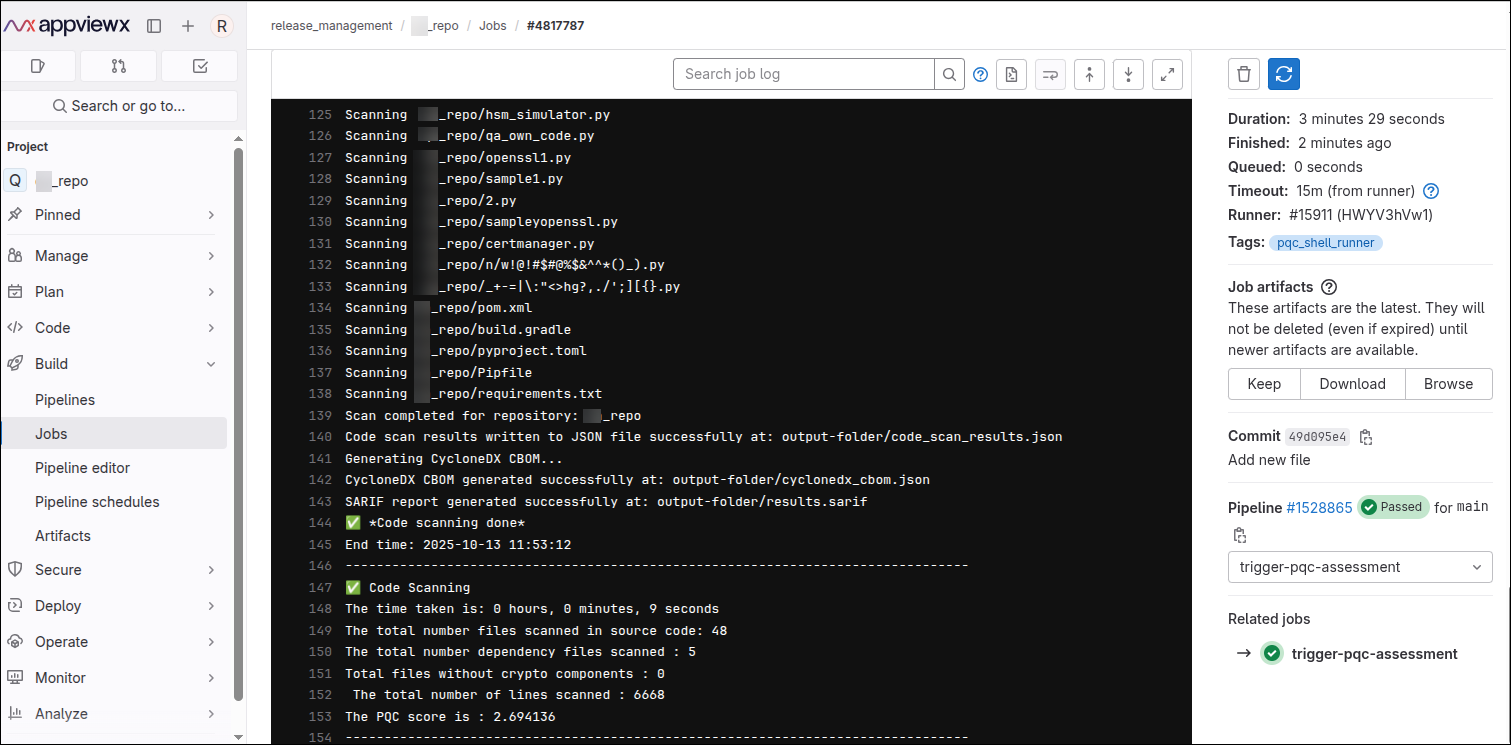 On completion of the scan, an output artifact containing the CycloneDX CBOM and the SARIF report is generated and made available in the Artifacts section.
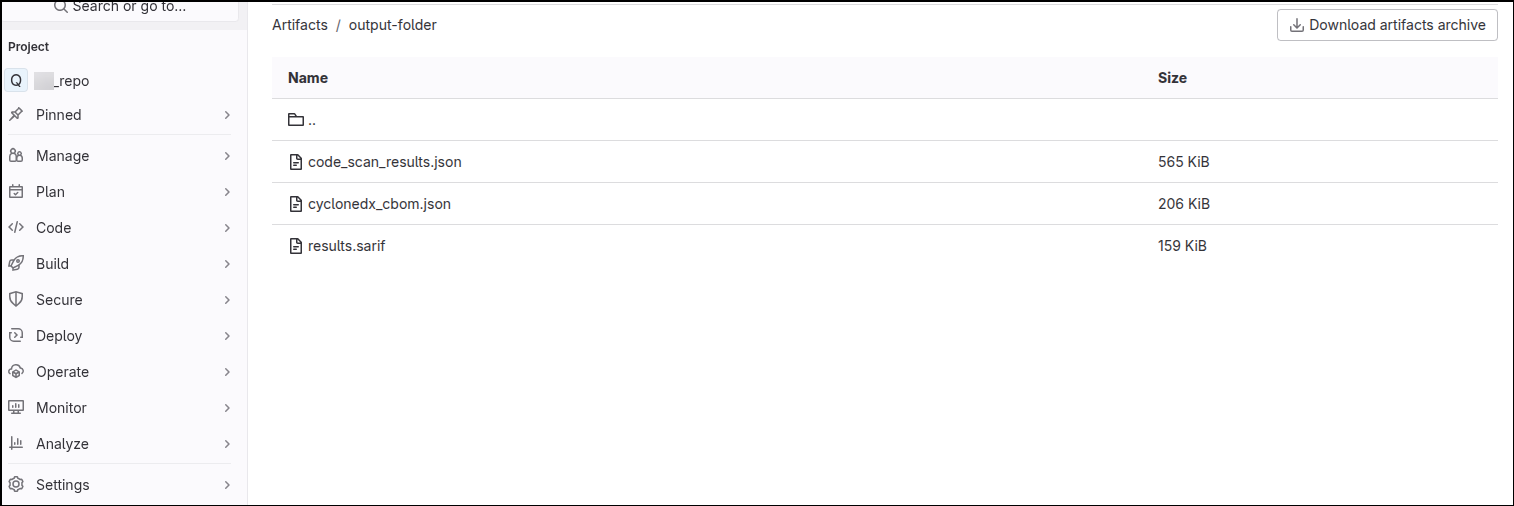
If it has been enabled in the configuration file, the code scan results are also directly uploaded into the AppViewX platform and displayed on the Code Scan dashboard in the Quantum Trust Hub.
-
To trigger the pipeline from the GitLab console, go to the Git
repository > Build >
Pipelines > Run
Pipeline.
BitBucket Integration
- To send the code scan reports to AppViewX, configure a service account in AppViewX.
- Create a Linux executable configuration fileor create a Docker executable configuration file, as required.
- To ensure the config.ini file is available during the pipeline process, save the config.ini file in the repository that needs to be scanned or in a centralized location from where the pipeline can access the file for execution.
-
In an operating system environment supported by the Code Scan Agent,
configure the BitBucket runner for the repository that needs to be
scanned.
The runner can be self-hosted or cloud-hosted, as long as it fulfils the prerequisites.
-
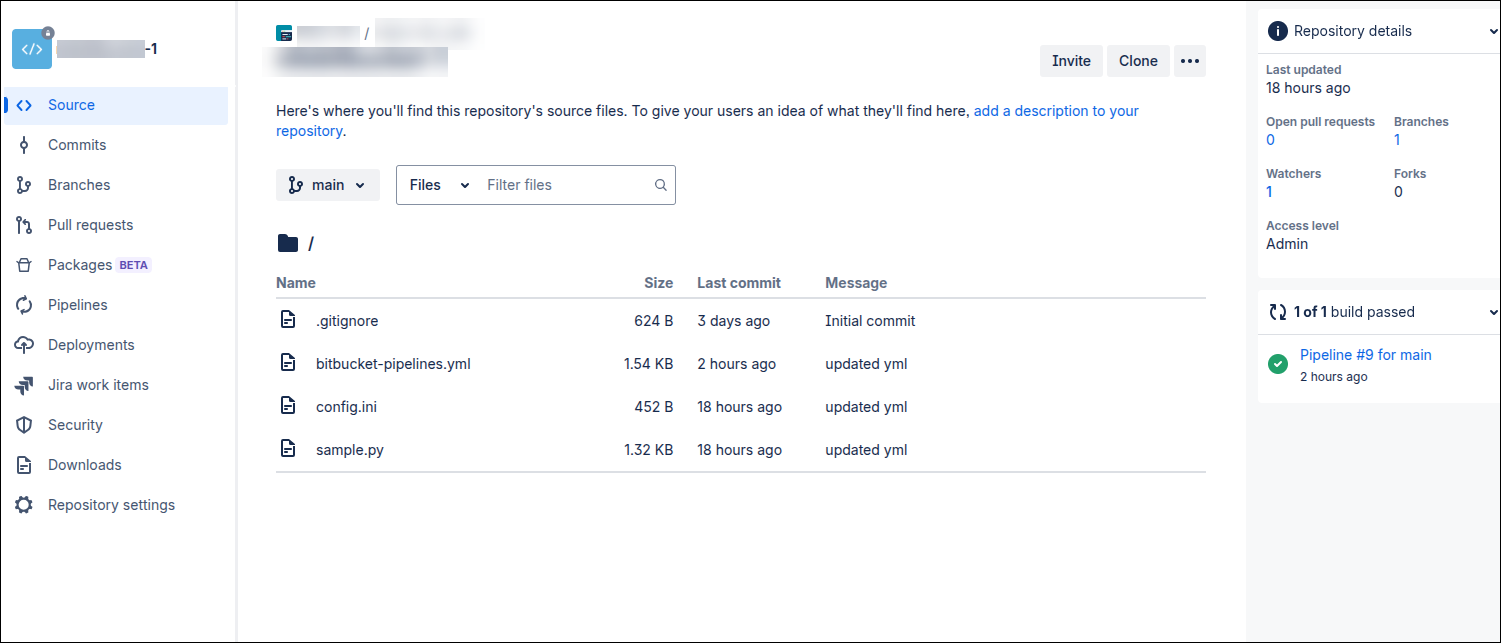
For the repository that needs to be scanned, configure the
.bitbucket-pipelines.yml YAML file in .github/workflows
for:
- Cloning the repository, including the .git folder
The code scan agent picks the name, branch, and repository details from the .git folder.
See the sample YAML file here. - Executing
the AppViewX Code Scan Agent
This needs to be included in the YAML file to enable the agent to scan the source code and to provide the scan results.
This sample file pulls the code scan agent executable from a S3 bucket. The config.ini file, for this execution, is placed in the same repository that has to be scanned. The secret key is passed a CICD variable for decrypting the config file.
- Cloning the repository, including the .git folder
-
To trigger the pipeline:
- To trigger the pipeline from the BitBucket console, go to the Git repository > Pipelines.
-
Select the required pipeline and click Run
pipeline.
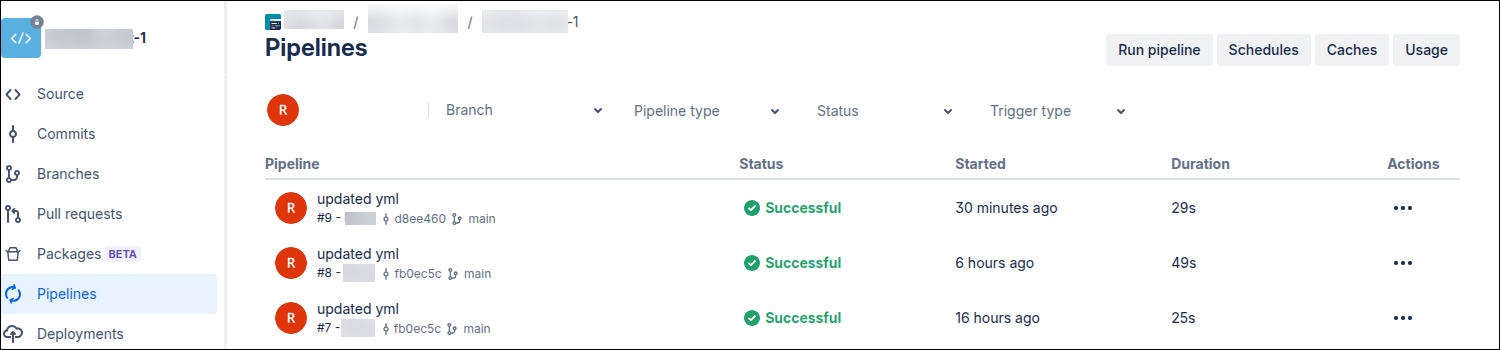
Once the pipeline is triggered, the code scan agent is pulled and it begins scanning the repository.On completion of the scan, an output artifact containing the CycloneDX CBOM and the SARIF report is generated and made available in the Artifacts section.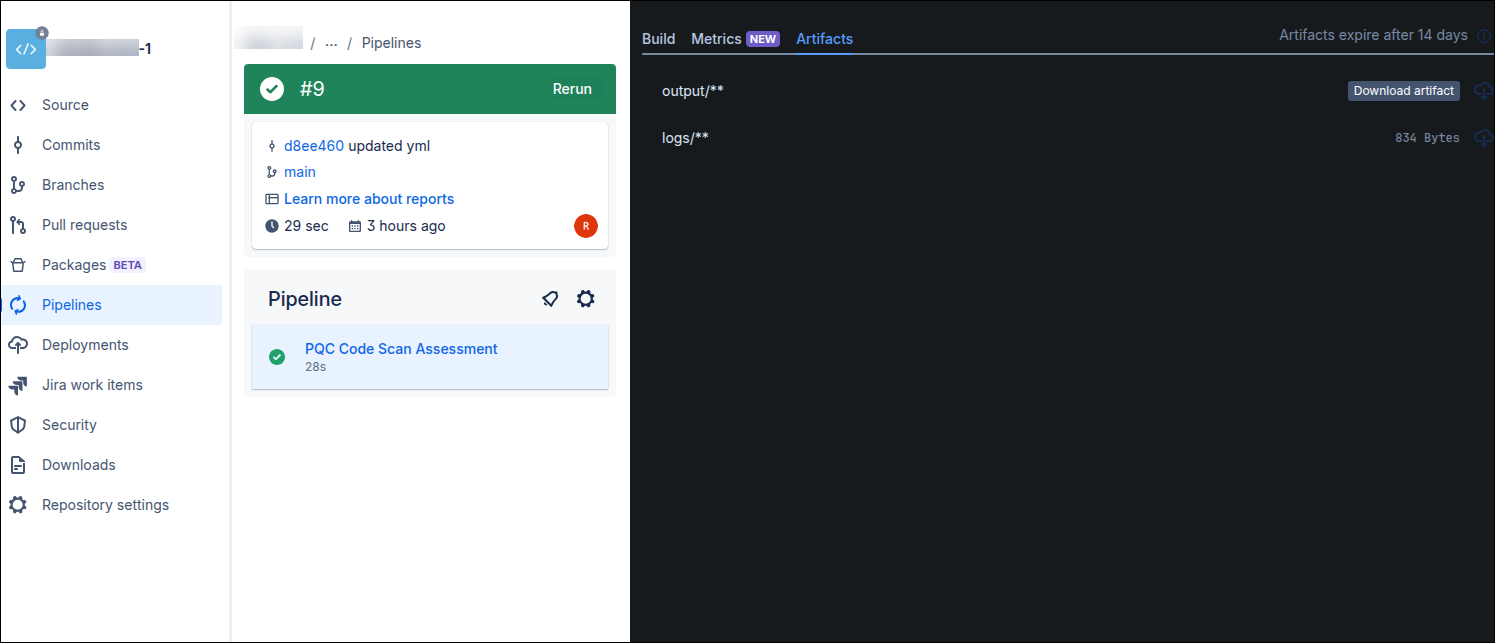
If it has been enabled in the configuration file, the code scan results are also directly uploaded into the AppViewX platform and displayed on the Code Scan dashboard in the Quantum Trust Hub.
Azure DevOps Integration
- To send the code scan reports to AppViewX, configure a service account in AppViewX.
- Create a Linux executable configuration fileor create a Docker executable configuration file, as required.
- To ensure the config.ini file is available during the pipeline process, save the config.ini file in the repository that needs to be scanned or in a centralized location from where the pipeline can access the file for execution.
-
In an operating system environment supported by the Code Scan Agent,
configure the Azure DevOps runner for the repository that needs to be
scanned.
The runner can be self-hosted or cloud-hosted, as long as it fulfils the prerequisites.
-
For the repository that needs to be scanned, configure the
.azure-pipelines.yml YAML file in .github/workflows
for:
- Cloning the repository, including the .git folder
The code scan agent picks the name, branch, and repository details from the .git folder.
See the sample YAML file here. - Executing
the AppViewX Code Scan Agent
This needs to be included in the YAML file to enable the agent to scan the source code and to provide the scan results.
This sample file pulls the code scan agent executable from a S3 bucket. The config.ini file, for this execution, is placed in the same repository that has to be scanned. The secret key is passed a CICD variable for decrypting the config file.
- Cloning the repository, including the .git folder
-
To trigger the pipeline:
- To trigger the pipeline from the Azure console, go to the Git repository > Pipelines.
-
Select the required pipeline and click Run
pipeline.
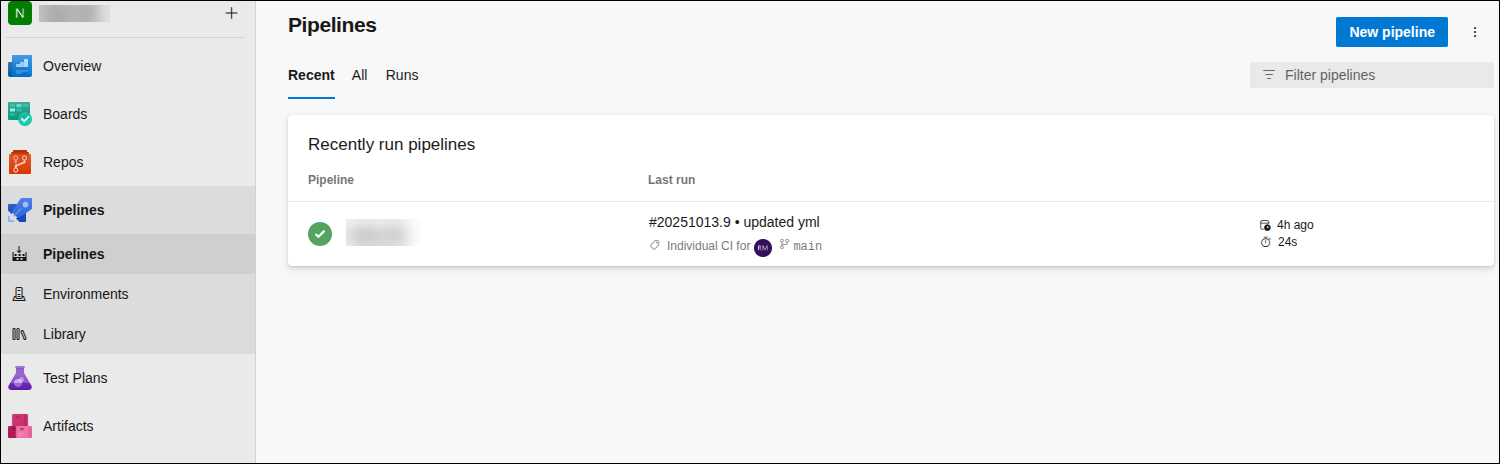
Once the pipeline is triggered, the code scan agent is pulled and it begins scanning the repository.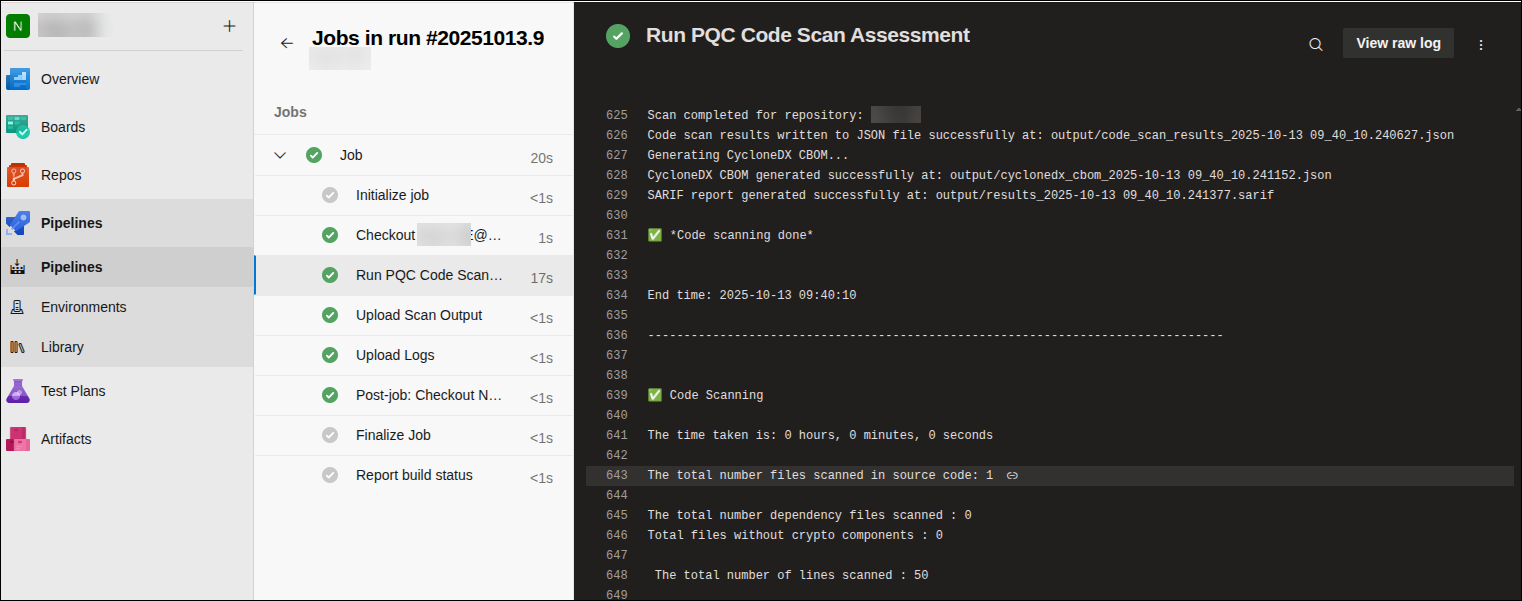 On completion of the scan, an output artifact containing the CycloneDX CBOM and the SARIF report is generated and made available in the Artifacts section.
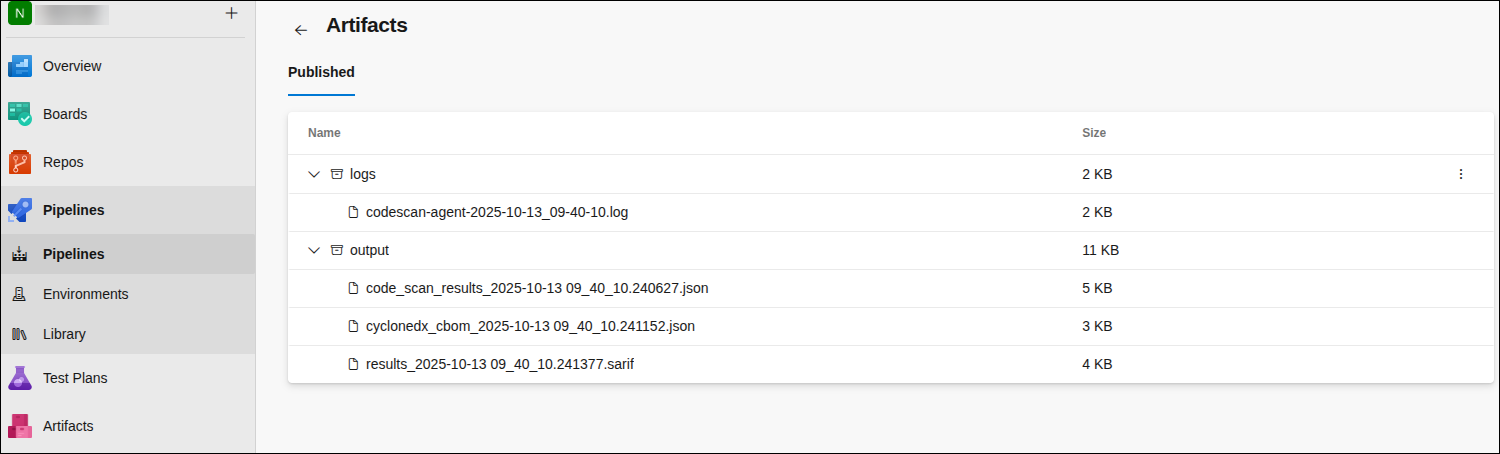
If it has been enabled in the configuration file, the code scan results are also directly uploaded into the AppViewX platform and displayed on the Code Scan dashboard in the Quantum Trust Hub.
AWS Code Build Integration
- To send the code scan reports to AppViewX, configure a service account in AppViewX.
- Create a Linux executable configuration fileor create a Docker executable configuration file, as required.
-
To ensure the config.ini file is available during the pipeline
process, save the config.ini file in the repository that needs to be
scanned or in a centralized location from where the pipeline can access the
file for execution.
Following are a few examples of where the agent can be placed:
- In a repository that can then be cloned during the pipeline process to retrieve the agent
- In Azure storage or an AWS S3 bucket, from where it can be pulled during the pipeline process
-
In an operating system environment supported by the Code Scan Agent,
configure the AWS Code Build runner for the repository that needs to be
scanned.
The runner can be self-hosted or cloud-hosted, as long as it fulfils the prerequisites.
-
Ensure that:
- The pipeline runner is running.
- All runners meet the CICD executable prerequisites.
-
For the repository that needs to be scanned, configure the
buildspec.yml YAML file in .github/workflows for:
- Cloning the repository, including the .git folder
The code scan agent picks the name, branch, and repository details from the .git folder.
See the sample YAML file here. - Executing
the AppViewX Code Scan Agent
This needs to be included in the YAML file to enable the agent to scan the source code and to provide the scan results.
This sample file pulls the code scan agent executable from a S3 bucket. The config.ini file, for this execution, is placed in the same repository that has to be scanned. The secret key is passed a CICD variable for decrypting the config file.
- Cloning the repository, including the .git folder
-
Configure the AWS Code Build Project and Pipeline for the repository that
needs to be scanned.
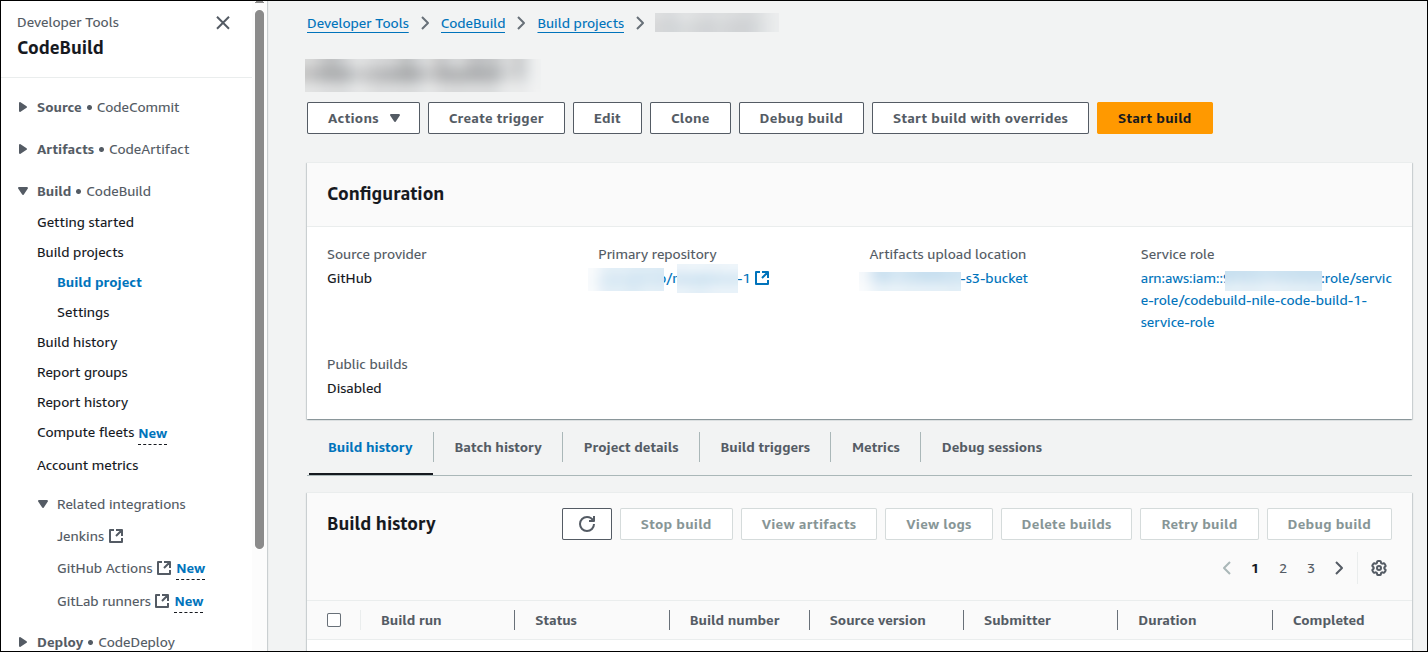 The source for this configuration can be any AWS-supporting CI/CD vendors.
 - From the Operating System dropdown list, select Ubuntu as the runner machine OS.
-
Under Buildspec:
-
Select Use a buildspec file.
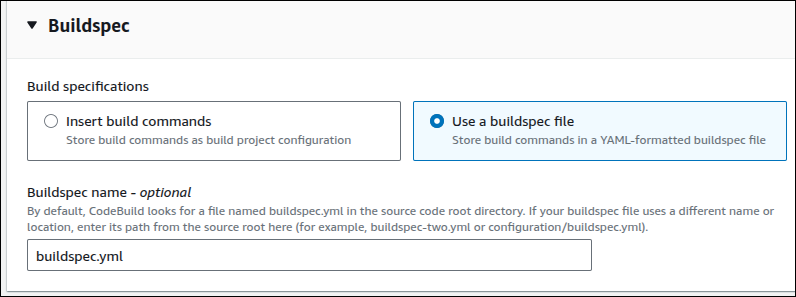
- In the Buildspec name - optional field, enter the YAML file name (buildspec.yml, for the purpose of this document).
-
Select Use a buildspec file.
- To save the output artifacts generated by the code scan agent for later reference, under Artifacts, enter the details of the S3 bucket that can be used for uploading the artifacts.
-
To trigger the pipeline:
-
To trigger the pipeline from the AWS console, in the
CodeBuild section, for the repository to be scanned,
click Build Project.

Once the pipeline is triggered, the code scan agent is pulled and it begins scanning the repository.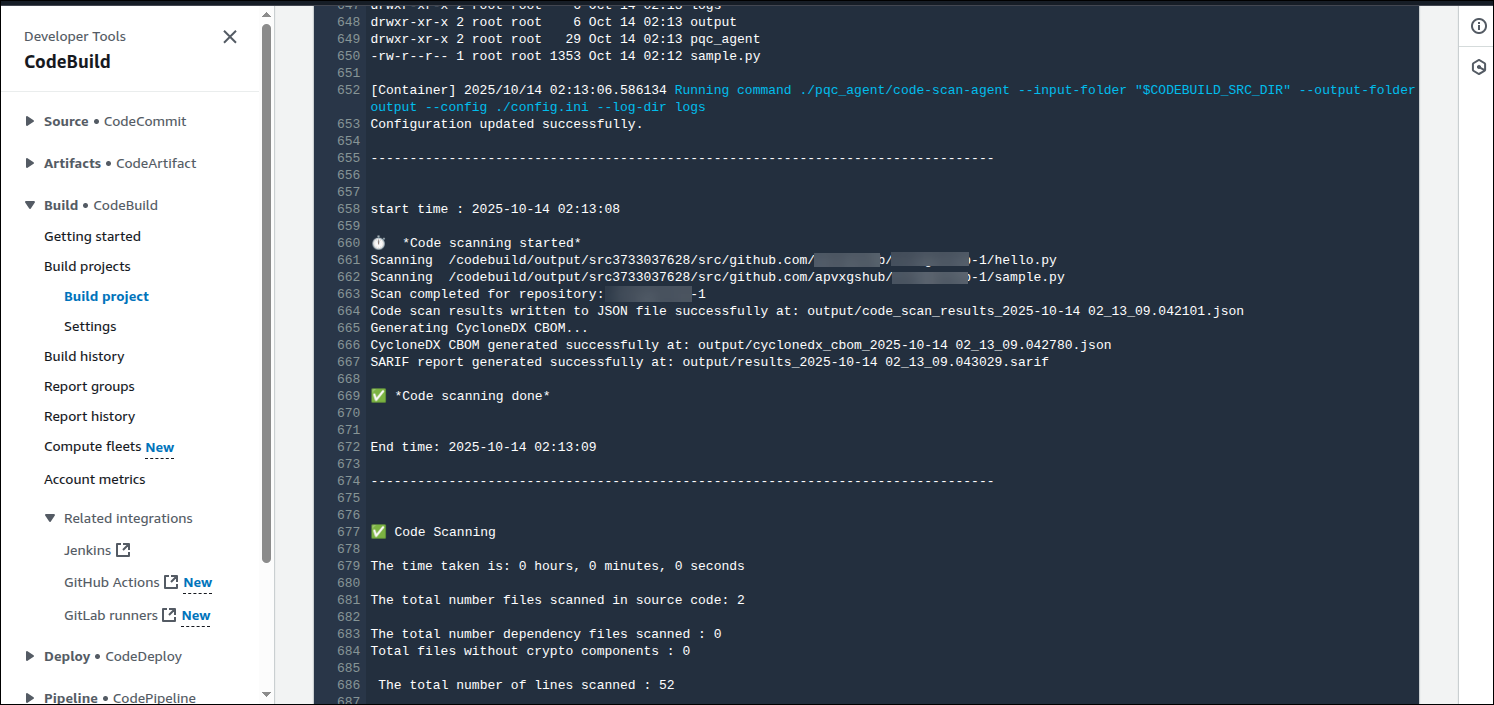 On completion of the scan, an output artifact containing the CycloneDX CBOM and the SARIF report is generated and made available in the Artifacts section.
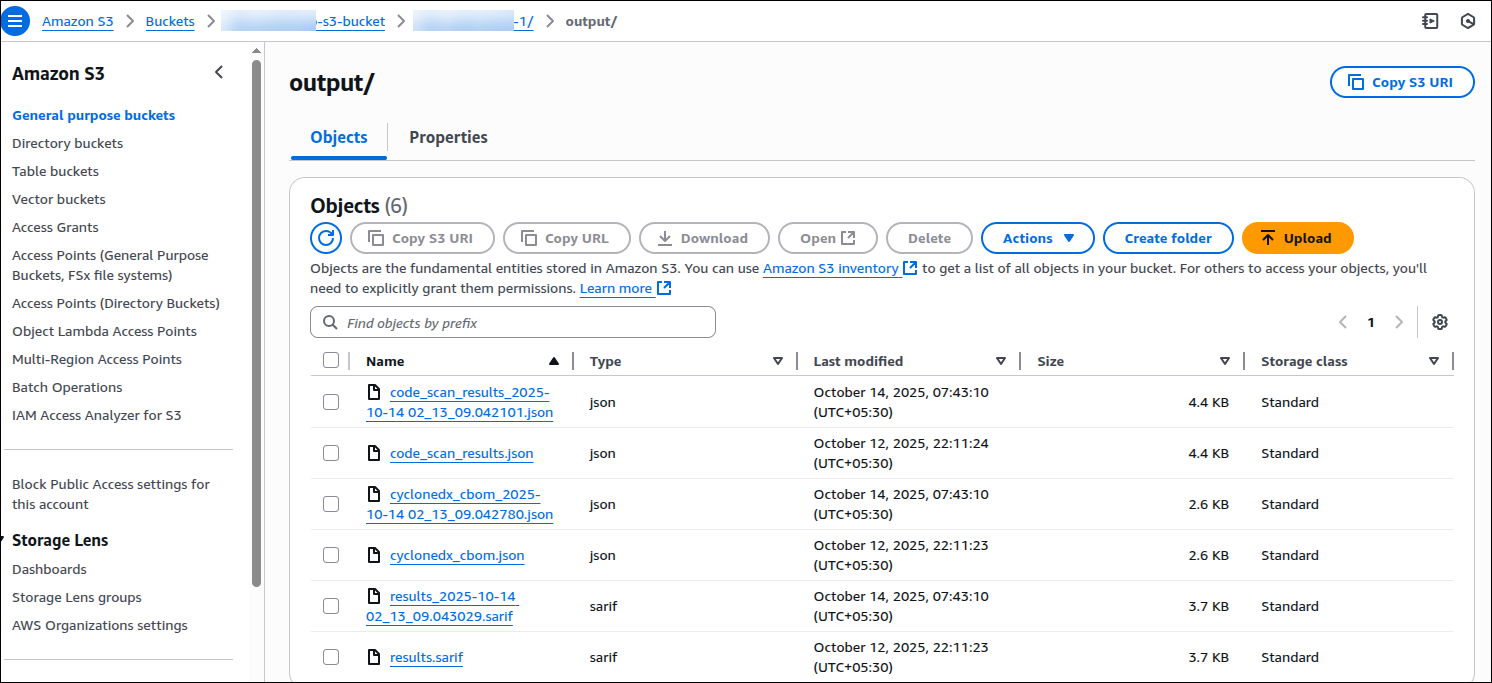
If it has been enabled in the configuration file, the code scan results are also directly uploaded into the AppViewX platform and displayed on the Code Scan dashboard in the Quantum Trust Hub.
-
To trigger the pipeline from the AWS console, in the
CodeBuild section, for the repository to be scanned,
click Build Project.