Upload CSR
-
Under the CSR Parameters section, to Upload CSR, click
 .
.
-
Click Fetch CSR Parameters.
Note: Some CSR parameters are fetched from the uploaded CSR file. For more information on the remaining form fields, refer to the field information described in the Manual section.
- Under the Certificate Attributes section, select the Attribute from the available options.
-
Enter a value for the selected attribute.
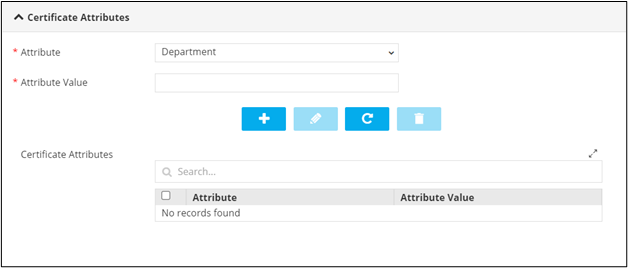
Table 1. Actions available in the Certificate Attributes grid Action Description 
Allows you to add the attribute to the Certificate Attributes grid. 
Allows you to edit the value of a particular attribute. You can do this by selecting the attribute in the grid, click , enter the new value for the
attribute, and click again.
Allows you to delete a certificate attribute. 
Allows you to maximize the Certificate Attributes grid. Search bar Allows you to search for a particular attribute in the grid. -
Under the Vendor Specific Details section, select the field information
from the options available in the dropdown.
Note: This section is displayed only when DigiCert or EJBCA is selected as the Certificate Authority under the CA Details section. The field(s) displayed will vary based on the CA selected.
-
Under the Notifications section, enter the Email ID to which the
certificate creation notification will be sent.
Note: The Email ID field will auto-populate with the logged in user’s email address by default if the email address has been configured in the SMTP settings. You can also enter a different email address in this field or enter multiple email addresses separated by commas.
-
Click Submit.
Certificate is regenerated successfully.
-
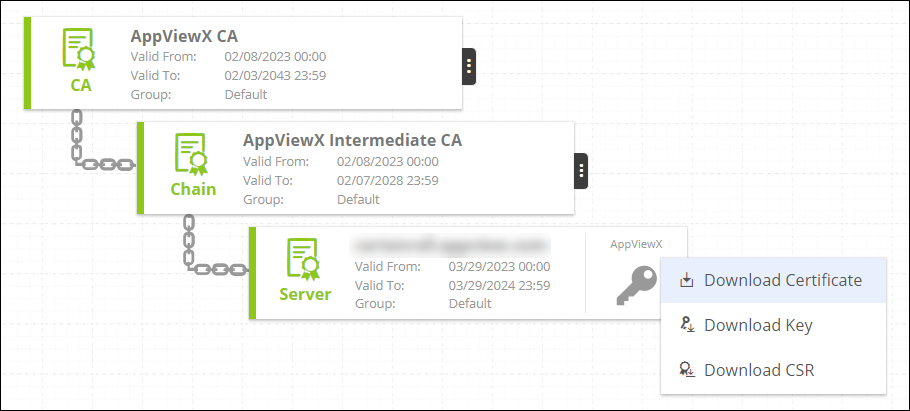
To download the certificate, at the View and Download Certificate stage,
hover your mouse over
 and from the options displayed, click Download
Certificate.
and from the options displayed, click Download
Certificate.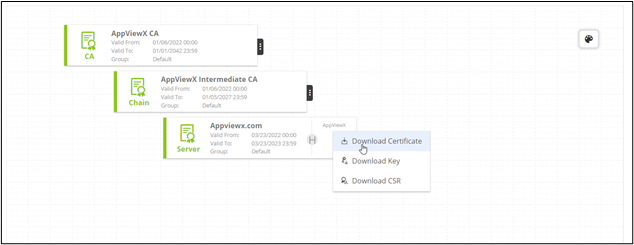
-
To download the certificate, at the View | Download Certificate stage,
hover your mouse over and from the options displayed, click Download
Certificate.