Creating a REST API Hook
- Go to the Hooks Inventory.
-
On the Workflow > Hooks Inventory page, from the command bar on
the top right corner of the screen, click
 (Add) icon.
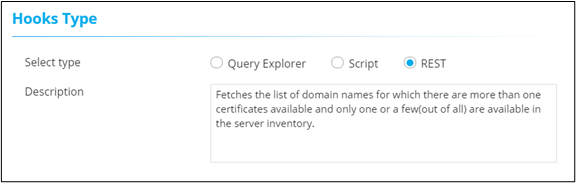
- On the Workflow > Hooks Inventory > Add page, under Hooks Type, select REST.
-
Enter a description for the hook.
-
Under API Details, enter or select the required field information.
- Using REST API: This is an external facing customer API (For
example, ServiceNow, JIRA, GIT)
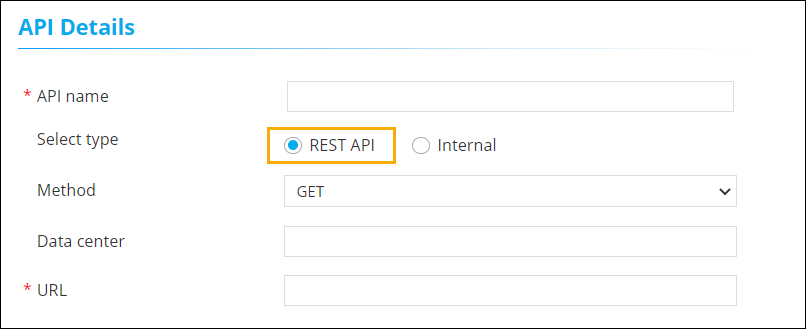
Table 1. Field descriptions for API Details Select type REST API Field Description API name Enter a valid name for the API. Select type You can select between REST API and Internal. - REST API: Use this to select external API and enter the URL.
- Internal: Use this to select an internal API and select a URI (Uniform Resources Identifier) from the dropdown menu.
Method Select the API method for submitting requests. *URL Enter the API URL. Data center Enter the name of the data center. Use proxy Select the checkbox for using a proxy and then select the Host from the dropdown. Note: Before enabling the proxy, add the proxy details under the Menu > Settings > General > Proxy.* : Mandatory fields - Using Internal API: API that is integrated internally
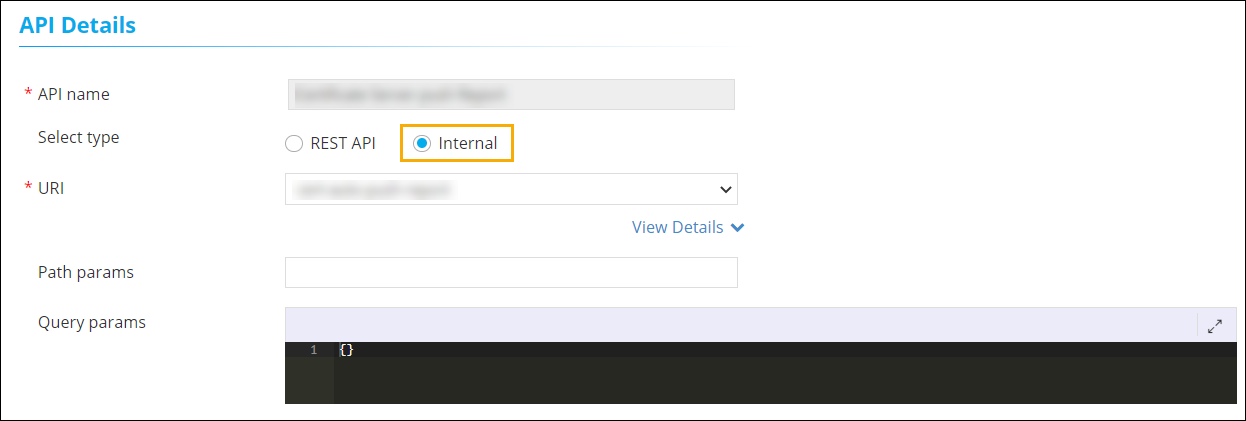
Table 2. Field descriptions for API Details Select type Internal Field Description API name Enter a valid name for the API. Select type You can select between REST API and Internal. - REST API: Use this to select external API and enter the URL.
- Internal: Use this to select an internal API and select a URI (Uniform Resources Identifier) from the dropdown menu.
Path params Parameters that are used to identify a specific resource(s). Query params Parameters that are used to filter resources. * : Mandatory fields
- Using REST API: This is an external facing customer API (For
example, ServiceNow, JIRA, GIT)
-
Under Request Body, enter the payload and response mapping
details.
Table 3. Field descriptions for Request Body Field Description Payload Payload is the actual data that needs to be passed for the API. Response mapping Mapping an integration response from the backend. - To add this new REST API hook to the hooks inventory, click Save.
Using the REST API: An Example
- Go to the Hooks Inventory.
- On the Workflow > Hooks Inventory page, search for the hook that was created. For example, Get Integration Properties.
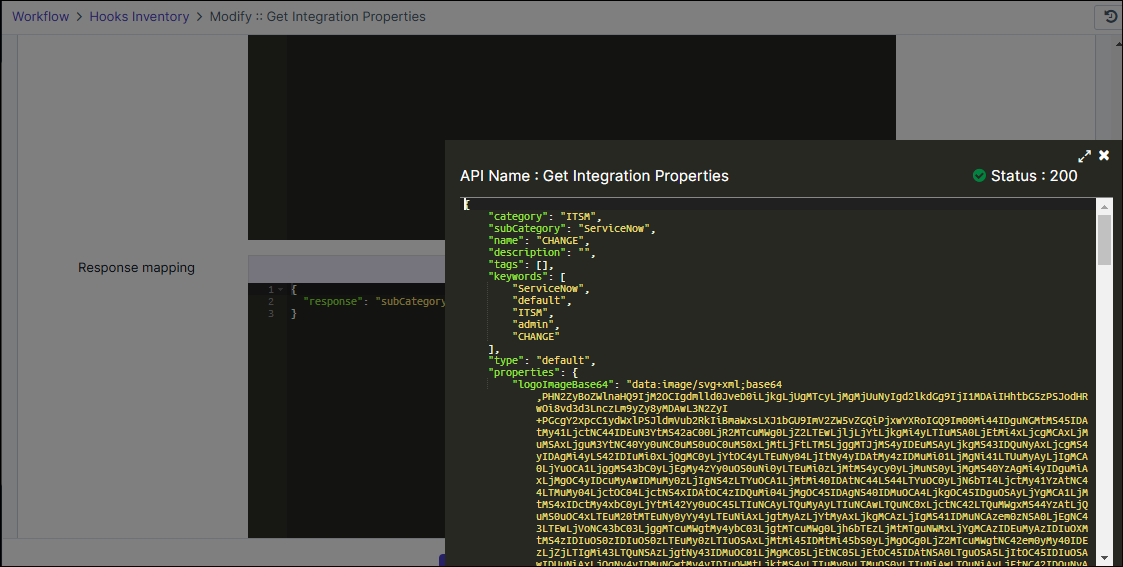
- Click on the Get Integration Properties to open the Modify - <Hook Name> page. (in this case theModify :: Get Integration Properties page.
- From the URI field, select the desired endpoint (For example: visualworkflow-integration-get-subcategory.
-
In the Payload field, provide the payload as follows:
{ "category": "ITSM", "subCategory": "ServiceNow", "source": "", "encoded": false, "name": "CHANGE" } -
Click the Validate button.
The response for the selected API endpoint will be listed in a new window.
Using the Response Mapping in REST: An Example
- Go to the Hooks Inventory.
- On the Workflow > Hooks Inventory page, search for the hook that was created. For example, Get Integration Properties.
-
To view the REST API hook details, click Get Integration
Properties.
The Modify::Get Integration Properties page is displayed with the Response Mapping field containing the
"response": {} -
Based on the example in the previous section Using the REST API: An
Example, from the API response that is fetched on clicking
Validate. Note any of the key for which the response is
expected in the workflow.
Let us consider the key "subCategory" that should return the value
ServiceNowwhen used in the workflow. -
In the Response Mapping field, enter the key as follows:
"response": "subCategory" - Click Save.
-
Go to Workflow > Magic Variables.
The Magic Variables window is displayed.
-
Click + (Add) button, and enter the details as
follows:
- *Variable name= mytest [Name for the magic variable]
- Type = Dynamic
- *Key = test_hook [The key must not contain any spaces in the value entered]
- *Hooks = Get Integration Properties [Hook created in the above examples]
- Click Add.
-
Go to Workflow > Design > Create New (button).
The workflow design page is displayed.
-
Enter the name for the new workflow in the Name field
(hook_api_test) and click Save.
The new workflow design page is displayed with Start and Stop buttons.
-
From the left panel, click General and then drag nd drop the
Script task to the workflow design page.
The Script edit window is displayed with the default tab Properties.
-
In the Script editor section, enter the Magic Variable Key,
test_hook in the variable field as follows:
variable = "~test_hook~"Note: The key should begin and end with the tilde (~) symbol.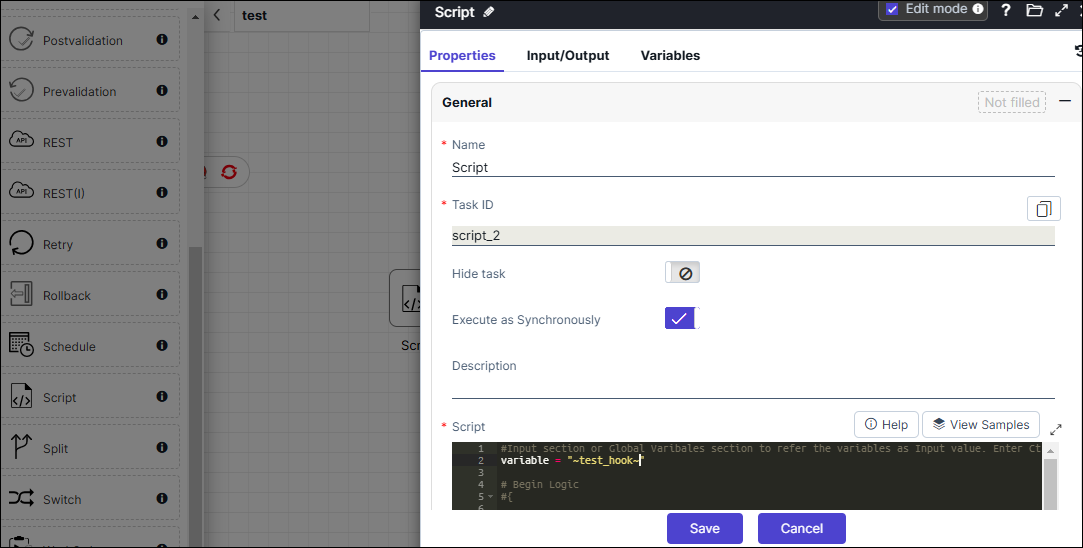
- Click Save.
-
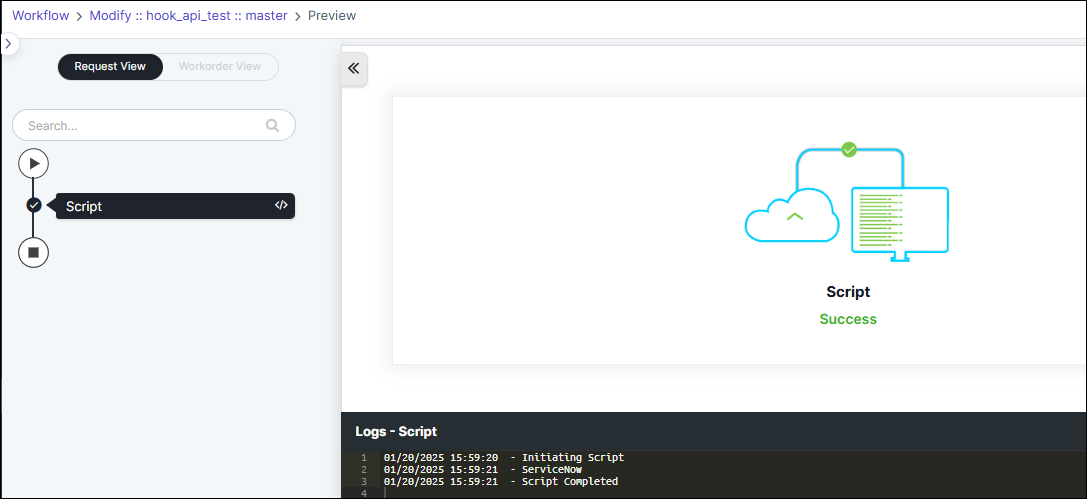
Execute the workflow by clicking the Preview Classic button.
The workflow should execute successfully and the logs window will display the subCategory
ServiceNow.