Qualys Certificate Discovery Workflow
Based on the deployment type, the Qualys Certificate Discovery workflow is now packaged as OOB workflows in AppViewX.
Prerequisites
-
Go to
 (Menu) > Automation >
Workflow > Integration.
The Workflow > Integration page is displayed.
(Menu) > Automation >
Workflow > Integration.
The Workflow > Integration page is displayed. -
Use the Search field to search for Qualys and click the
Qualys card in the search results displayed.
The Workflow > Integration > Vendor Configuration page is displayed.
- On the Workflow > Integration > Vendor Configuration page, enter the required configuration details.
-
In the Credentials section, ensure that you:
- Select Basic Auth from the Auth Type dropdown list.
- Select Manual Entry from the Credential Type dropdown list.
- Enter your Qualys access key in the Username field.
- Enter your Qualys secret key in the Password field.
Initiating and Running the Workflow
-
Go to (Menu) > Automation > SERVICE
REQUESTS > View/Run.
The Request :: View/Run page is displayed. This page is the complete Catalog of the custom and OOB workflows packaged in AppViewX.
- In the Search by Workflow, Category, Tags… field, enter the complete workflow name or a keyword to search the workflow.
-
From the search results displayed, click the corresponding search result
card.
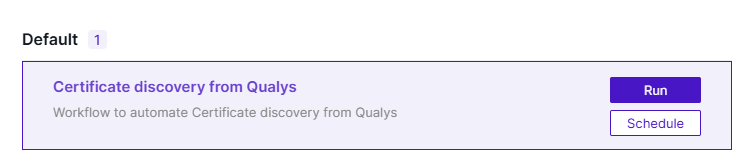
-
Hover the mouse over the result and click Run.
-
Enter the User Inputs.
Table 1. Discovery run type options Field Description *Description This is a read-only field. Important:- Ensure the Certview license is enabled to discover certificates from Qualys devices.
- Ensure internet access on AppViewX instance for successful certificate discovery.
Certificate Group *Certificate Group Selection Select Existing if a certificate group already exists or Create New . *Certificate Group Select from the dropdown list. *Certificate Status For the discovered certificates, select: - Managed: The discovered certificates and their objects will be moved to the inventory with the status set to Managed. Managed certificates are a fully-managed asset; AppViewX manages the entire lifecycle of the discovered certificates.
- Monitored: The discovered certificates and their objects will be moved to the inventory with the status set to Monitored. Monitored certificates are only tracked and observed; AppViewX does not actively manage them.
*: Mandatory fields - Click Submit.
-
In the Confirmation dialog box, click
Ok.
The workflow trigger request is submitted and AppViewX initiates API calls to Qualys to retrieve the discovered certificates from the Qualys database.
In the left pane, the operations performed by AppViewX as part of the discovery data retrieval process (such as component initialization for communication with Qualys, gather credentials, and so on) are listed as they are performed.
To uniquely identify certificates discovered from the Qualys source, the workflow updates the following metadata for each imported certificate:For instructions on configuring certificate attributes, see Configuring Certificate Attributes.Table 2. Discovery run type options Attribute Name Attribute Key Description Assets Assets Assets where Qualys discovered the certificate Once AppViewX has all the information required to proceed, it initiates an API call to export the list of vulnerabilities.
The discovered certificates are added to the AppViewX CERT+ certificate inventory, along with the above explained metadata.
Note: For certificates listed in the Qualys scan results that have already been discovered by AppViewX, the Qualys attributes listed above are updated except the discovery source, which will retain its original value. -
To view the certificate inventory, go to (Menu)
> CERT+ > CERTIFICATE INVENTORY >
Server.
The Server Certificate inventory is displayed.
Scheduling a Workflow
-
Go to (Menu) > Automation > SERVICE
REQUESTS > View/Run.
The Request :: View/Run page is displayed. This page is the complete Catalog of the custom and OOB workflows packaged in AppViewX.
- In the Search by Workflow, Category, Tags… field, enter the complete workflow name or a keyword to search the workflow.
-
From the search results displayed, click the corresponding search result
card.
-
Hover the mouse over the result and click
Schedule.
- In the Information section, enter a name for the workflow schedule and an optional description, if required.
- Click Save & Continue.
- Review the user inputs and modify them, if and as required.
- Click Save & Continue.
-
In the Schedule section:
-
To schedule the workflow for just one execution, under the Once
tab, use the
 (Calendar) widget in the Starts on field to set a
date and time for the workflow execution.
(Calendar) widget in the Starts on field to set a
date and time for the workflow execution.
- After setting the required date and time for the workflow execution, click Done in the Calendar widget.
OR-
To repeatedly trigger the workflow, under the Repeat tab,
use the
(Calendar) widget in the Starts on field to set a
date and time for the workflow execution.
-
To schedule the workflow for just one execution, under the Once
tab, use the
-
Click Schedule.
The workflow is now automatically executed according to the specified schedule and the discovery results are updated in the CERT+ certificate inventory.