Installing avx-infra
-
Once you have logged in to the ArgoCD UI, and after registering the cluster, go to the
Applications page, click + NEW APP button.

-
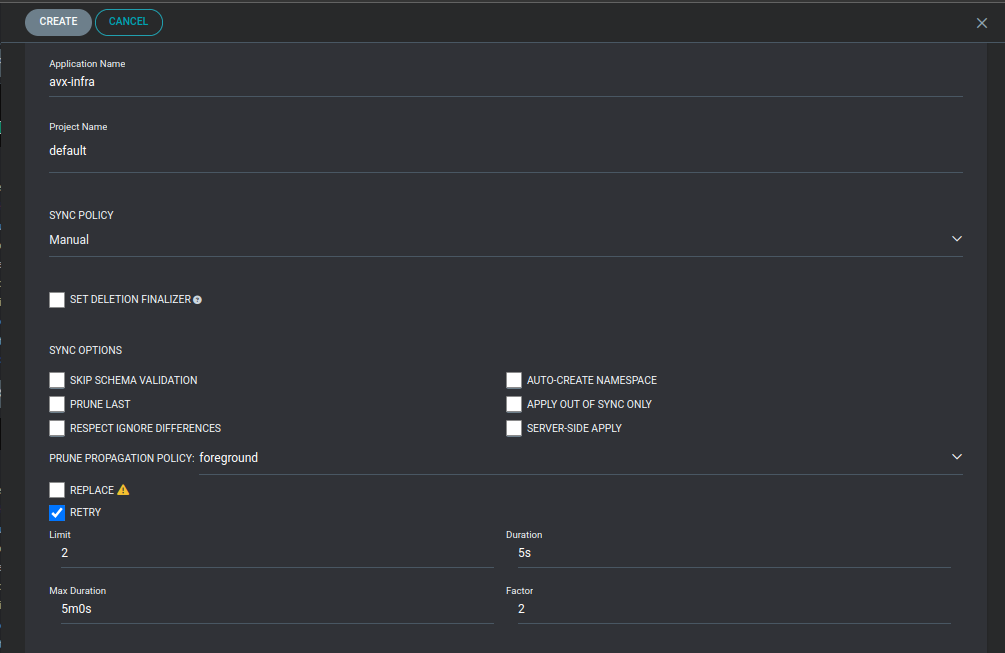
Enter the required details (set the retry option with 5mins
timeout).
-
Enter the configurations in the ArgoCD that are necessary for avx-infra, as
follows:
- Application Name: Can be any unique value
- Project Name (Default value: default)
- Sync Policy (Manual/Automatic - Set it to Manual)
- Retry (Limit - 2, Duration - 5s, Max Duration - 5m , Factor - 2)
SOURCE- Repository URL: Git repository in which helm charts are present. ArgoCD will track this repository and deploy the changes while applying sync.
- Revision: Branch name of the above git repository to be tracked
- Path: Path of the helm chart to be tracked. In case of composite helm charts (parent and child helm chart), provide the path to the parent helm chart. (In case of avx-infra, select the values.yaml in the managed_k8s/helm charts folder in the git repository.)
DESTINATION- Cluster URL: After successfully adding the cluster to ArgoCD during the setup process, the added cluster can be selected from the dropdown.
- Namespace: This is the release namespace. (Leave it empty for avx-infra)
After entering details in the Source, you will find all the values that are in the path of the helm chart displayed in the UI itself. You may add the additional values files or values here.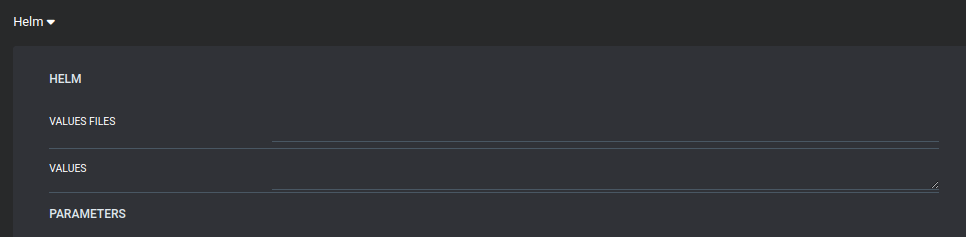
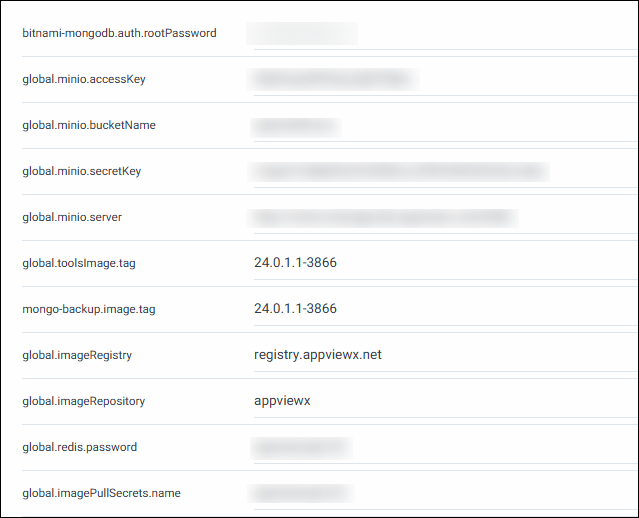
Compulsory values to be filled for avx-infra
Fill the storage class fields created for nutanix volumes and log storage
(Default values are present in the helm chart)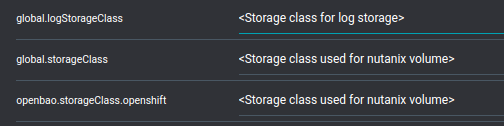
Fill the below field values for strimzi-kakfa-operator and mongoDB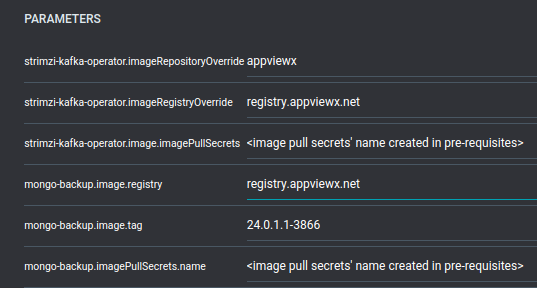
Note:
- To enable/disable any particular plugin, update the boolean field 'enable' for that plugin.
- There are limitations to the special characters used in the Redis password. Only use * (aserix) and @ (at the rate). This is not a password which is exposed outside of AppViewX and is for internal use only.
- (Optional step) If you have your own docker private registry,
then enable the global.useDockerPrivateRegistry to
true and enter the username and password in the
global.dockerusername and global.dockerpass fields
respectively.
