Configuring MarkmonitorDomains
-
Go to , and then click Add new vendor.
The Select vendor page is displayed.
-
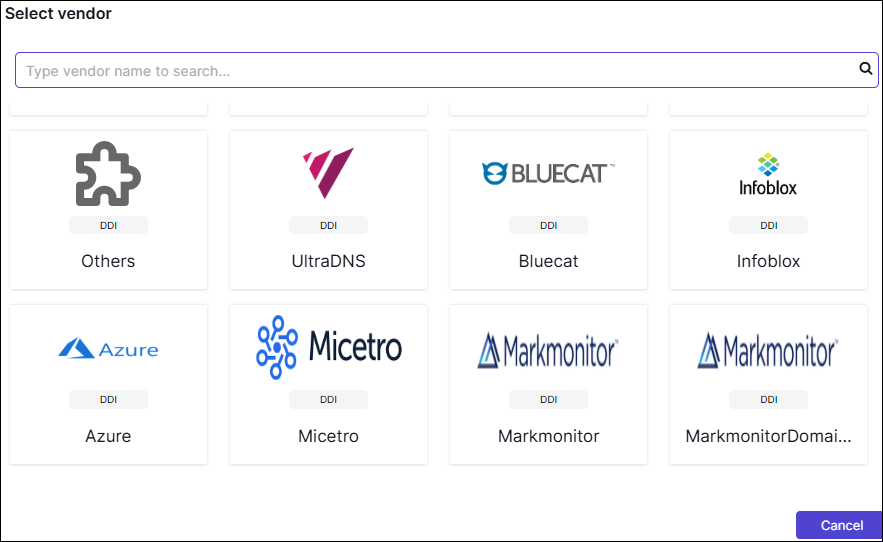
On the Select Vendor page, click
MarkmonitorDomains.
The Vendor Configuration page is displayed.
-
Under the General section, enter or select the required
field information.
The following table describes the various fields in this section:
Field Description *Name Enter a unique name to identify the vendor account which is being configured. Description Enter a description for the purpose of configuring this vendor, if required. Data center Select a data center from the options available in the dropdown list. *: Mandatory fields -
Click Next.
You will be redirected to the Credentials page.
-
Under the Credentials section, enter or select the required field
information.
The following table describes the various fields in this section:
Field Description *Auth Type Displays the Cookie Session method of authentication selected by default. *URL Enter the URL of the vendor with the HTTPS/HTTP protocol. *Access Token URL The provider's authentication server, to exchange an authorization code for an access token. Example: https://api.markmonitor.com/domains/v2/login
X-API Key A unique API key provided by MarkMonitor that authenticates and identifies the client making DNS API requests. *Username Enter valid username. *Password Enter the valid password. *: Mandatory fields -
Click Next.
You will be redirected to the Configurations page.
-
Under the Configurations section, enter or select the required field
information.
-
Enable Enable Advanced Config toggle to add additional vendor
configuration attributes.

-
Enable Enable Advanced Config toggle to add additional vendor
configuration attributes.
-
Click Finish.
The Vendor configurations saved successfully message is displayed.
The workflow configuration is created and triggered in the Service Request inventory.
Whats Next
To view status of the configuration, click View Status.
To view the discovered domains, click View Domains.