Installing the AppViewX OVA
This section covers the procedures for installing the AppViewX master and worker OVA.
-
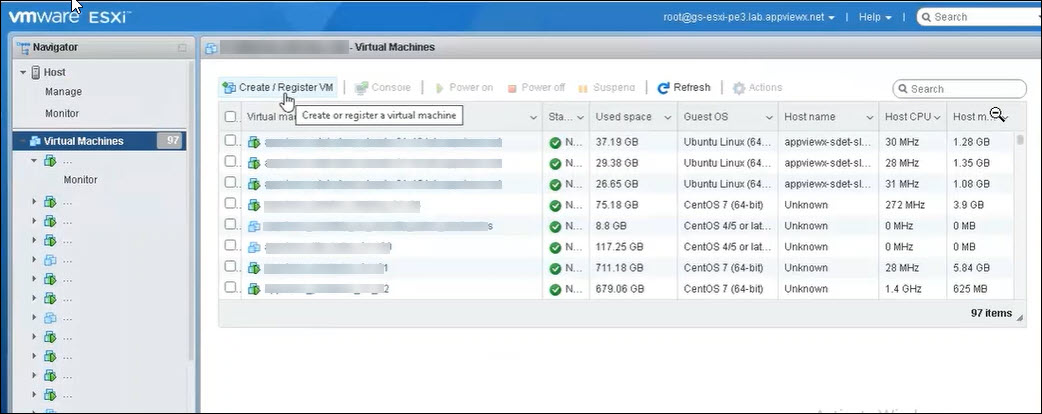
Log into the ESXI Server, go to Virtual Machines > Create/Register
VM.
-
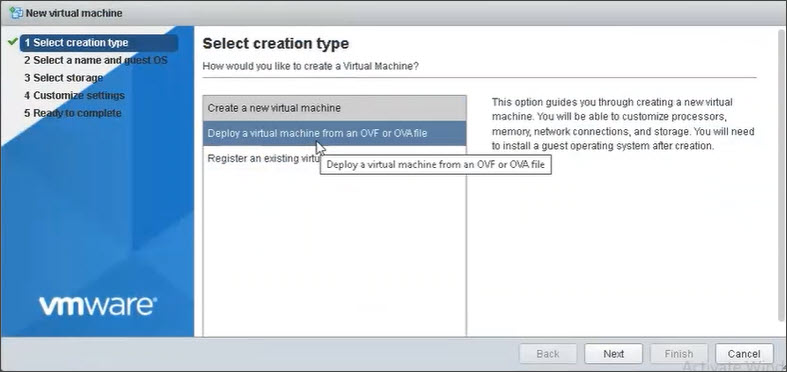
Select Deploy a virtual machine from an OVF or OVA file and click
Next
-
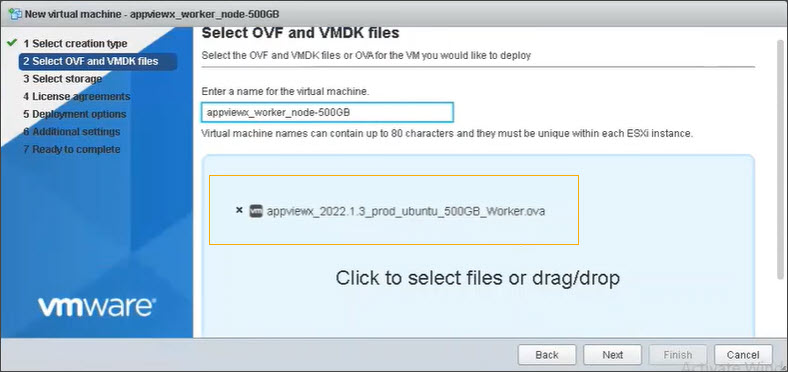
On the Source screen, Enter a name for the virtual machine in the text
field provided and select Click to select files or drag/drop option.
Click Next
-
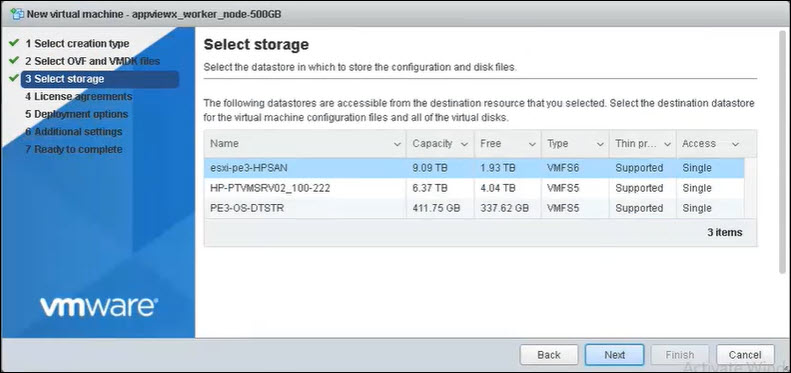
On the Select Storage screen, select a storage location and click
Next.
-
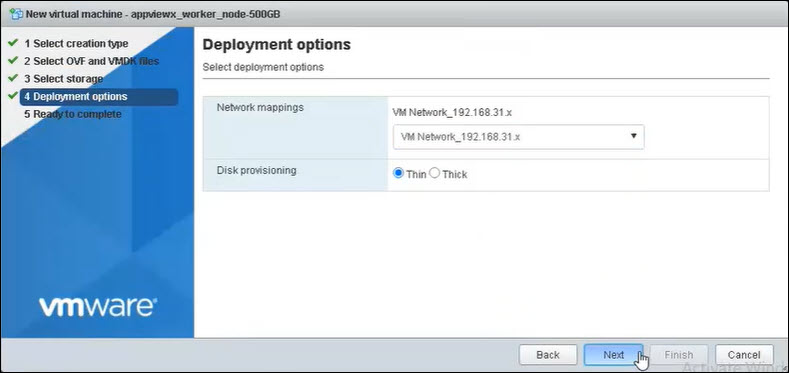
On the Deployment options screen, choose a network adapter in the Network
mappings dropdown list and select the Disk provisioning as
Thin. Click Next.
-
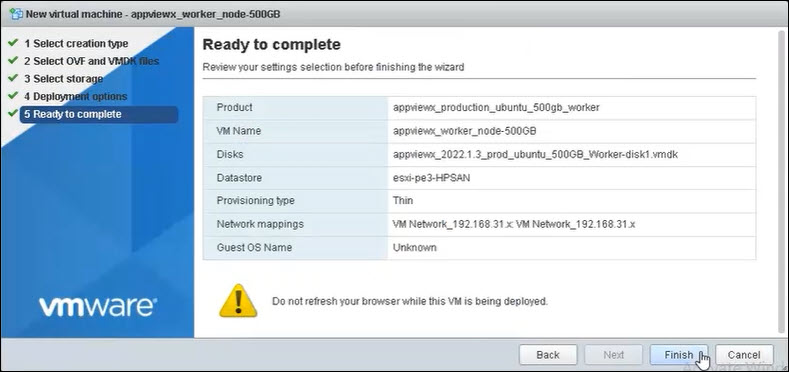
On the Ready to Complete screen click Finish to complete the OVA
deployment process.
 When the deployment wizard finishes, the AppViewX user interactive provisioning console opens within the ESXI server console section. You can use this console to set up your basic network configuration.
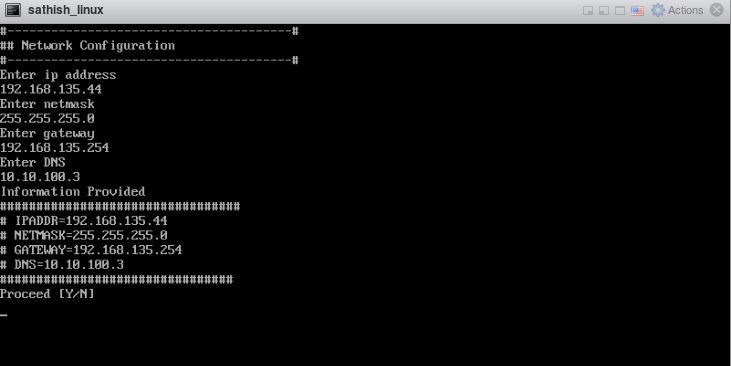
- Type Y on the console screen to proceed with the network configuration.
-
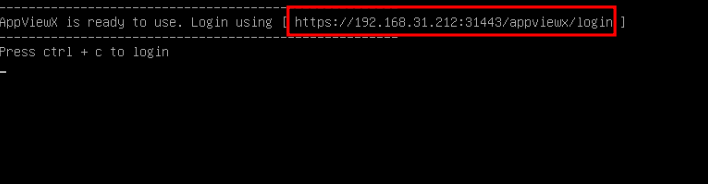
After the basic network configuration process finishes, the installation starts
automatically. Once the installation process completes, you can access the
application by opening the browser on the host machine and entering:
https://<ip:31443/appviewx/login>.