Upgrading Ubuntu 20.04 to Ubuntu 22.04
This guide is intended for all AppViewX customers that are currently using Ubuntu 20.04 operating system. It offers step-by-step instructions for transitioning from Ubuntu 20.04 to Ubuntu 22.04, covering essential pre-upgrade preparations, updating packages, configuring necessary repositories, and resolving compatibility issues with deprecated modules for a seamless upgrade. This process applies specifically to AppViewX-shipped OVAs.
Pre-Upgrade Considerations
Before starting the upgrade, ensure the following are addressed:
- Backup: Take a VM snapshot before starting the upgrade to enable rollback in case of issues.
- Internet Connectivity: Ensure the node has internet or proxy
access to download the OS update from
repos.appviewx.com. - Disk Space: Verify that at least 3GB of free space is available
in the root (
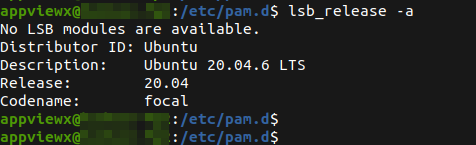
/) partition. - Current Version Check:Confirm that the system is running Ubuntu
20.04 by executing the following command:
-
lsb_release -a
-
Prerequisite
-
Stop AppViewX on All Nodes (On-Premise Setups Only).
Note: This step is applicable only to on-premise setups. Cloud Connectors (CC) do not require component stoppage.
-
Check if the tmux package is installed on your node. If not, install
it using
sudo apt install tmux
-
Attach to a tmux session by running:
tmux
Preparing for the Upgrade
To prepare for the upgrade, update all installed packages on Ubuntu
20.04. Execute the following commands:
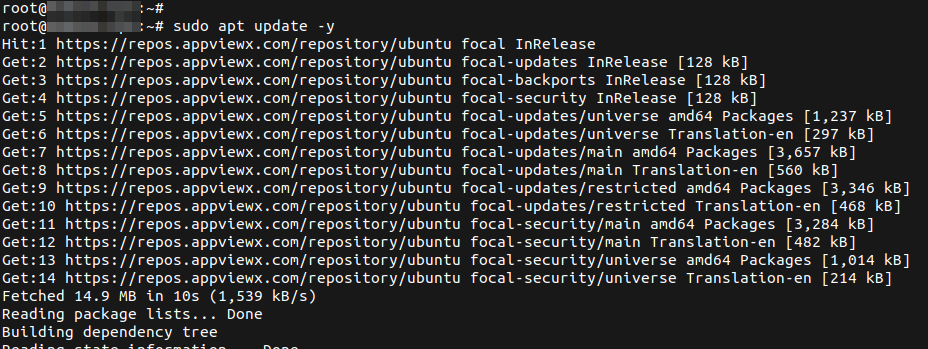
-
sudo apt update -y
-
sudo apt upgrade -y
Note: If there is an error on executing the above command as shown below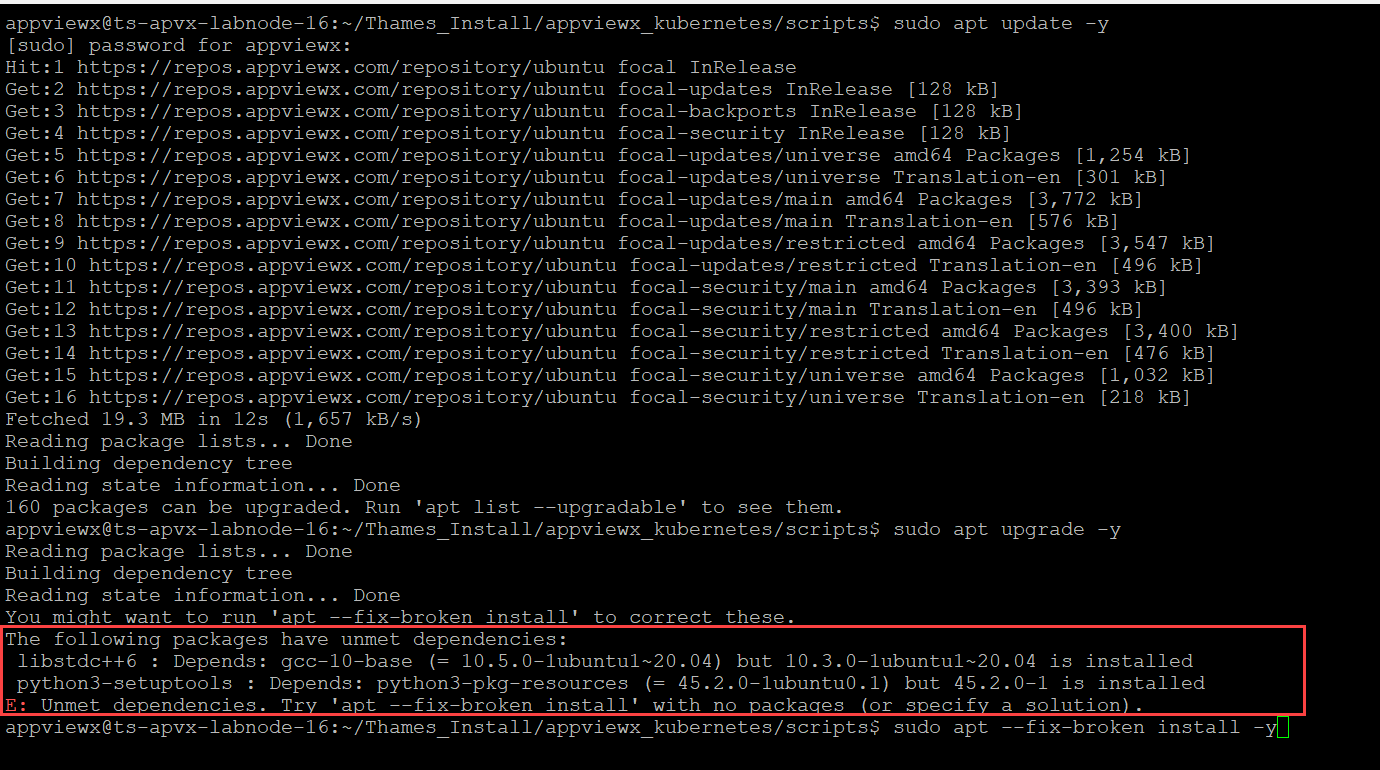 then execute the following command:
After thesudo apt --fix-broken install -yapt --fix-broken installcommand executes successfully, execute theapt upgradecommand once again.sudo apt upgrade -y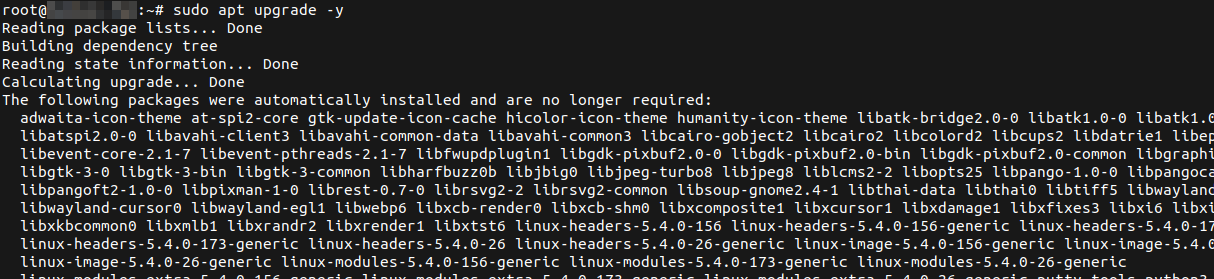
-
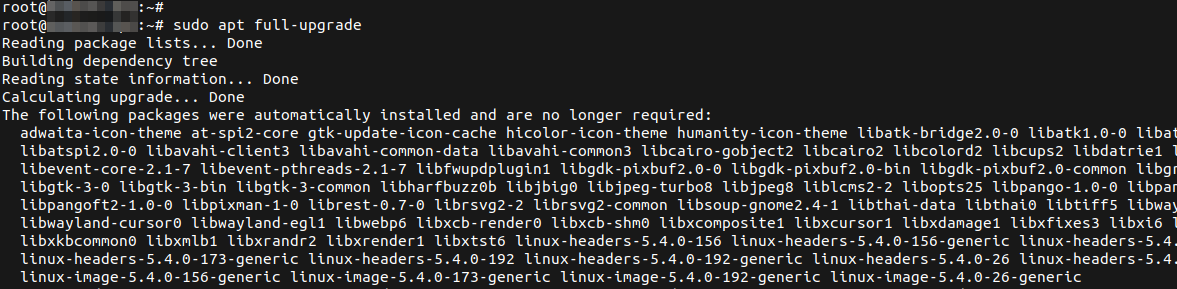
sudo apt full-upgrade
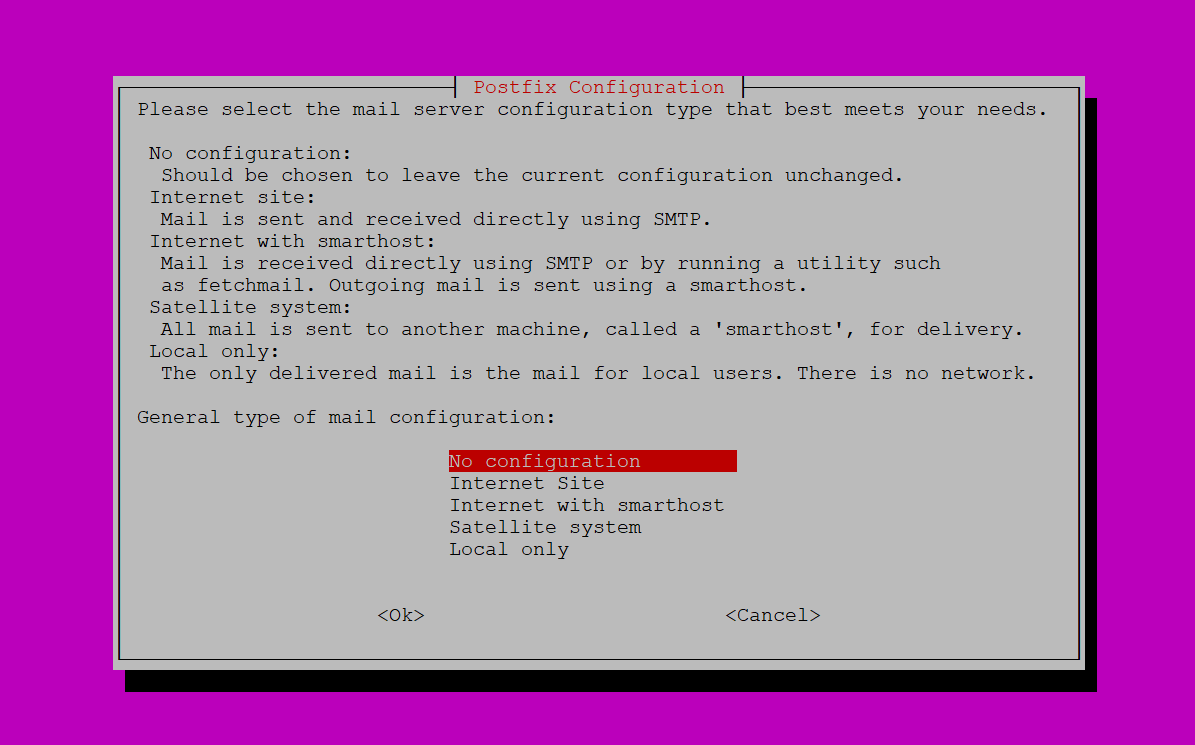
- On receiving a prompt for Postfix Configuration, select
No configuration and proceed.
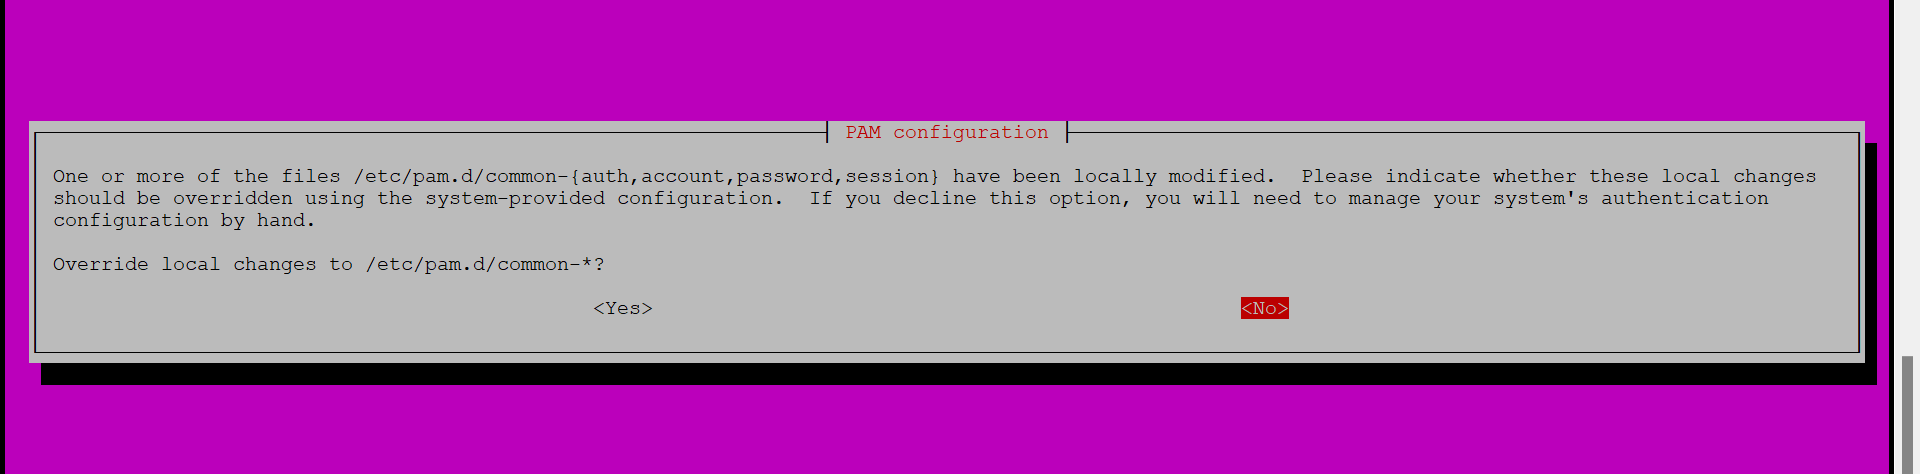
- On receiving a prompt for PAM Configuration, select
No and proceed.
- On receiving a prompt for Postfix Configuration, select
No configuration and proceed.
Configuring the AppViewX Repository
-
Validate the authentication for the repos.appviewx.com repository using the
command below.
cat /etc/apt/auth.conf
-
Create a new APT Repository; add the AppViewX repository for Ubuntu 22.04
(Jammy Jellyfish).
sudo vi /etc/apt/sources.list.d/appviewx_repo-jammy.list
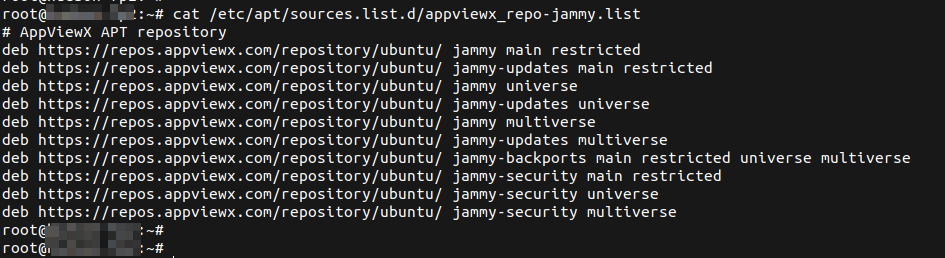 Add the following lines to the file:
# AppViewX APT repository
deb https://repos.appviewx.com/repository/ubuntu/ jammy main restricted
deb https://repos.appviewx.com/repository/ubuntu/ jammy-updates main restricted
deb https://repos.appviewx.com/repository/ubuntu/ jammy universe
deb https://repos.appviewx.com/repository/ubuntu/ jammy-updates universe
deb https://repos.appviewx.com/repository/ubuntu/ jammy multiverse
deb https://repos.appviewx.com/repository/ubuntu/ jammy-updates multiverse
deb https://repos.appviewx.com/repository/ubuntu/ jammy-backports main restricted universe multiverse
deb https://repos.appviewx.com/repository/ubuntu/ jammy-security main restricted
deb https://repos.appviewx.com/repository/ubuntu/ jammy-security universe
deb https://repos.appviewx.com/repository/ubuntu/ jammy-security multiverse
Handling Deprecated Modules
To avoid issues with deprecated pam_tally and
pam_tally2 modules, replace them with
pam_faillock using the following commands:
cd /etc/pam.d
sudo sed -i 's/pam_tally2\?/pam_faillock/g' /etc/pam.d/*