Integrating Tenable SC with AppViewX
-
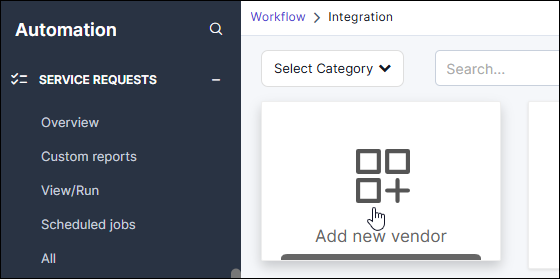
Go to Menu > Automation >
Workflow > Integration.
The Workflow > Integration page is displayed.
-
On the Workflow > Integration page, click Add
new vendor.
 The Select vendor dialog box is displayed.
 - From the Select category dropdown list, select ASM and click Apply.
-
From the search results displayed, select Tenable
SC.
The Workflow > Integration > Vendor configuration page is displayed.
-
For the Tenable SC integration, in the Information section, enter the
following details:
-
In the Credentials section:
- From the Auth Type dropdown list, select Basic Auth.
- In the URL field, enter the Tenable URL.
- From the Credential Type dropdown list, select AWS Signature.
- In the corresponding fields, enter your Access Key and Secret Key.
-
Edit the JSON for your customized Configurations.
The Configurations editor is prepopulated with a dummy JSON template with placeholder values to let you define your custom configuration parameters and query logic.
-
In this JSON:
-
Click Add.
The integration is added and is displayed on the Workflow > Integration page, identified by the name assigned to the integration.
Dummy JSON Template
Template
{
    "deltaSync": true,
    "_assetTags_help": "Each object represents a group of asset lists. Values within a group are OR-matched, while multiple groups are AND-matched. Asset list names must exactly match Tenable.sc definitions. This field is optional and can be omitted to include all assets. Tag-based filtering is recommended to scope discovery to intended hosts.",
    "assetTags":
    [
        {
            "tags":
            [
                "<group1_asset_list_name_1>",
                "<group1_asset_list_name_2>"
            ],
            "description": "<optional_description_for_group_1>"
        },
        {
            "tags":
            [
                "<group2_asset_list_name_1>",
                "<group2_asset_list_name_2>"
            ],
            "description": "<optional_description_for_group_2>"
        }
    ]
}
Sample
{
    "deltaSync": true,
    "assetTags":
    [
        {
            "tags":
            [
                "Custom IP List"
            ],
            "description": "My IPs to Scan"
        },
        {
            "tags":
            [
                "Windows Hosts",
                "Linux Hosts"
            ],
            "description": "Operating system"
        }
    ]
}