Transfer F5 ISO Images to rSeries Devices
Use the F5 ISO Image Transfer workflow to automate the bulk transfer of F5 ISO images from a centralized SFTP server to multiple F5 devices. This workflow simplifies and accelerates the process of distributing firmware images across your F5 rSeries infrastructure by securely transferring ISO files to the /shared/images directory on each target device.
Before transferring F5 ISO images, ensure you have:
- Valid AppViewX credentials with permissions to run ADC workflows
- At least one F5 device (rSeries host or virtual) onboarded in ADC inventory
- Access to a centralized SFTP server hosting F5 ISO images
- Valid SFTP server credentials (username/password)
- F5 ISO image files (.iso or .bundle) available on the SFTP server
- Network connectivity between AppViewX and both SFTP server and F5 devices
- Firewall ports open for SFTP (typically port 22) and F5 management interface
- Sufficient disk space on target F5 devices in /shared/images directory
- F5 devices in a state that allows image uploads (not currently processing uploads)
- Log into AppViewX with appropriate credentials.
-
Go to Menu > ADC >
AUTOMATION > Workflow Catalog
> View/Run.
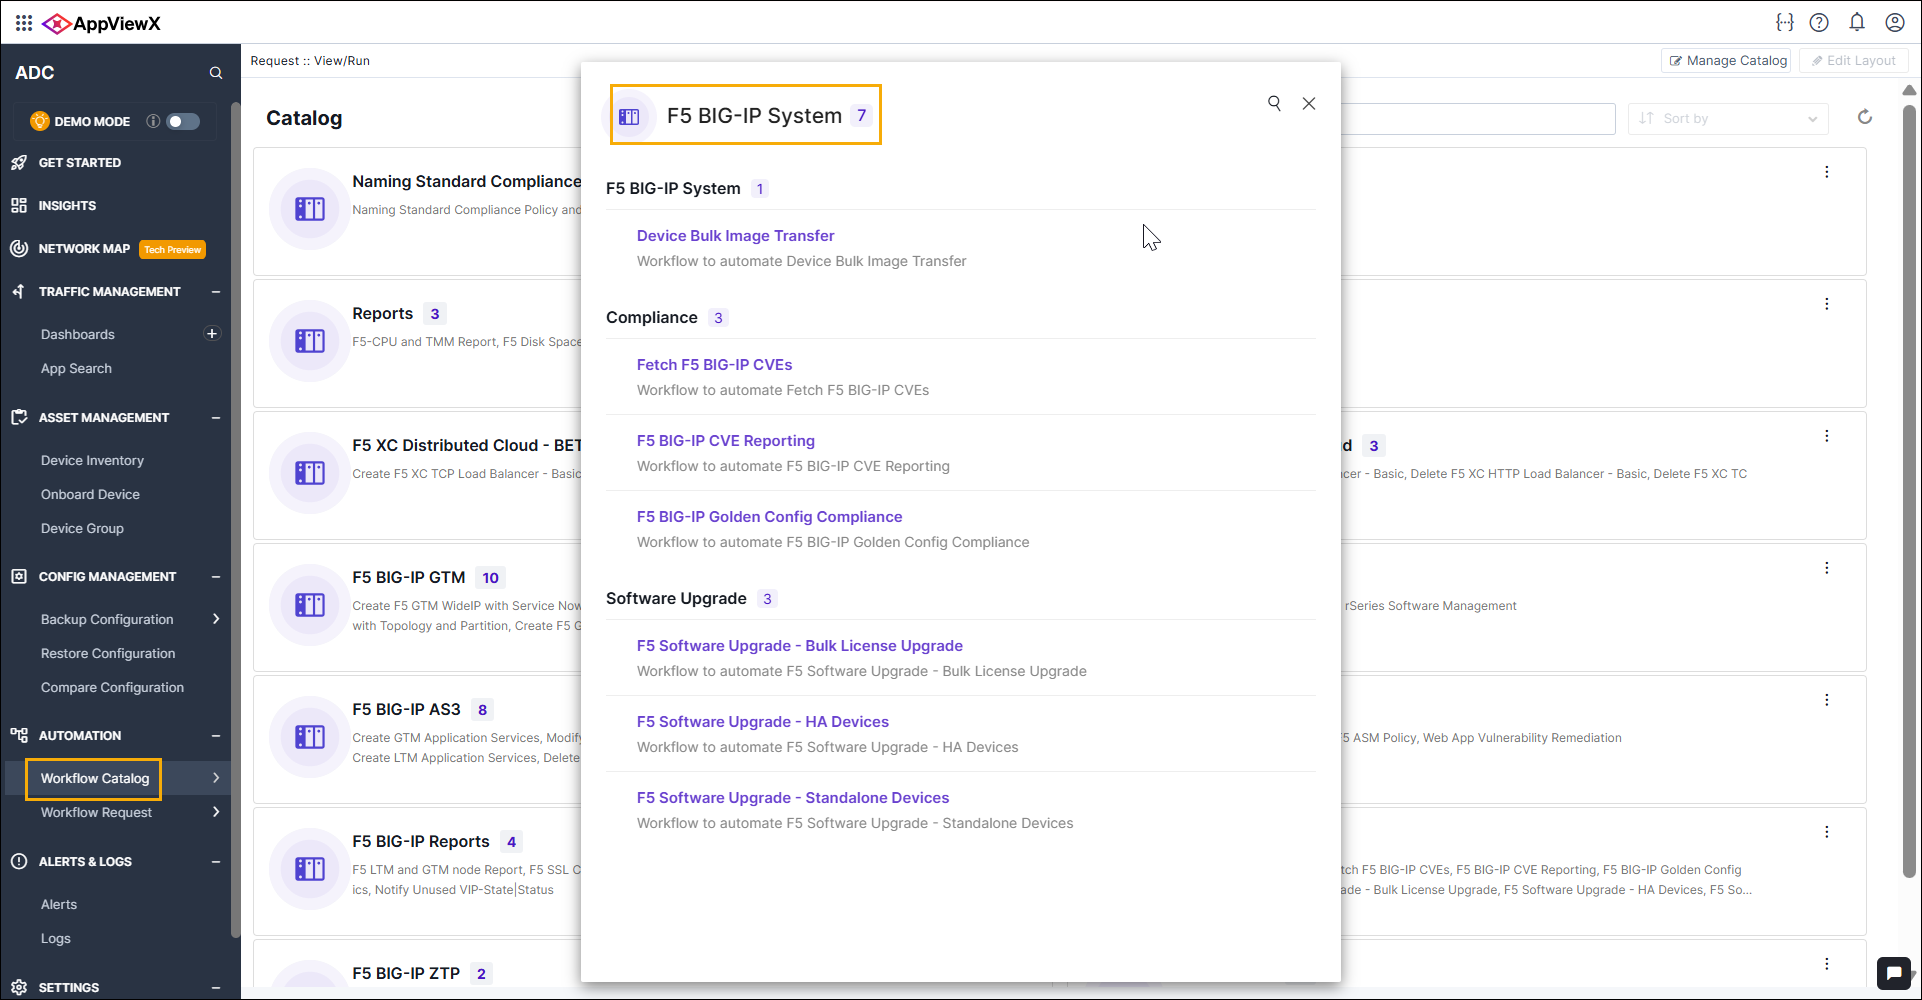
- Locate and select the F5 ISO Image Transfer workflow.
- The workflow form opens, displaying input fields and configuration options.
-
Configure the SFTP Server Details.
-
Specify target F5 devices.
-
Validate the workflow inputs.
-
Submit the workflow to begin image transfer.
-
Monitor workflow execution.
-
Review transfer status and logs.
- Select the Loop step to see the iteration details through each device.
- Check the Trigger ISO Image Transfer step logs for detailed transfer information.
- Review the Get Request Status step to confirm transfer completion status.
- Examine logs in the lower pane for any errors, warnings, or transfer statistics.
-
Verify the image transfer completion.
-
Proceed with next operations (optional).
- Once images are transferred successfully, you can proceed with F5 device updates or tenant provisioning.
- Access the F5 management interface to install the uploaded image or create tenants using the image.
- For rSeries devices, after tenant provisioning and deployment, tenants are automatically added to device inventory.
You have successfully transferred F5 ISO images from the centralized SFTP server to all specified F5 devices. The images are now available in the /shared/images directory on each device for installation, upgrade, or tenant provisioning operations.
The workflow completed the following:
- Validated SFTP connectivity and device accessibility
- Transferred the specified ISO image file to each selected F5 device
- Secured the file transfer using SFTP protocol
- Placed images in the standard /shared/images directory for F5 accessibility
- Provided detailed execution logs for verification and troubleshooting
Bulk F5 rSeries OS Image Transfer
Scenario: You need to transfer the F5 OS image (BIGIP-21.0.0.1-0.0.13.ALL-F5OS.tar.bundle) to three F5 rSeries devices for OS upgrade.
- Navigate to ADC > AUTOMATION > Workflow Catalog > View/Run
- Select F5 ISO Image Transfer workflow
- Configure SFTP Server Details:
- SFTP Server: pe-pltf-apvx-n24.lab.appviewx.net
- Image Type: F5 OS
- Image File Path: /home/appviewx/images
- Image File Name: BIGIP-21.0.0.1-0.0.13.ALL-F5OS.tar.bundle
- Configure Device Details:
- Datacenter: None (or select appropriate datacenter)
- Devices: Select all three rSeries devices
- Click Pre Validation to confirm all prerequisites are met
- Click Submit to initiate transfer
- Monitor execution through Request View
- Verify on each F5 device: tmsh# list sys software image
- Proceed with OS upgrade or next steps