Sign Installer files with Installshield using AppViewX CSP
Prerequisites
- Run the AppViewX SIGN+ Installer to set up the necessary prerequisites for using the AppViewX CSP.
- Ensure the InstallShield Project is ready for building and signing.Note: Only Installshield 2015 or above support signing with certificates managed in Windows Key Storage. Versions prior to that support only PFX based signing and hence cannot be integrated to sign using AppViewX SIGN+.
Steps to configure Installshield to sign using AppViewX SIGN+
-
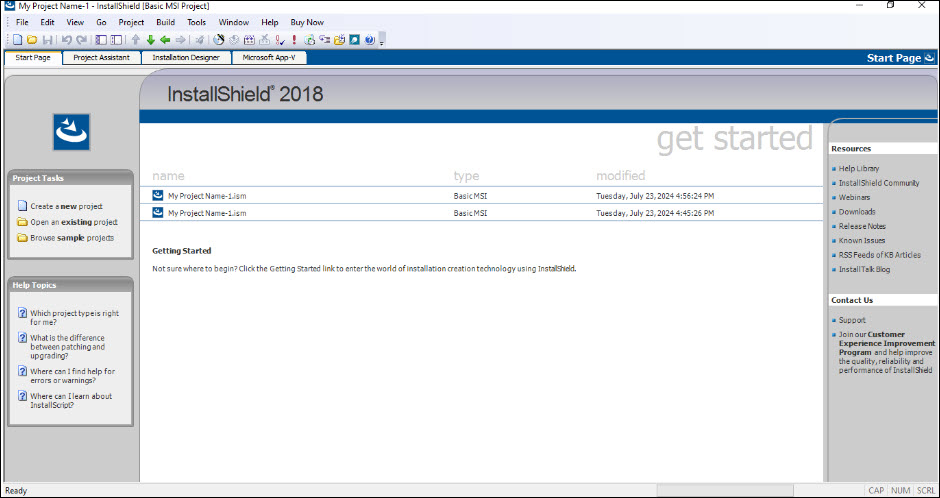
Open an existing InstallShield project.
-
View the project in the InstallShield Wizard IDE.
-
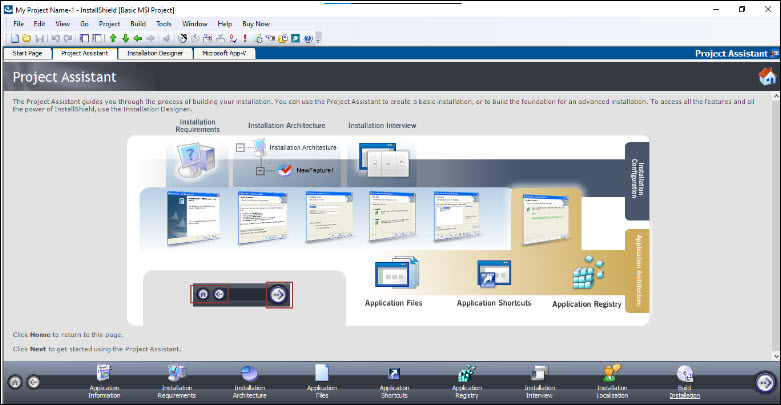
Click the Project Assistant tab to configure the necessary
application settings.
-
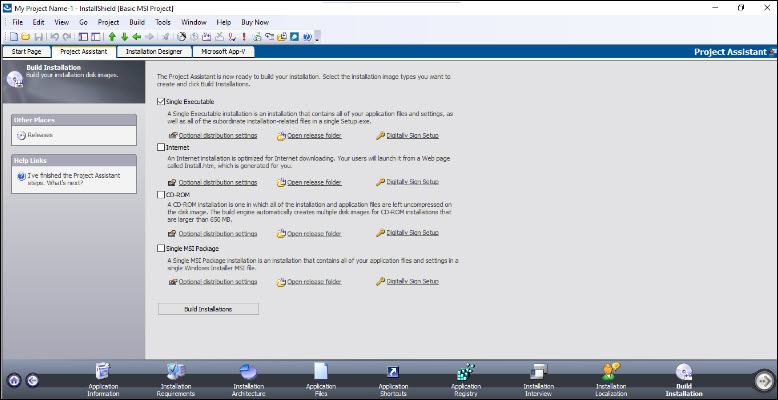
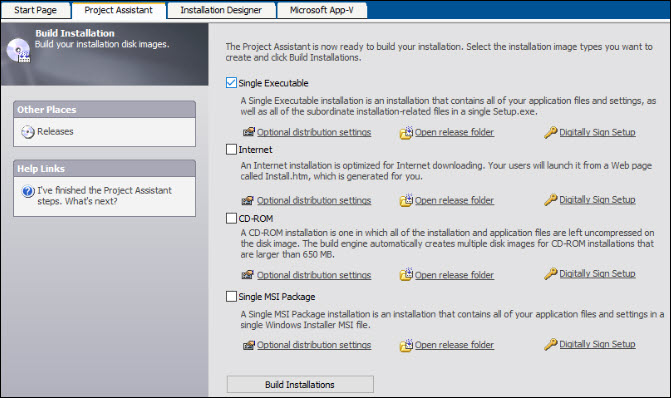
Select the Build Installation option to configure the building and
signing of artifacts.
-
For the required output artifact type (e.g., Single Executable in this
example), select Digitally Sign Setup.
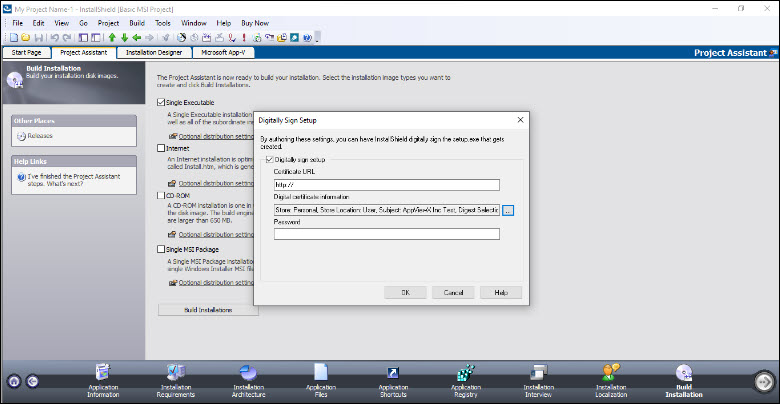
- Click the option next to Digital Certificate Information to select the signing certificate.
-
In the Certificate Selection window, select Use a Certificate
Store and configure the following options:
a. Certificate Store Name: Personal b. Certificate Store Location: User c. Certificate Subject: Certificate installed through SIGN+_Installer d. Signature Digest: SHA-256 (Recommended) 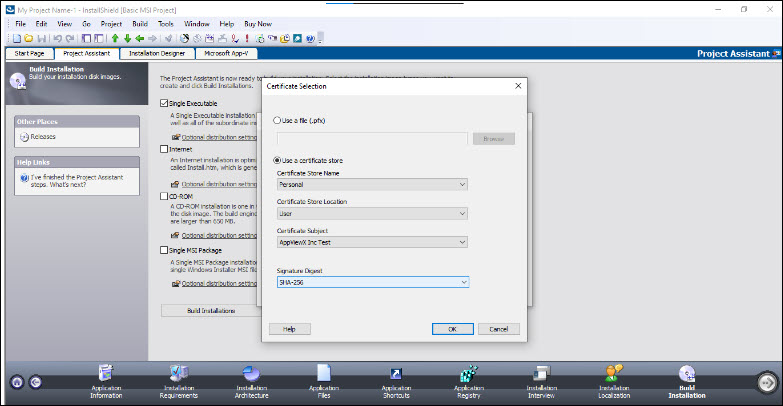
-
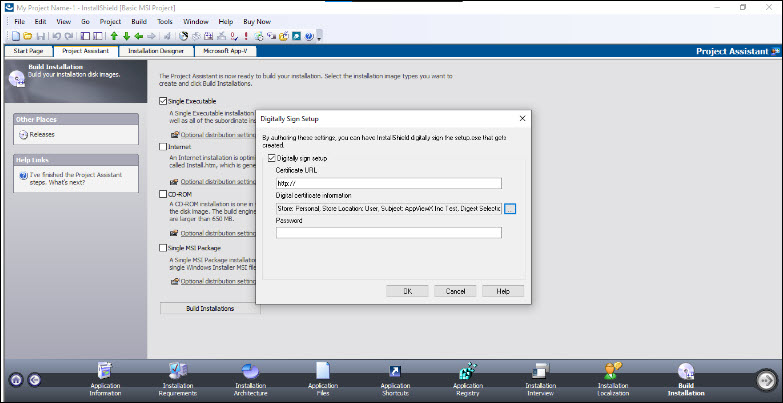
Verify the selected options and click OK.
Sign Installer Files: Sample Output
-
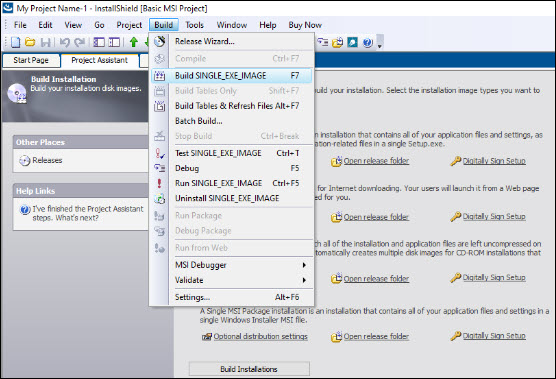
Select the desired output type (e.g., Single Executable in this
example).
-
Go to Build -> Build SINGLE_EXE_IMAGE.
-
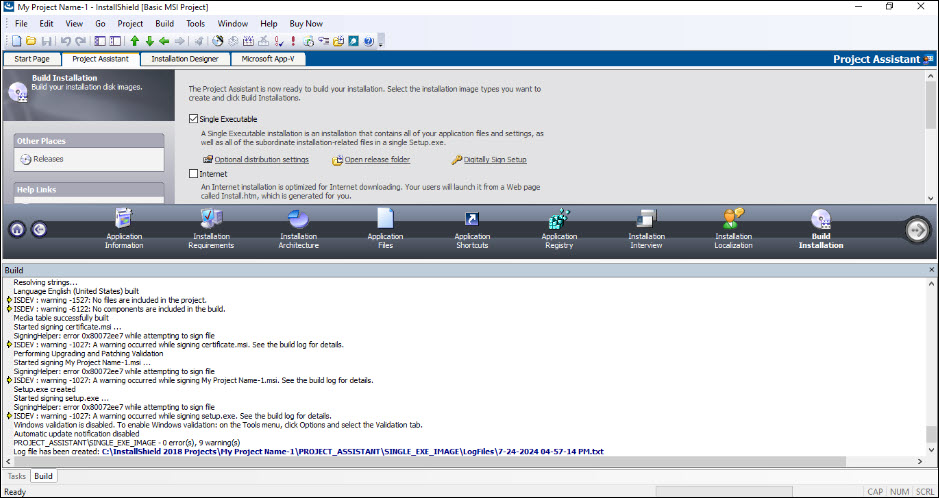
Verify the output logs from the build process.
-
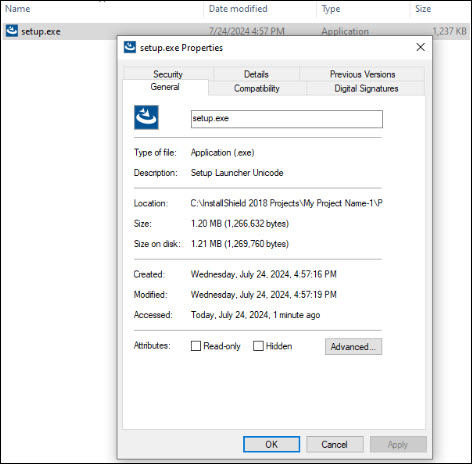
Navigate to the Release folder and check the digital signature of the
generated file.