Modify Infoblox DNS Record – Advanced
This workflow modifies the existing records in Infoblox by fetching the existing records based on FQDN. By using this workflow, you can modify multiple ( A, HOST, PTR,CNAME,TXT,MX) records using the table.
To run this workflow:- Go to Menu > ADC+ > AUTOMATION > Workflow Catalog > View/Run
- Click the Infoblox IPAM category on the View/Run Workflows page.
-
On the popup window, hover the mouse over the Modify Infoblox DNS
Record – Advanced workflow.
The Run and Schedule buttons are displayed.
-
Click
 .
The Request > Modify Infoblox DNS Record – Advanced :: FormBuilder page is displayed.
.
The Request > Modify Infoblox DNS Record – Advanced :: FormBuilder page is displayed. - Modify the necessary details of existing DNS records for the device in Infoblox.
-
Click Submit.
The Confirmation dialog box is displayed.
-
To save this form so you can edit it later, click Save Draft and then click
OK.
The form will be saved as Open request under Request > My Request.
OR
To submit the form, click OK.
The validation starts automatically and reaches the Review stage.Note:- If there is any failure at this stage, start a new request by providing the correct data.
- Alternatively, select the failed request and clone it. Update the correct input data in the form input, and submit the workflow again.
-
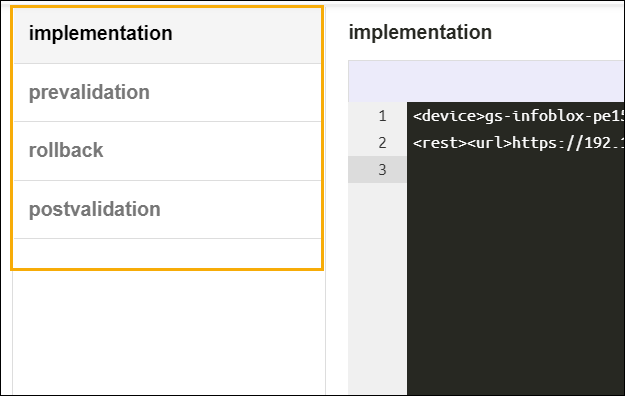
Review the input data under the implementation, rollback, and
postvalidation tabs:
-
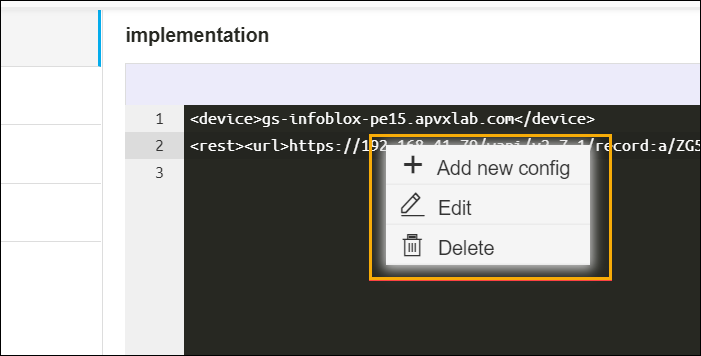
(Optional) If you need to change any data at this stage, right click, as shown in the
image below, and select the required option.
-
After the review, click Submit.
The Confirmation dialog box is displayed.
-
To continue with the workflow creation, click Ok
OR
To abort the workflow creation, click Cancel.
It takes a while to complete the post-validation.When the workflow is created, an email is triggered to all the configured email IDs.
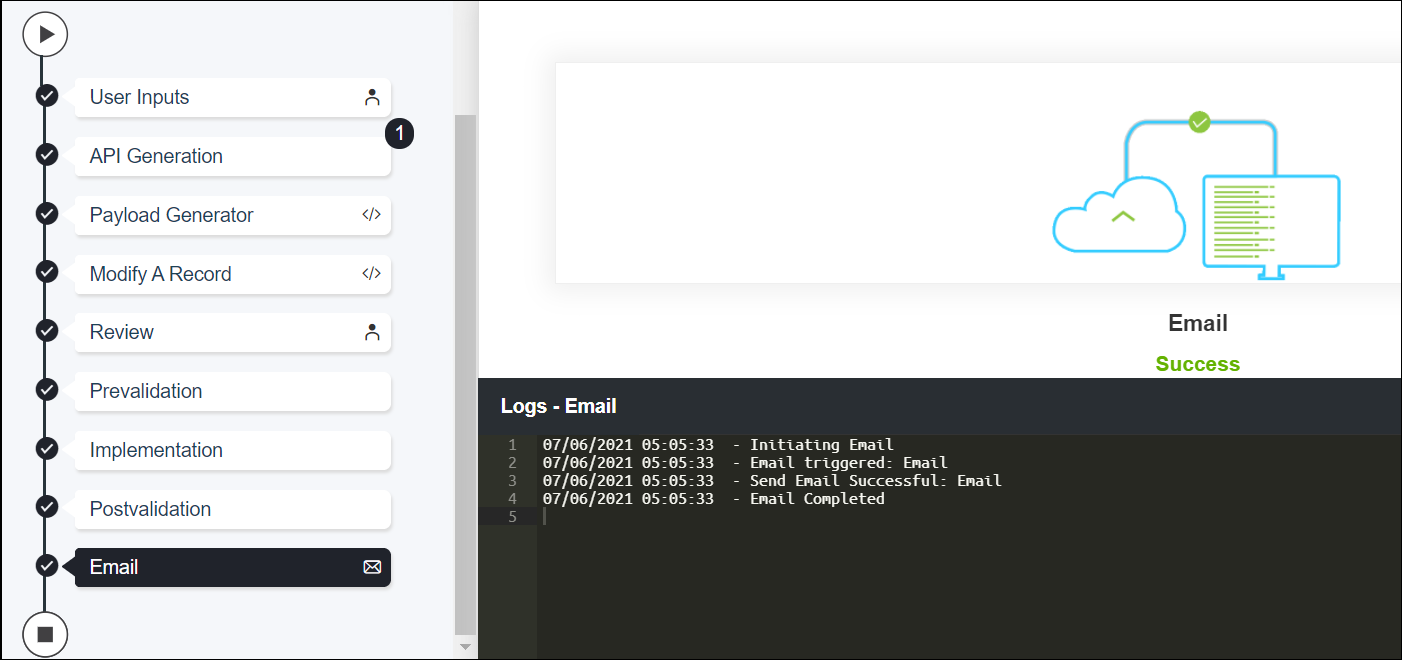 Note: The validation stages are shown in the left side of the screen. To view a validation stage, click on the respective stage.